How to Safely Upgrade to Jellyfin 12 (Fix Plugin Errors)
Jellyfin 12 has officially dropped! The upgrade process from 10.11.x is incredibly smooth, provided you follow a few critical steps regarding third-party plugins and database migrations.

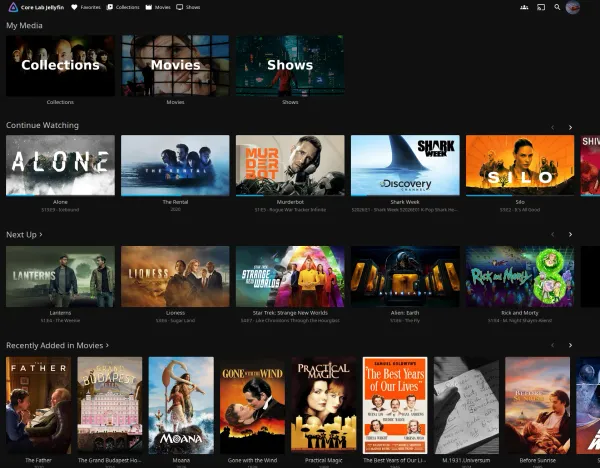
After years in the 10.x era, the Jellyfin team has officially released Jellyfin 12 (as of just a few hours ago!). This marks a massive milestone for the premier open-source media server, bringing sweeping under-the-hood changes and a massive database overhaul.
I just finished migrating my own instance from 10.11.x to 12.0.0. The good news? The process is incredibly smooth. The bad news? If you blindly pull the latest Docker image without preparing your instance first, you could break things.
Here is the exact upgrade path you need to follow to ensure a flawless migration to Jellyfin 12.
Upgrading Jellyfin to V12 Steps
Step 1: Disable ALL External Plugins
This is the single most important step. Because Jellyfin 12 introduces massive changes to the backend APIs and database structure, almost all third-party plugins written for 10.11.x will instantly break your server on boot.
Before you even touch your Docker Compose file:
- Log into your current Jellyfin web interface.
- Go to Dashboard -> Plugins.
- Manually disable or uninstall every single third-party plugin you have running. (For example, I had to completely disable my Moonfin plugin).
Once the plugin developers update their code for version 12 in the coming weeks, you can safely reinstall them.
Step 2: Pull the Latest Image
Once your plugins are disabled, SSH into your server, navigate to your media stack, and pull the latest image. If you are using Docker Compose, it is as simple as:
docker compose pull jellyfin
docker compose up -d jellyfin
If you'd like to clean up old stale images as well:
docker system prune -aAnd y at the prompt of course.
You could use this opportunity to rebuild your media stack, check out my guide on complete Arr deployment & automation!
Step 3: Wait for the Database Migration (Do Not Touch!)
When the new container boots up, it will immediately begin migrating your SQLite databases to the new Jellyfin 12 schema.
Do not interrupt this process. Do not restart the container, and do not try to load the web interface yet. Depending on the size of your library and whether your app data is stored on an SSD or an HDD, this migration could take anywhere from a few seconds to a few minutes.
You can monitor the progress by watching the live logs:
docker logs -f jellyfinOnce you see the Startup complete message in the logs, you are safe to proceed.
That said this only took about... 1 minute on my SSD, maybe less?
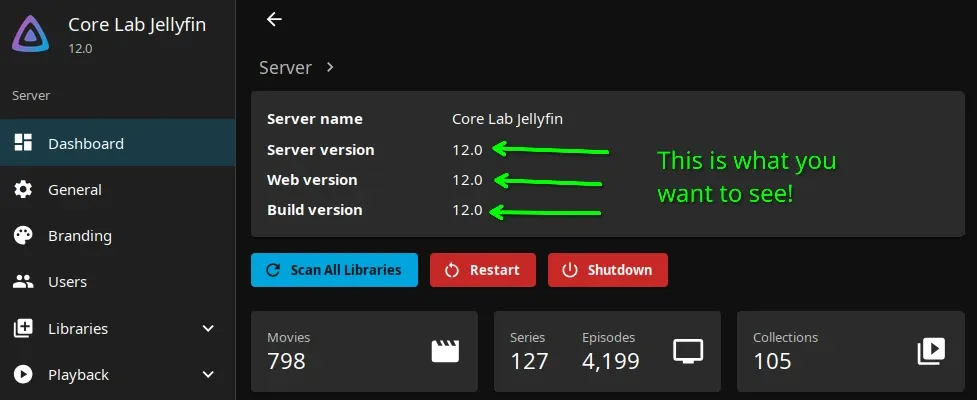
Step 4: Check the Version Reported by the Server
Login to your shiny new Jellyfin v12 web interface, go to Dashboard and look immediately to your right, you should see under Server >
Step 5: Perform a Complete Library Scan
Finally, log into your shiny new Jellyfin 12 web interface. Go to Dashboard -> Libraries, click the three dots at the top, and select Scan All Libraries.
Because of the database upgrades, a full library scan ensures that all of your media metadata is properly aligned with the new backend structures.
Now browse around, to me it feels noticeably snappier! The hard work of the dev team paid off big time...
Read the Full Changelog
The development team has put a monumental amount of work into this release. If you want to dive into the nitty-gritty details, bug fixes, and exact API changes, you can read the official release notes directly on their GitHub:
Read the Jellyfin 12 Official Release Notes Here
Welcome to the next generation of open-source media streaming!
Written by
On this page
What's Next?