
Upgrading to OPNsense 26.1
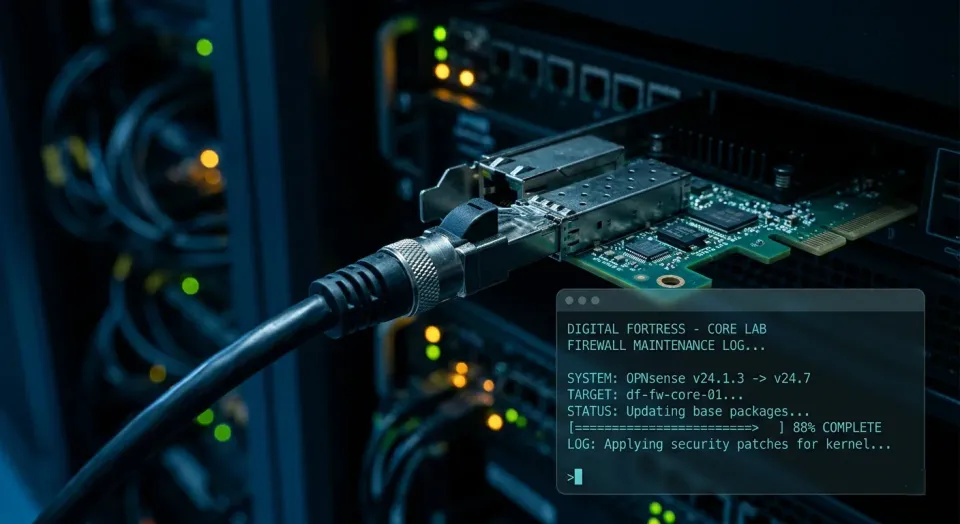
Navigating Kea, Dnsmasq, and the /21 Subnet Trap
The jump to OPNsense 26.1 is more than just a version bump; it’s a fundamental shift in how core services like DHCP and DNS interact. If you’re running a complex homelab with multiple VLANs, you might find that things don't "just work" after the reboot...
Here is how I navigated the transition from the legacy ISC DHCP/Unbound stack to a stable Dnsmasq-driven environment. It's nice!
How to Upgrade OPNsense from 25.x to 26.1.4?
I strongly suggest upgrading via SSH / CLI for major upgrades. This allows you to view the console output, reboots, logging etc... It's kinda the failproof way. Can do this with a keyboard & monitor or just SSH in.
Additional Recommendations:
- Turn off high-traffic apps/systems (Torrent clients, Steam downloads, etc). If you can't turn them off, do the upgrade during a 'low traffic period'.
- Reboot OPNsense first, so the memory is fresh, logs cleared, system is primed.
- Turn off advanced features such as Zenarmor and IDS/IPS if you use them.
Step 1 - Decide on upgrade via SSH / console or GUI
Perform the upgrade(s) via webGUI or SSH or console, up to you. I did this one from SSH and checked things out on the console when I ran into an issue. I had to upgrade to the last 25.x release before I went to 26, so I had to upgrade->reboot->upgrade->reboot, then I could do my final upgrade to v26.4.1!
sudo su to root, then you'll be presented with the numbered menu to upgrade.Upgrading is usually almost trivial but with this major change, you have to 'migrate' your firewall rules. This is pretty simple and involves simply following a migration wizard that Decisio prepared!
Step 2 - OPNsense Rules Migration Wizard
Summarized it's: downloading a CSV of your rules, importing them into the new format, triple checking they look ok to you, finalizing by removing old rules.
Here's that migration wizard itself:

I did a snapshot (Since I'm using ZFS), then I went right to step 3, when you click on step 3, you then -
Step 3 - Download your Existing Rules

That little button is a little hidden and I felt the need to POINT it out well ;)
Once you download them, open them up and review it looks logical and doesn't look like garbled / damaged / corrupted data. Interfaces are mapped, looks logical, the rules you know and love are actually in there!
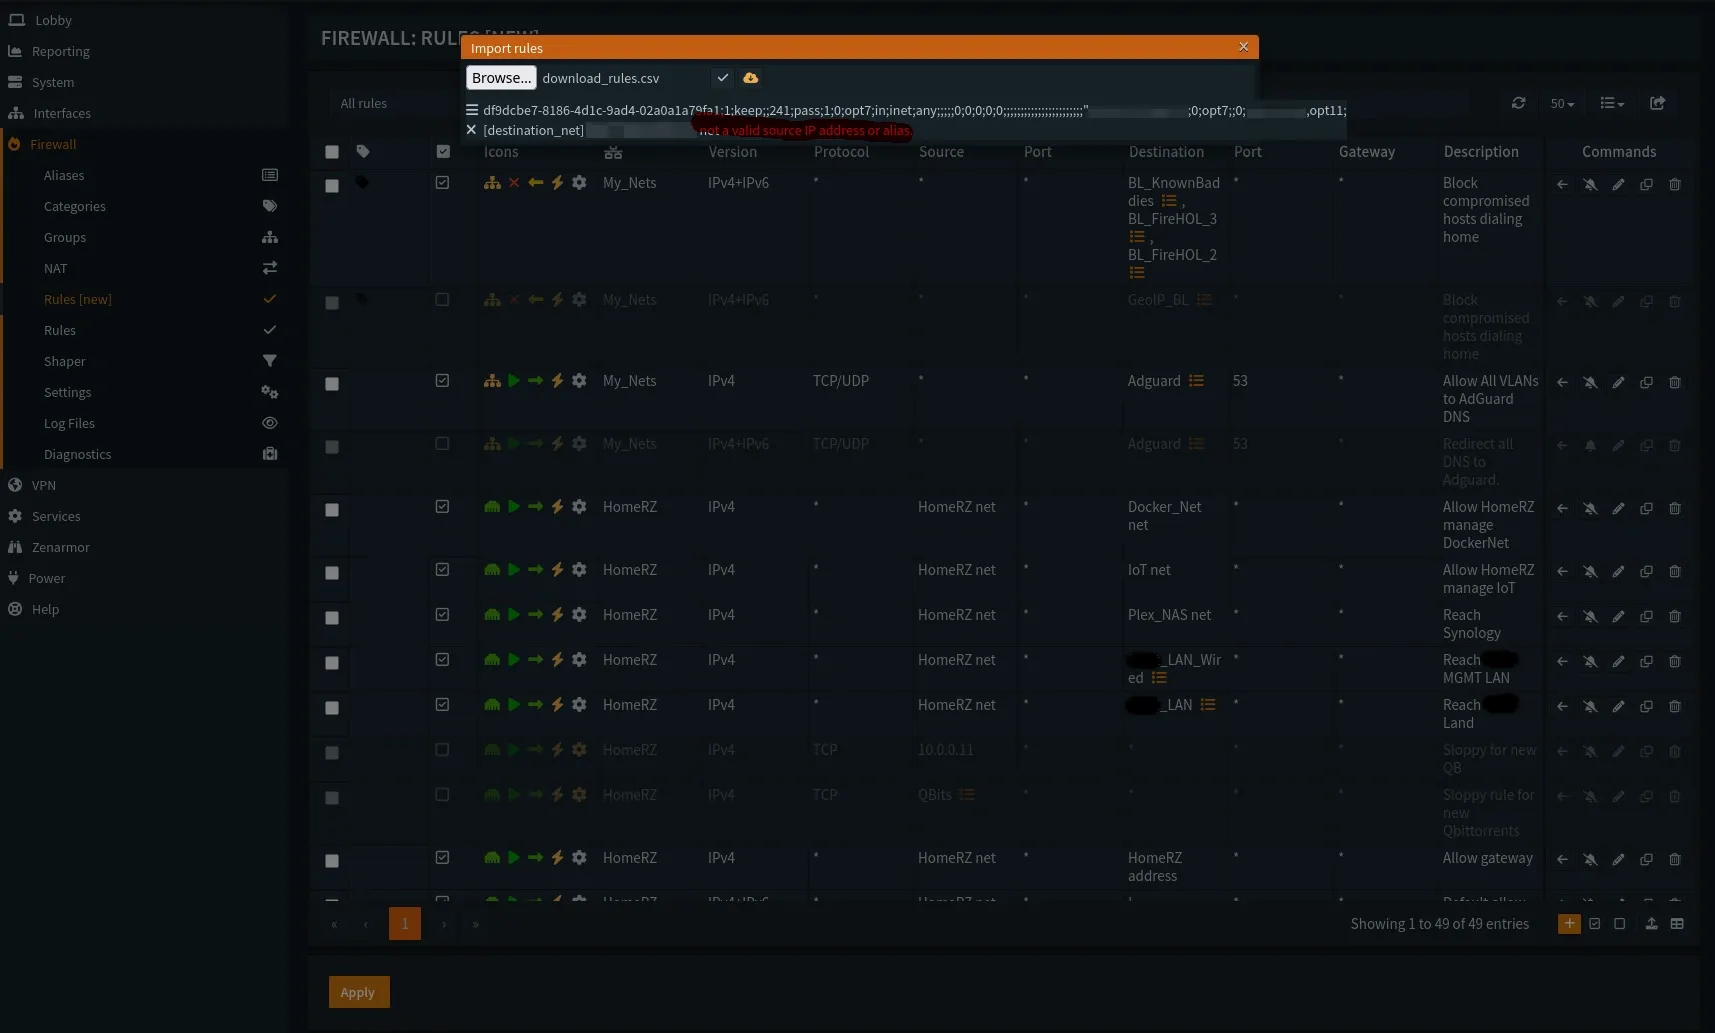
Step 4 - Import Rules
Then click Rules (new) again to go back to the wizard and click to import now:

I got a little error on mine but this turned out to be literally nothing. You browse to the file you downloaded from the steps above, click to open that and BAM - imported! The little ✔️ is what you want to see like this pic:
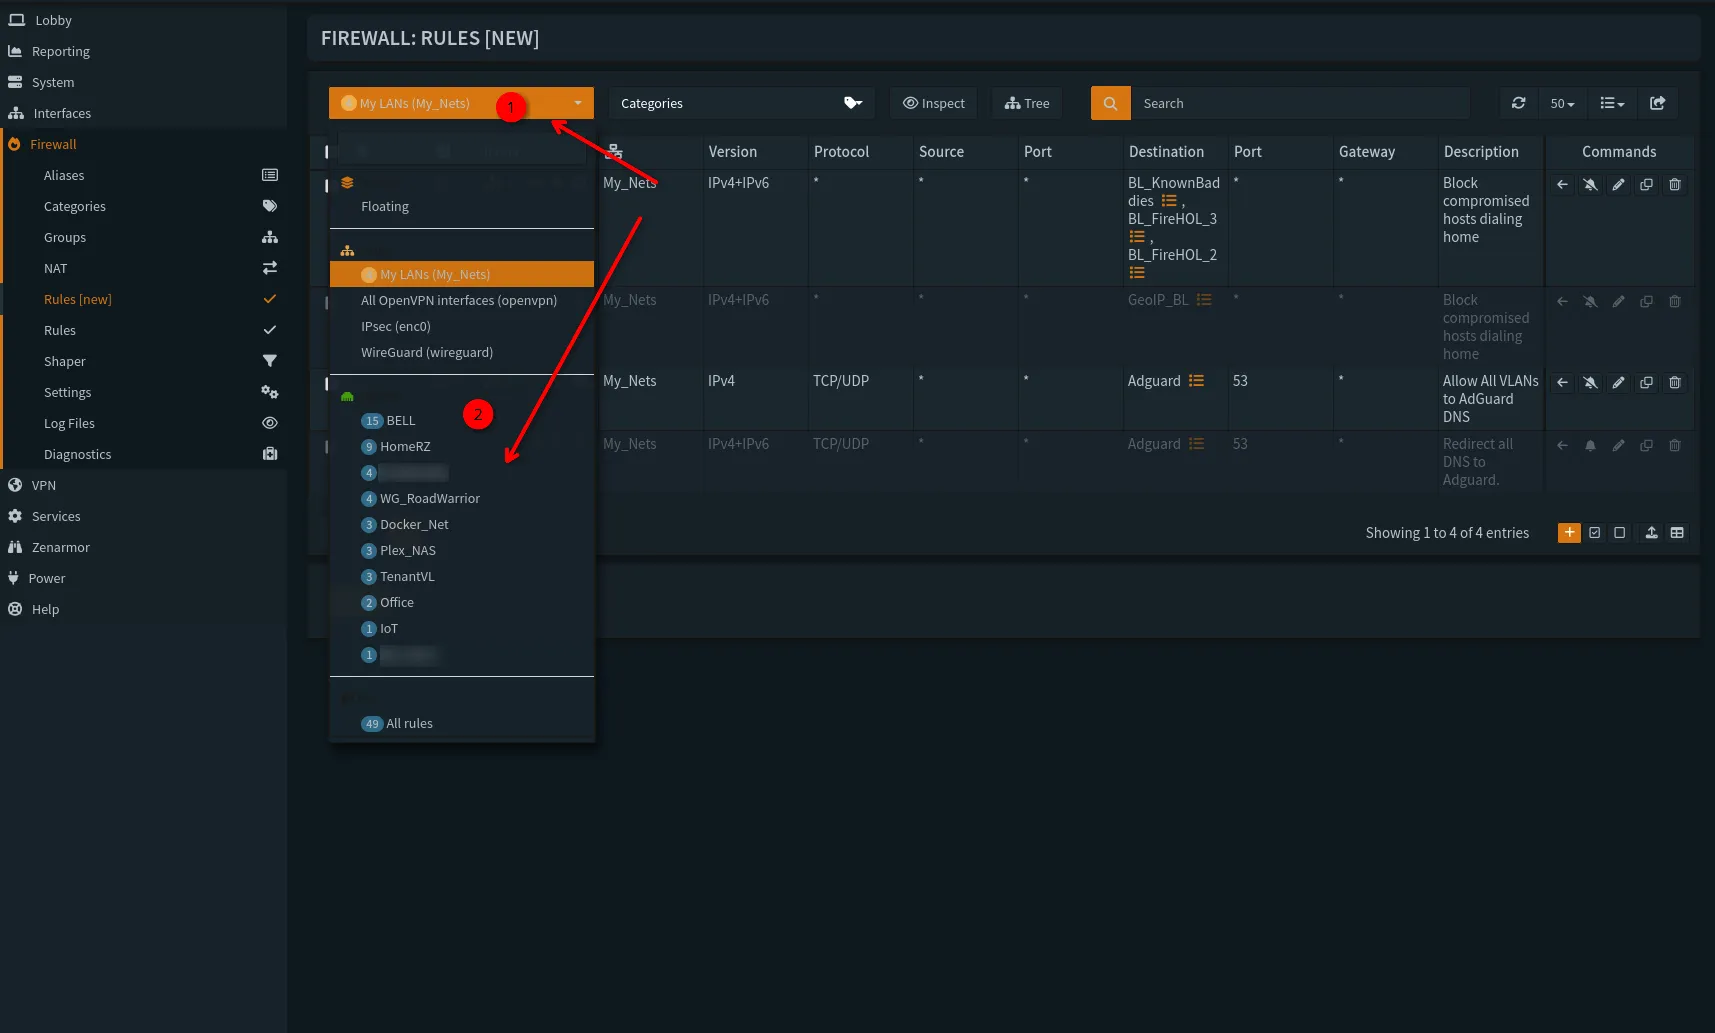
Step 5 - Check the Rules (New) out & test!
Now use the "navigation bar" at the top to check that all your interfaces & rules showed up, and you can peek at all of them.
Now, let's move onto the services!
Migrating to new OPNsense Services
The meat and bones of the upgrade!
1. The Kea Transition (and Why I Moved to Dnsmasq)
With 26.1, Kea DHCP officially replaces the legacy ISC service. While Kea is the future, it is significantly more "pedantic." If your settings aren't perfect, it will fail silently.
In my lab, I found that Kea and Dnsmasq (which I prefer for its lightweight DNS handling) were fighting for the same ports. I ended on Dnsmasq for my homelab due to simplicity & stability long term.
- The Lesson: Only one service can own UDP Port 67. If you want Dnsmasq to handle your DNS and DHCP registration, you must disable Kea entirely and reboot to clear the sockets.
- This turned out to be 'nice' because having a single service handling both DNS & DHCP is efficient, and a 'one stop shop' when I am looking for devices on my network.
2. The Subnet Mask "Invisible" Failure
One of the most frustrating issues during my upgrade was a VLAN that simply wouldn't pull a lease.
- The Culprit: A subnet mask mismatch. I had the interface set to a 172.16.0.0/21, but the DHCP service was still configured for a /24. This was a silent error where the new dnsmasq just would not start! I saw this when I went to the monitor I had plugged into my OPNsense box, and took a peek at the console output. That's where I saw the error of a
detected interface mask mismatchor:
address range not on local subnet. Kea and Dnsmasq will no longer "guess" the mask for you.- The Fix: Modern OPNsense services are strict. If your DHCP range doesn't perfectly align with your interface CIDR, the service won't acknowledge the request. Always verify your masks first!
Just go to Interfaces ➡️WAN/LAN etc, and ensure you check what you originally set the mask to such as /24, /21 etc...
3. Fixing the Android "No Internet" Error
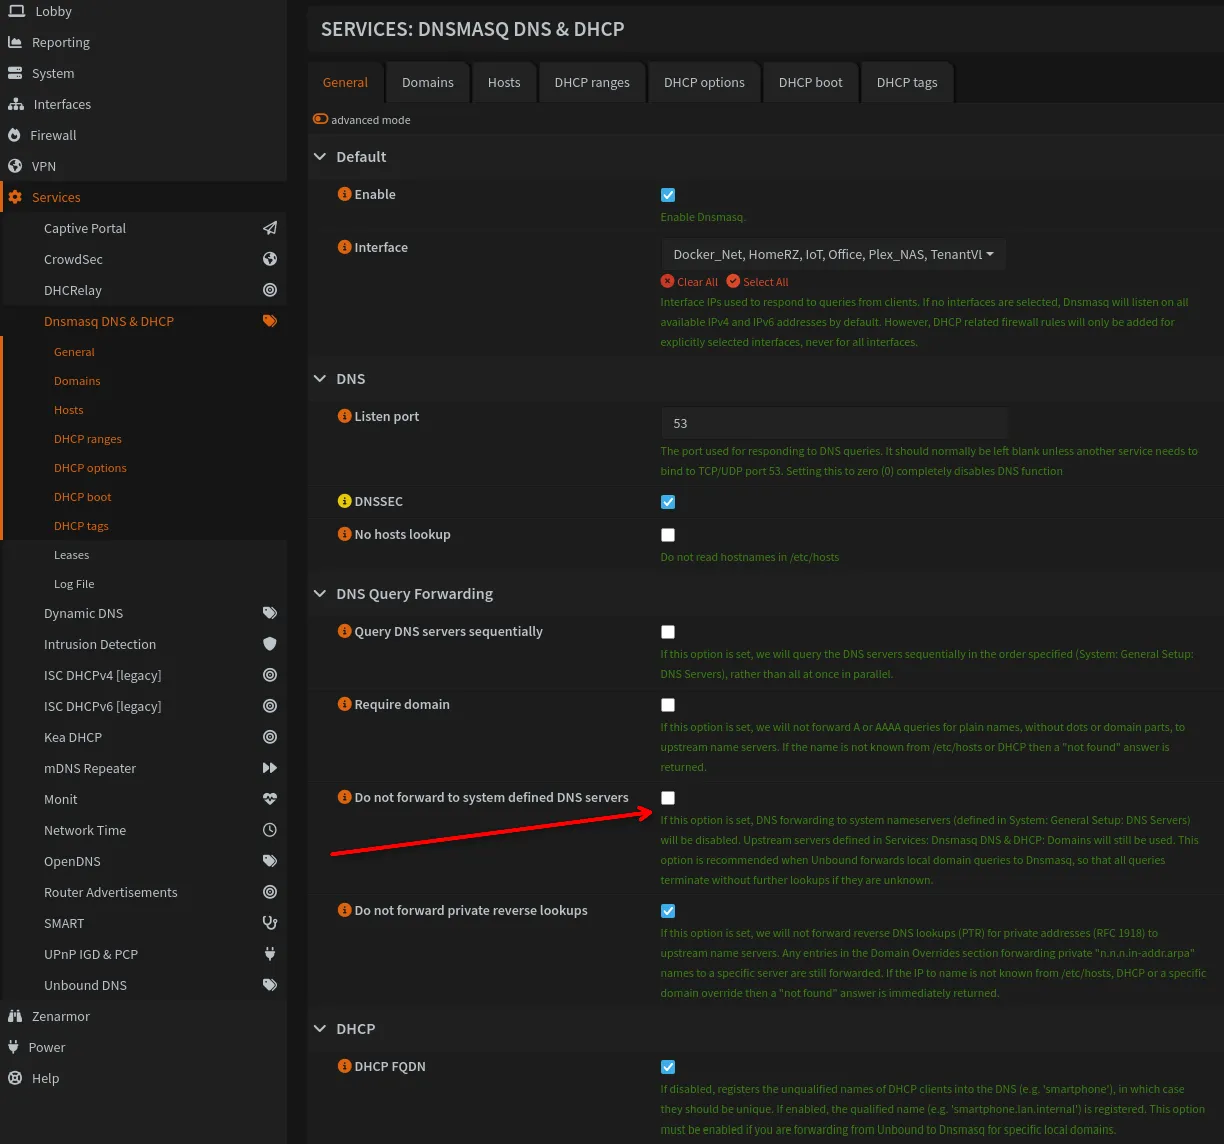
After the upgrade, my Android devices connected to Wi-Fi but reported "No Internet." This is almost always a DNS Connectivity Check failure. Android pings Google domains to verify the pipe is open.
- The Fix: Ensure your DNS resolver (Dnsmasq) is allowed to forward queries to system-defined servers. If you check "Do not forward system DNS," your local clients may lose the ability to resolve external domains, causing Android to flag the connection as dead.
- If you're using Adguard or some other DNS service, you'll have to ensure your OPNsense is NAT-reflecting to it still, and then you likely don't need to
uncheckthis button, but for the purposes of this guide and helping people just get thing working, I left this here. NAT reflection is covered in my day 2 OPNsense advanced firewall rules.
- If you're using Adguard or some other DNS service, you'll have to ensure your OPNsense is NAT-reflecting to it still, and then you likely don't need to
4. Reclaiming Internal Access: NAT Loopback vs. Split-Brain DNS
If you host services internally (like this blog or say, Seerr!) via a reverse proxy like SWAG, you’ll likely find you can't reach your own URL while on your Wi-Fi. This is a NAT Loopback (Hairpin NAT) issue.
While you can enable NAT Reflection in the firewall settings, Split-Brain DNS via Dnsmasq Host Overrides is the cleaner solution:
- Navigate to Services > Dnsmasq DNS > Hosts.
- Point your public domain (e.g.,
corelab.tech) directly to the Internal IP of your proxy server. - Traffic stays local, latency drops, and your firewall doesn't have to work twice as hard.
Here's that this looks like:


Summary Checklist for 26.1 Upgraders:
- [ ] Commit to one DHCP provider: Don't let Kea and Dnsmasq fight.
- [ ] Audit your Subnets: Ensure Interface CIDRs match your DHCP Pools.
- [ ] Check DNS Forwarding: Ensure Dnsmasq can actually talk to the internet.
- [ ] Set Host Overrides: Don't rely on NAT Reflection for internal services.


Member discussion