
OPNsense IDS/IPS in 26.4+: Suricata, Inline vs Divert Mode
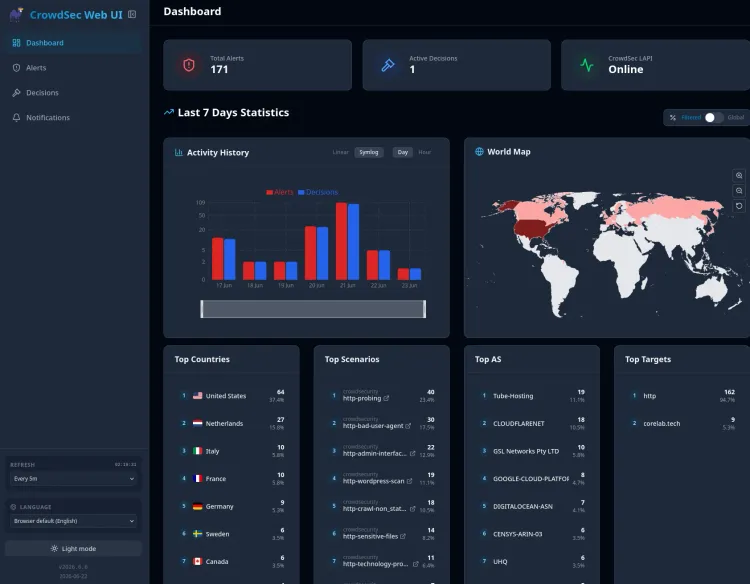
If you’re running OPNsense and self-hosting anything publicly, your network is already being scanned, probed, and tested - constantly. Like actually, no joke.
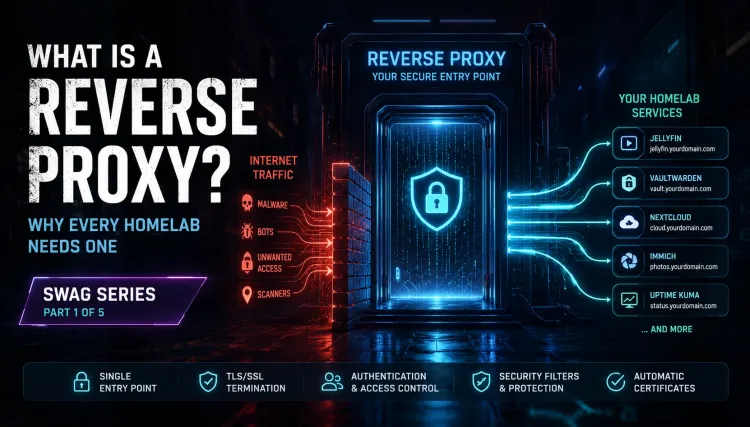
A tuned firewall (plus WAF), smart DNS routing, and a hardened reverse proxy stack (SWAG + CrowdSec + fail2ban) already stop the majority of real-world threats. So where does Suricata actually fit in?
Here’s the honest answer:
Without HTTPS decryption, Suricata won’t see everything - and in many setups, it overlaps with protections you already have.
But that doesn’t make it useless.
In OPNsense 26.4+, Suricata has evolved significantly. The introduction of Inline vs Divert mode changes how traffic is inspected, how decisions are made, and how much control you actually have at the edge.
Configured properly, it becomes a powerful visibility and enforcement layer - especially for high-speed connections where blind spots matter.
Configured poorly, it becomes noise… or worse, a bottleneck. This guide cuts through that.
You’ll learn:
- When IDS/IPS actually adds value (and when it doesn’t)
- The real difference between Inline and Divert mode
- How to deploy Suricata without breaking your network
- How to tune it for performance on 1Gbps+ links
Let’s build it properly.
This post is part of a OPNsense series:
The OPNsense Architect
1. Disable Hardware Offloading (Critical First Step)
Suricata needs to inspect raw packets.
If your NIC is doing hardware offloading, Suricata won’t see the full picture.
Action
Go to:
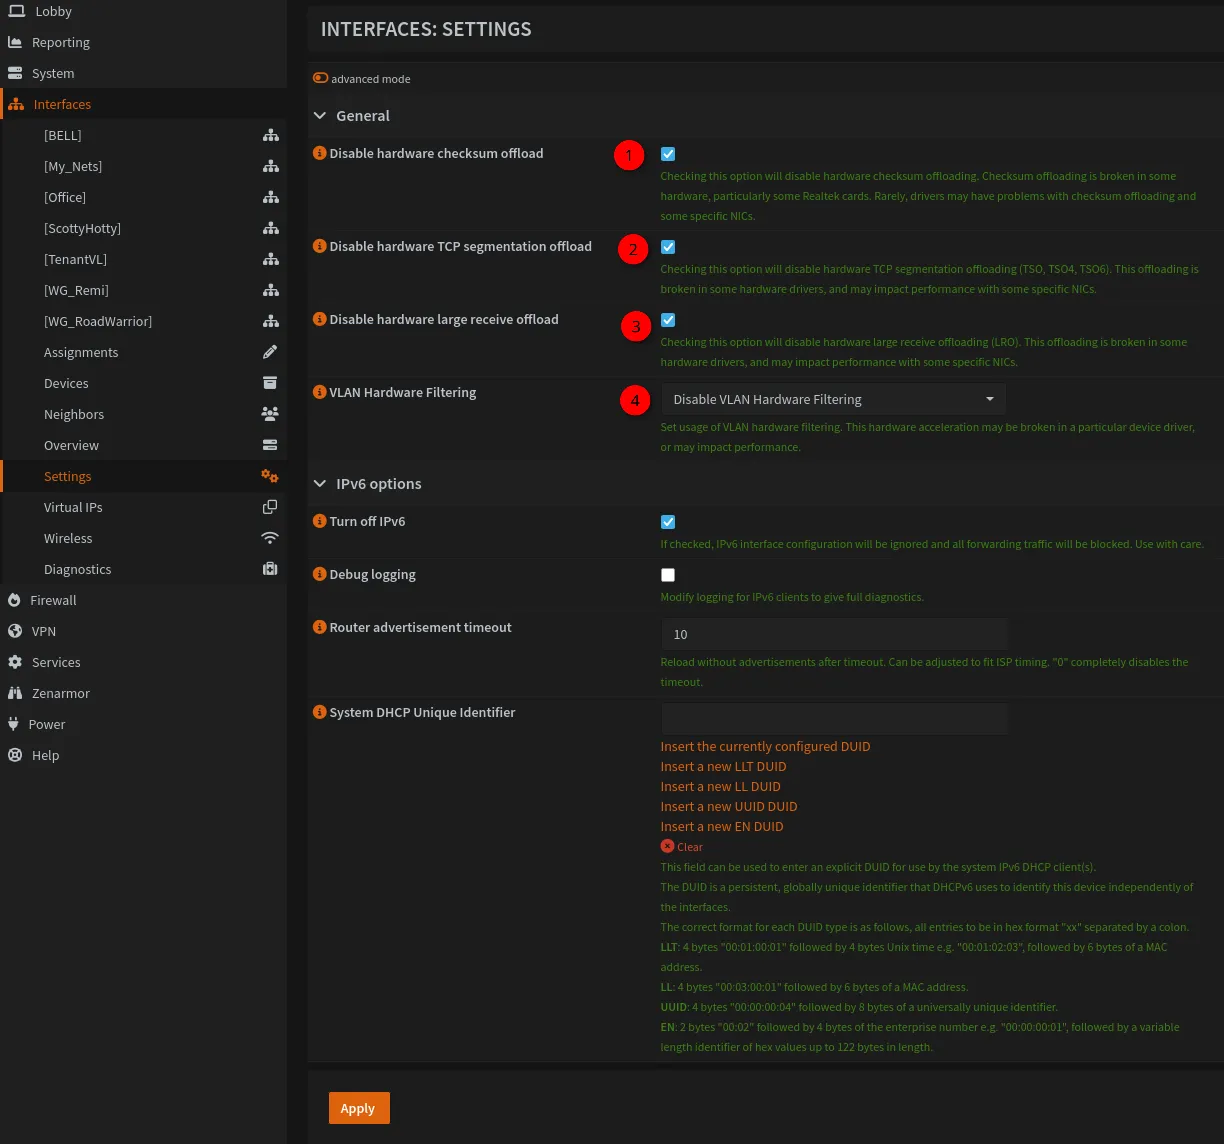
Interfaces → Settings
Enable (check):
- Hardware CRC
- Hardware TSO
- Hardware LRO
Important Note
In OPNsense, checking these boxes disables offloading.
This forces packet processing into the CPU, where Suricata can actually inspect traffic. It should go without saying, there is a performance impact when enabling IDS/IPS!
2. Inline vs Divert Mode in OPNsense (Key Differences)
This is the biggest conceptual change in newer OPNsense versions.
Suricata can now process traffic in different ways depending on your setup.
Inline IPS Mode (Netmap) - Maximum Control
This is the traditional “true IPS” mode.
- Traffic passes through Suricata before hitting the firewall stack
- Packets can be dropped in real time
- Uses Netmap for high-performance packet processing
Pros
- Fast, deterministic blocking
- Minimal latency when tuned properly
- Ideal for high-speed WAN (like 1.5Gbps)
Cons
- Requires compatible NICs/drivers
- Less forgiving if misconfigured
- Can break things if rules are too aggressive
Divert Mode - Flexible and Safer
Divert mode is newer and more forgiving.
- Traffic is copied (diverted) to Suricata for inspection
- The firewall can still make final decisions
- Works better in complex routing/NAT scenarios
Pros
- More compatible across hardware
- Safer for complex environments
- Easier to troubleshoot
Cons
- Slightly higher overhead
- Not as “pure inline” as Netmap
- Detection-first mindset is more important
Which Should You Use?
Be honest about your setup:
- High-speed WAN (1Gbps+) + modern Intel NICs → Use Inline (Netmap)
- Complex VLANs, NAT, or compatibility concerns → Use Divert Mode
- Not sure? → Start with Divert, then graduate to Inline
👉 My recommendation for most Homelab / Self-Hosted builds:
Start in Detect mode with Divert, then move to Inline IPS once stable.
3. How to Configure Suricata in OPNsense (Step-by-Step)
Navigate to:
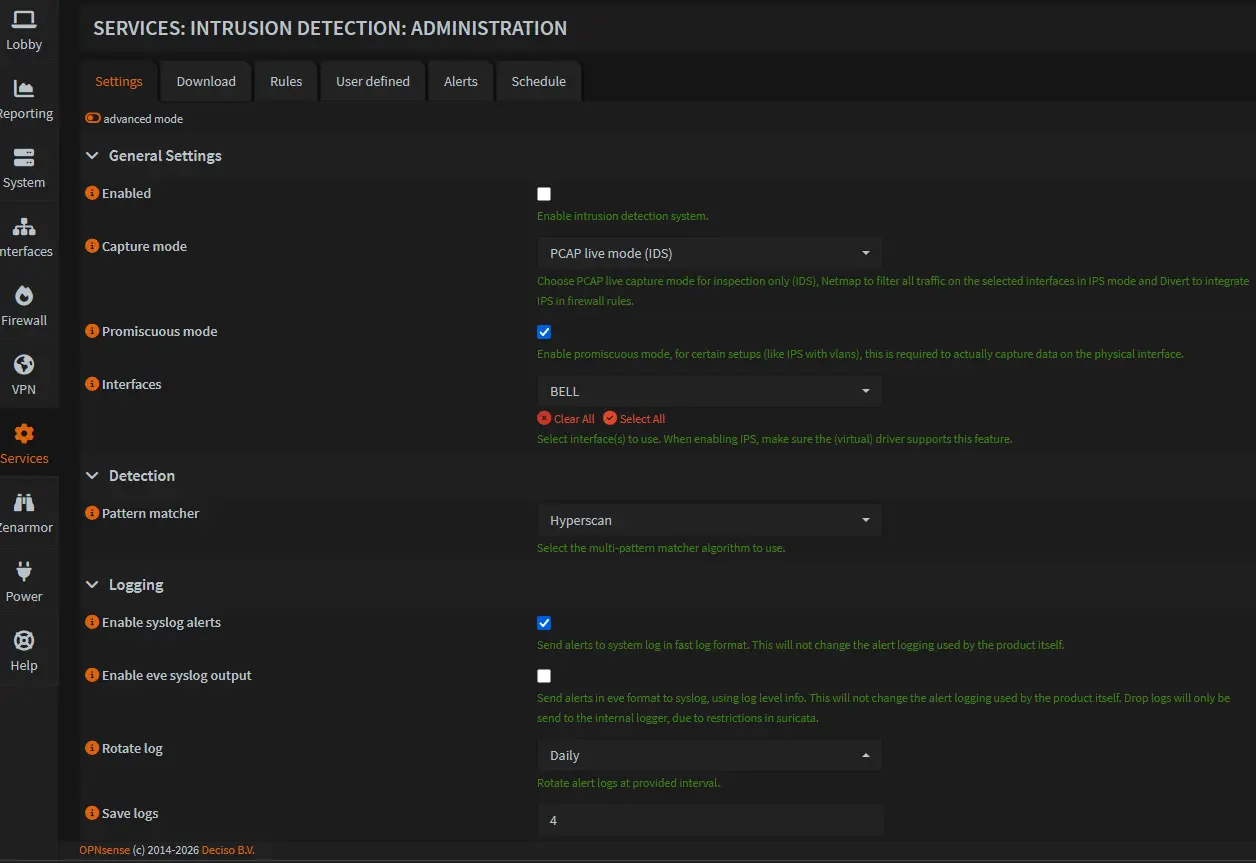
Services → Intrusion Detection → Administration
General Settings
- Enabled: ✔
- IPS Mode: ❌ (for first 24 - 48 hours - run detection first)
- Chose PCAP live mode (IDS) for inspection only for now.
- Promiscuous Mode: ✔
- Interfaces: WAN (start here, expand later)
- If using Zenarmor, you have to pick separate interfaces. My Zen is watching LAN, Suricata here is watching WAN.
- Pattern Matcher: Hyperscan
👉 Hyperscan is critical for performance on modern CPUs. Don’t skip this.
Traffic Flow (Conceptual)
Internet → Suricata → Firewall → Reverse Proxy → Internal Services
In Inline mode, Suricata sits in front.
In Divert mode, it observes and influences decisions.
4. Best Suricata Rulesets for Self-Hosting
A security engine is only as good as its rules.
Go to:
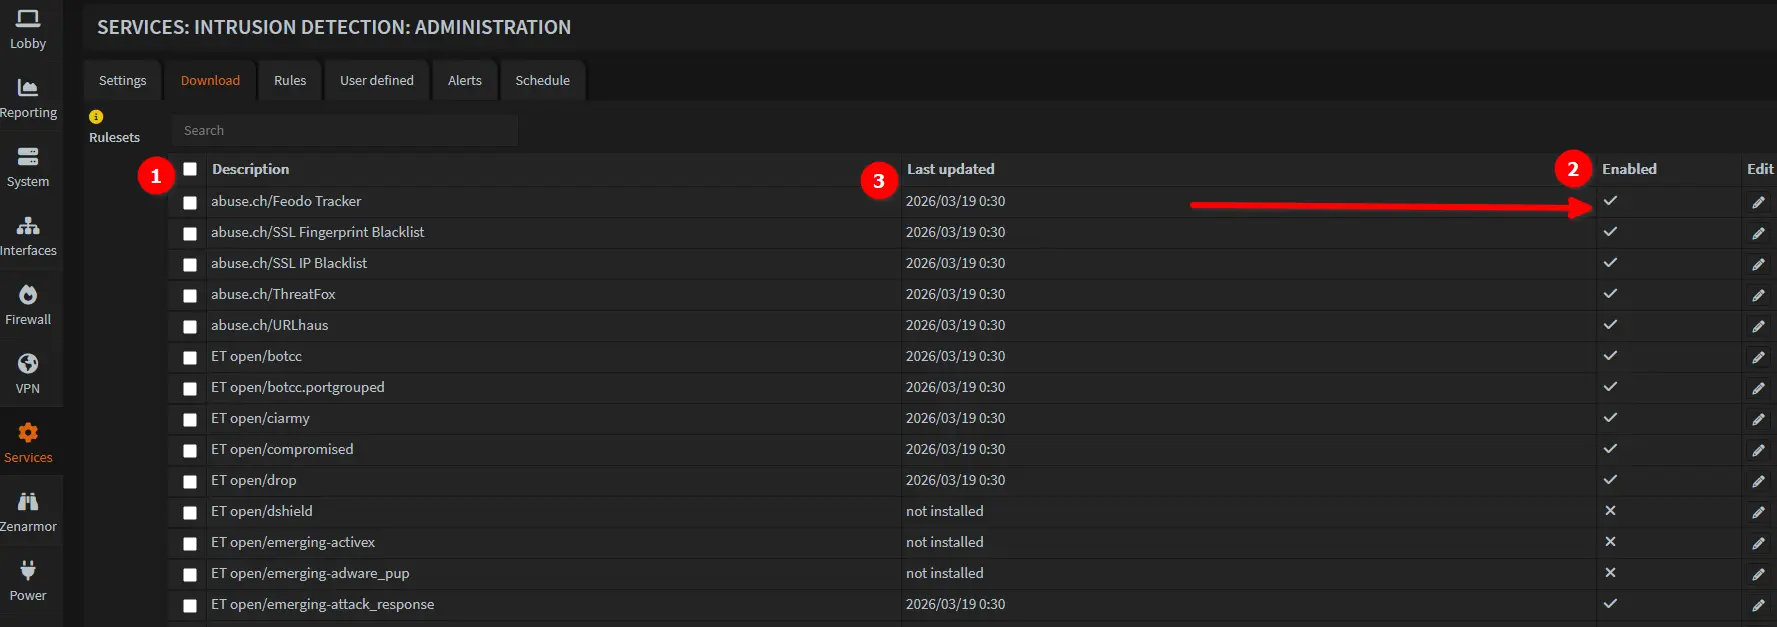
Services → Intrusion Detection → Download
Enable (By selecting):
- ET Open feeds (Emerging Threats)
- Abuse.ch feeds
Click:
Download & Update
Self-Hoster Focus
Search and enable:
emerging-web_serveremerging-exploitemerging-sql
Continue to enable what you think is relevant. It's worth doing a little research and reading up on any you're curious about.
I have 11 rulesets enabled presently.
You’re not protecting “Plex/Jellyfin” directly - you’re protecting:
👉 Your reverse proxy and exposed services
5. Automating Threat Blocking with Policies
Manually managing thousands of rules is not realistic.
Services → Intrusion Detection → User Defined
Create a Policy
- Rulesets: All ET Open
- Action: Drop
- Priority: High
What This Does
Any high-confidence threat rule:
👉 Automatically gets enforced as Drop
No babysitting required.
6. The “Detect First, Then Drop” Strategy
This is where most people mess up.
If you enable IPS immediately:
👉 You will break things.
Proper Approach
Phase 1 (24–48 hours):
- IDS only (no blocking)
- Monitor alerts
Phase 2:
- Enable IPS (Inline or Divert)
- Apply policies gradually
7. False Positives and the “Plex Problem”
High-throughput apps like Plex/Jellyfin can trigger alerts like:
- Excessive retransmissions
- Suspicious traffic patterns
What to Do
Go to:
Services → Intrusion Detection → Alerts
If you see:
- Your own IP flagged
- Streaming-related alerts
👉 Don’t panic.
Suppress the Noise
Click the + (Suppress) icon on the alert.
This tells Suricata:
“This is expected behavior. Ignore it.”
8. Suricata Performance Tuning for 1Gbps+ Networks
Running IDS/IPS at multi-gig speeds is not “free”.
To Keep Performance High:
- Use Hyperscan
- Limit inspection to WAN (initially)
- Avoid enabling every rule category blindly
- Monitor CPU usage under load
Inline vs Divert Performance Note
- Inline (Netmap) → lower latency, more efficient at scale
- Divert Mode → slightly more overhead, but more flexible
If you notice drops or instability:
- Switch modes before blaming Suricata entirely
Speaking of performance, check out my guide to fix bufferbloat and optimize your WAN performance.
 Core Lab Joe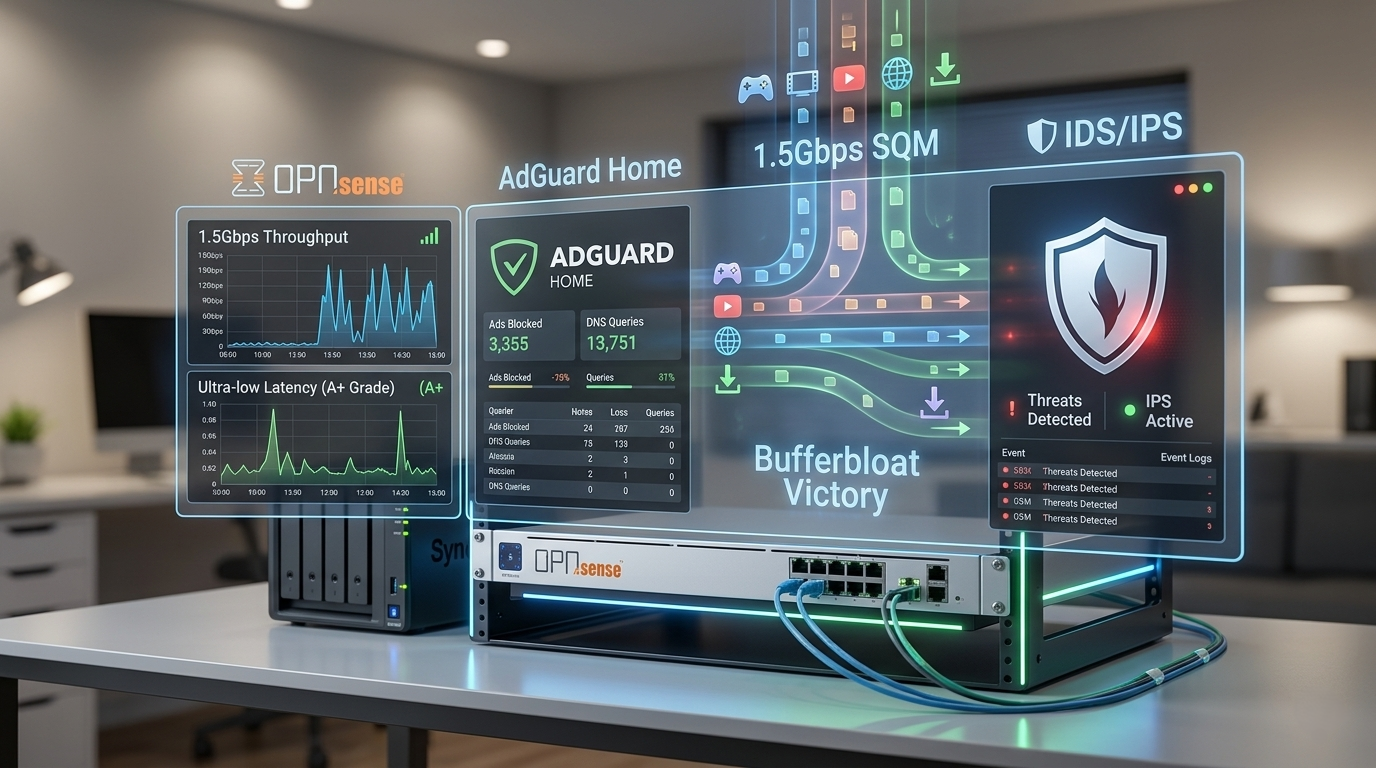
9. Summary Checklist
- Hardware offloading disabled
- Hyperscan enabled
- ET Open rules downloaded
- High-priority rules set to Drop via Policy
- Running IDS (Detect) before enabling IPS
- Monitoring alerts daily (first week)
- Choosing the correct mode (Inline vs Divert)
Conclusion
With:
- Smart DNS routing
- Bufferbloat under control
- And Suricata actively inspecting traffic
You’ve moved beyond a basic firewall. You now have:
- A layered, intelligent edge!
Your services aren’t just exposed - they’re defended with intent. And most importantly -
You control what gets in, what gets dropped, and why.


Member discussion