
Home Assistant Container (Docker) vs. OS: Why I Ditched the VM
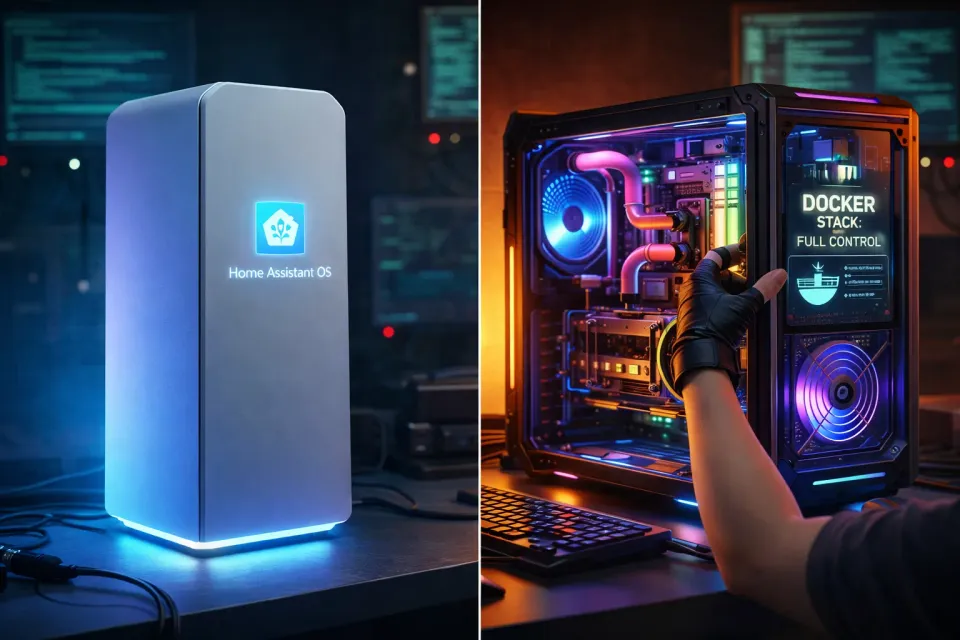
If you are starting your Home Assistant journey, you have likely hit the fork in the road...
To VM or Docker?
I depreciated all my VM's back in 2022 or so and have been slinging Docker containers ever since, and never looked back. When it came to Home Assitant (HA), I thought at first the container version wasn't as capable.
- Path A: Flash Home Assistant OS (HAOS) to a Raspberry Pi or run it as a VM. (The "easy" way).
- Path B: Run Home Assistant Container in Docker. (The "hard" way).
The internet will tell you that the Docker version is "incomplete." They will say it’s missing the Supervisor and the Add-on Store. They will warn you that you can't use "one-click installs."
They are right about the features, but they are dead wrong about the capability.
In this guide, I’m going to show you why the "Limitations" of the Docker version are actually its greatest strength, and how you can run a more powerful, flexible, and resource-efficient setup without the bloated OS. Follow this guide, and take the training wheels off. It's really not that scary, I promise!
Diagram of the architecture we're aiming for, expand on a full screen to see or zoom in a lot!
flowchart TD %% ========================= %% INTERNET / EDGE %% ========================= User["🧑💻 User Devices"] Internet["🌍 Internet"] CF["☁️ Cloudflare
DNS • WAF • Cache"] %% ========================= %% FIREWALL %% ========================= OPN["🔥 OPNsense Firewall
NAT • Rules • IDS • VLANs"] %% ========================= %% VLAN 2 - HOME %% ========================= subgraph VLAN2[VLAN 2 - Home Zone] SWAG["🔐 SWAG / NGINX Proxy"] HA["🏠 Home Assistant Docker"] N8N["🔄 n8n Automation"] end %% ========================= %% VLAN 42 - MEDIA %% ========================= subgraph VLAN42[VLAN 42 - Media Zone] Jellyfin["🎬 Jellyfin"] Frigate["📷 Frigate NVR"] end %% ========================= %% VLAN 23 - INFRA %% ========================= subgraph VLAN23[VLAN 23 - Infrastructure Zone] AdGuard["🚫 AdGuard Home"] Influx["📊 InfluxDB"] Grafana["📈 Grafana"] MQTT["📡 Mosquitto MQTT"] end %% ========================= %% VLAN 234 - IOT %% ========================= subgraph VLAN234[VLAN 234 - IoT Zone] Z2M["🐝 Zigbee2MQTT"] ESP["📶 ESPHome"] end %% ========================= %% DOCKER HOST %% ========================= DockerHost["🐳 OpenMediaVault
Docker Host"] %% ========================= %% HARDWARE %% ========================= subgraph Hardware[Physical Devices] ZigbeeUSB["🔌 Zigbee USB Stick"] ZigbeeDevs["💡 Zigbee Devices"] ESPDevs["📟 ESP Devices"] Cameras["📷 IP Cameras"] end %% ========================= %% NORTH-SOUTH FLOW %% ========================= User --> Internet --> CF --> OPN --> SWAG SWAG --> HA SWAG --> Jellyfin SWAG --> Frigate SWAG --> Grafana %% ========================= %% EAST-WEST FLOW %% ========================= HA --> MQTT Z2M --> MQTT ESP --> MQTT N8N --> HA N8N --> MQTT %% ========================= %% HARDWARE LINKS %% ========================= Z2M --> ZigbeeUSB --> ZigbeeDevs ESP --> ESPDevs Frigate --> Cameras %% ========================= %% METRICS %% ========================= HA --> Influx --> Grafana %% ========================= %% HOST LINKS %% ========================= OPN --> DockerHost DockerHost --> VLAN2 DockerHost --> VLAN42 DockerHost --> VLAN23 DockerHost --> VLAN234 DockerHost --> Hardware %% ========================= %% SECURITY BOUNDARIES %% ========================= OPN -.->|🔥 North-South Control| VLAN2 OPN -.->|🔥 North-South Control| VLAN42 OPN -.->|🔥 North-South Control| VLAN23 OPN -.->|🔥 North-South Control| VLAN234 VLAN234 -.->|⛔ Blocked East-West| VLAN2 VLAN234 -.->|⛔ Blocked East-West| VLAN23 VLAN234 -.->|⛔ Blocked East-West| VLAN42 %% ========================= %% STYLING %% ========================= classDef user fill:#e3f2fd,stroke:#1e88e5,stroke-width:2px,color:#0d47a1; classDef edge fill:#ede7f6,stroke:#5e35b1,stroke-width:2px,color:#311b92; classDef firewall fill:#ffebee,stroke:#c62828,stroke-width:4px,color:#b71c1c; classDef home fill:#e8f5e9,stroke:#2e7d32,stroke-width:2px,color:#1b5e20; classDef media fill:#ede7f6,stroke:#512da8,stroke-width:2px,color:#311b92; classDef infra fill:#fce4ec,stroke:#c2185b,stroke-width:2px,color:#880e4f; classDef iot fill:#f1f8e9,stroke:#558b2f,stroke-width:2px,color:#33691e; classDef hardware fill:#eceff1,stroke:#455a64,stroke-width:2px,color:#263238; classDef host fill:#fff3e0,stroke:#ef6c00,stroke-width:2px,color:#e65100; class User user; class Internet,CF edge; class OPN firewall; class SWAG,HA,N8N home; class Jellyfin,Frigate media; class AdGuard,Influx,Grafana,MQTT infra; class Z2M,ESP,ZigbeeDevs,ESPDevs iot; class ZigbeeUSB,Cameras hardware; class DockerHost host;
The Big Confusion: Add-ons vs. HACS vs. Containers
Before we fight, we need to fix the vocabulary. The biggest reason people fear the Docker version is the "Missing Add-ons" myth.
1. What is an "Add-on"? (HAOS Only)
In Home Assistant OS, an "Add-on" (like Zigbee2MQTT, Node-Red, or Mosquitto) is just a Docker container that Home Assistant manages for you. It becomes like an aircraft carrier and deploys, manages and holds all those containers for you, like a carrier does with fighter jets.
- The Magic: You click "Install," and HA downloads the container and runs it.
- The Trap: You lose control. You can’t easily update that container independently, change its network flags, or share it with other non-HA services.
You're stuck in with the "training wheels" on...
2. What is HACS? (Works on BOTH!)
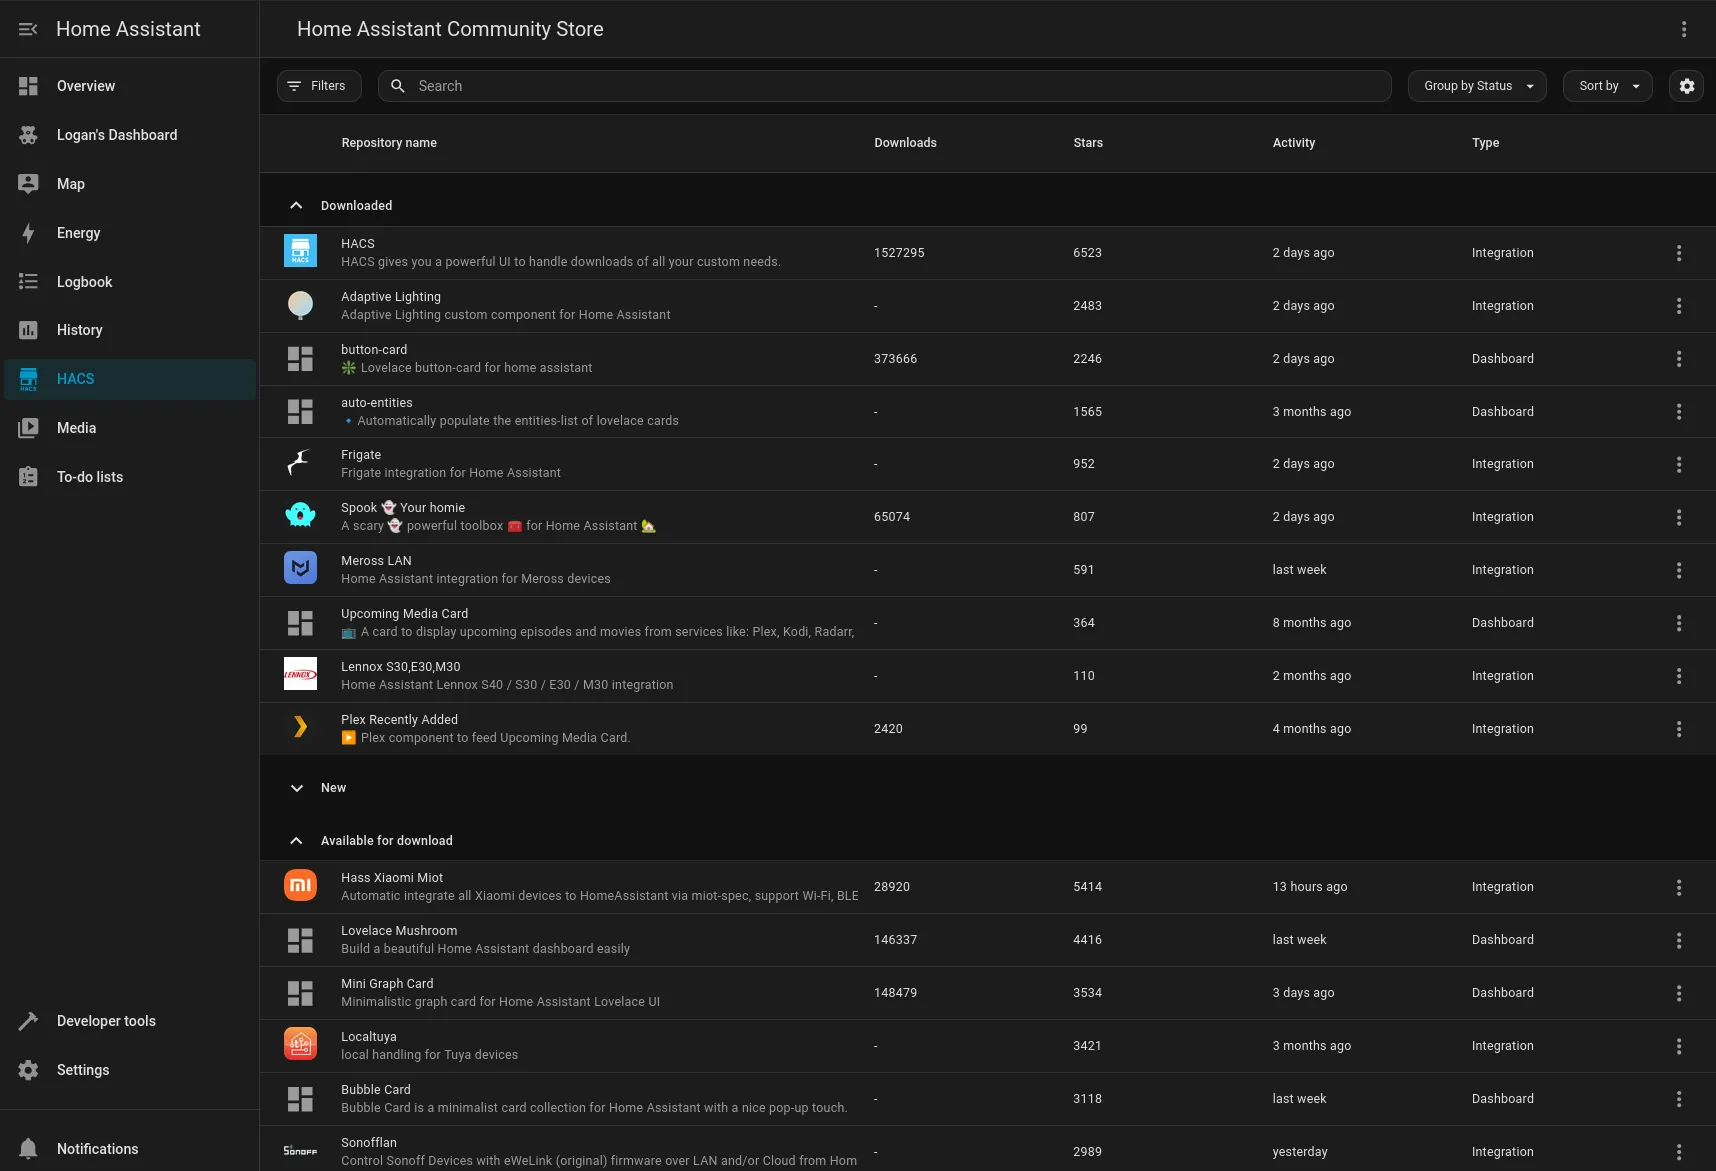
HACS (Home Assistant Community Store) is NOT a replacement for Add-ons. It is a store for Integrations (custom component code) and Frontend (themes/cards). Sounds complicated? It's really not once you have it installed...
- Good News: HACS works perfectly on the Docker version. You just install it via a terminal command inside the container.
- The "Hard" Part: In HAOS, you might click a button. In Docker, you simply run one command inside the container terminal (
wget -O - https://get.hacs.xyz | bash). That's it. - Reality Check: Installing HACS does not give you the "Add-on Store" back, but it gives you all the custom community power you need.
3. The "Docker Way" (The Real Replacement)
If you run HA in Docker, you don't need an "Add-on Store" because you already have the entire Docker Hub❗
- Want Zigbee2MQTT? You don't need a button inside HA; you just add 5 lines of text to your
docker-compose.ymlfile. - Want Plex? Same thing.
- The Result: You aren't limited to the "approved" Add-ons. You can run anything. Literally any container that's out there!
You have now ripped the "training wheels off"!
The Showdown: HAOS (VM) vs. Docker Container
| Feature | Home Assistant OS (VM) | Home Assistant Container (Docker) |
| Ease of Setup | ⭐⭐⭐⭐⭐ (Flash & Go) | ⭐⭐⭐ (Requires YAML) |
| Maintenance | One-Click (Updates OS + Core) | Manual (Watchtower or Pull) |
| Resources | Heavy (Runs a full Kernel) | Light (Shared Kernel) |
| Backups | Full Snapshots (Easy) | File-Level Backups (Flexible) |
| Control | Low (Black Box) | High (God Mode) |
| HACS Support | ✅ Yes | ✅ Yes |
| Add-ons | ✅ Yes (Managed) | ❌ No (Use Compose) |
The Showdown: HAOS (VM) vs. Docker Container
Home Assistant OS is a full Operating System. To run it on a generic server (like an N100 Mini PC), you usually have to virtualize it (VM).
- VMs are greedy: They reserve a chunk of RAM (e.g., 4GB) and CPU cycles for their own kernel, whether they are using it or not.
- Docker is efficient: HA Container shares your host's kernel. It starts in seconds and idles at a fraction of the RAM. On a low-power N100 chip, every cycle counts. This efficiency keeps your system snappy even when running Frigate NVR alongside it.
2. The "Dependency Hell" Escape
When you use HAOS Add-ons, your Zigbee2MQTT instance is often tied to the Home Assistant Supervisor. If HA crashes or restarts, your Zigbee network might go down with it. In Docker, these are separate micro-services.
- I can restart Home Assistant to apply a config change, and my Mosquitto broker and Z-Wave network stay online.
- I can update Node-Red without touching Home Assistant.
- No Single Point of Failure.
3. "The God Mode" (Access)
With HAOS, you are locked out of the underlying Linux system (mostly). You have to rely on "SSH Add-ons" just to see your files. With Docker, your config files are just folders on your hard drive. You can edit configuration.yaml with VS Code, back it up with a simple script, or sync it to GitHub easily.
⚠️ The Two "Gotchas" (Read Before You Build)
I promised to take the training wheels off, so you need to know how to steer. There are two technical hurdles that trip up beginners switching to Docker:
1. USB Passthrough HAOS auto-detects your Zigbee dongle. In Docker, the container cannot see your USB ports by default.
- The Fix: You must map the device in your compose file (e.g.,
devices: /dev/serial/by-id/usb-ITead...:/dev/ttyACM0). It takes 30 seconds to set up, but you must do it manually.
2. Host Networking Docker isolates containers by default. If you run HA in a standard bridge network, it won't be able to "see" your Apple TV, Google Cast, or Sonos devices because mDNS (discovery packets) don't cross the bridge.
- The Fix: We simply use
network_mode: hostin our compose file. This lets Home Assistant use the server's network card directly. - Alternative (Advanced): We simply use
network_mode: macvlanin our compose file. This allows Home Assistant to get it's own IP address and mac address, fully simulating it's network connectivity on layer 2!
To dig into the various docker compose network modes, jump over here!
 Core Lab Joe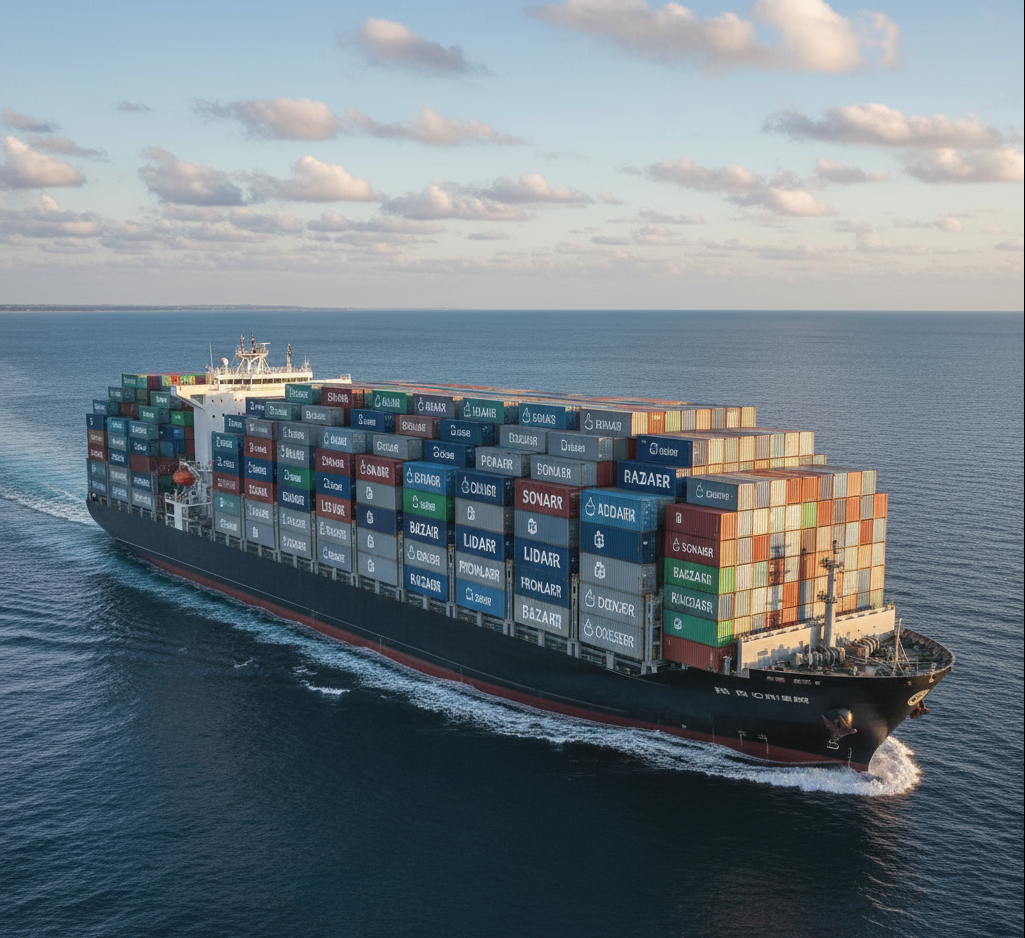
How to Replicate the "Full OS" Experience in Docker
So, you want the features of OS, but the speed of Docker? Here is the stack:
- The Core:
homeassistant/home-assistant:stable - The "Add-ons" (Via Compose):
- Zigbee: Add the
zigbee2mqtt/zigbee2mqttcontainer. - Z-Wave: Add the
zwave-js-uicontainer. - Editor: Add
coder/code-server(VS Code in browser).
- Zigbee: Add the
- The Updates: Use Dockge to notify you of updates, mimicking the "Update Available" badges.
- You can also use Dockge to actually manage your
compose.ymlordocker-compose.ymlentirely, removing a bit of the CLI requirement.
- You can also use Dockge to actually manage your
- The Backups: Use a simple script to zip your
/configfolder, or use the Duplicati container. Or whatever other option or container you want since you can! I suggest my simple backup script👇
 Core Lab Joe
The Verdict
If you have a dedicated device or a Mini-PC and you never want to touch a command line, install Home Assistant OS. It is an appliance, and it does work.
But if you are building a Home Lab—if you want to run Plex, the *Arr Stack, and Pi-Hole alongside your automation—do not trap yourself in a VM.
Run Home Assistant in Docker. It is not "lesser." It is "unlocked."
Ready to build it? ➡️ [Read my full guide: Home Automation with Docker & Home Assistant (2025)]
 Core Lab Joe


Member discussion