🛠️ The Homelab Physical: A Guide to Annual & Bi-Annual Maintenance
In the enterprise world, "Uptime" is king. In the homelab world, "Neglect" is often the quiet killer. We obsess over Btrfs/ZFS snapshots, and Docker configs, but we treat the physical box like a kitchen appliance. In reality, a homelab is a living, breathing (and vibrating!) entity that requires a physical 'handshake' once in a while to ensure the bits keep flowing.
If you’ve ever seen a zpool status error that made your heart skip a beat, or had an error, your PC rebooted and you see 'no boot drive detected' this guide is for you.
Here is the maintenance routine you should be doing to keep your "lab" (and your data) healthy.
This post is part of my Custom NAS/Server Series.
Custom NAS & Servers
Why "Neglect" is the Quiet Killer of Home Servers
It's hard to think intentionally about doing preventative maintenance when you're having a blast running new containers/apps/toys and services. But it must be done. It's also hard to think about that if you aren't really sure what preventative maintenance you should be doing.
Taking that little extra bit of time to show your system or entire homelab some love will be the difference between a full complete outage (That you did not plan for!) or basically 99% uptime with only your intentional service interruptions (updates).
Is 99% uptime a year realistic for my homelab?!
Absolutely, especially if you perform preventative maintenance. 99% uptime allows for a significant amount of downtime throughout the year. Specifically, it translates to:
Allowed Downtime
| Time Period | Allowed Downtime |
|---|---|
| Per Year | Approximately 3 days and 15 hours |
| Per Month | About 7.3 hours |
| Per Week | Roughly 1.7 hours |
It's actually quite a bit! Google, Amazon, Microsoft etc, all aim for 99.99% uptime per year, which translates to only 10 minutes of downtime per year!
🗓️ Bi-Annual (Every 6 Months): The Deep Clean
Hardware doesn't just sit there; it vibrates, it heats up, and it breathes more or less if you think about the push & pull of CFM from fans, exhaust and cooling.
1. Combating Dust & Heat Insulation
Unless your homelab is hosted in a clean room, a datacentre or you have carefully built your server with fantastic over-pressure airflow, you're going to have dust buildup in there. Even with filters, fine dust enters your chassis. A little bit every day in fact.
- The Problem: Dust acts as an insulator, trapping heat on components like your LSI HBA heatsinks.
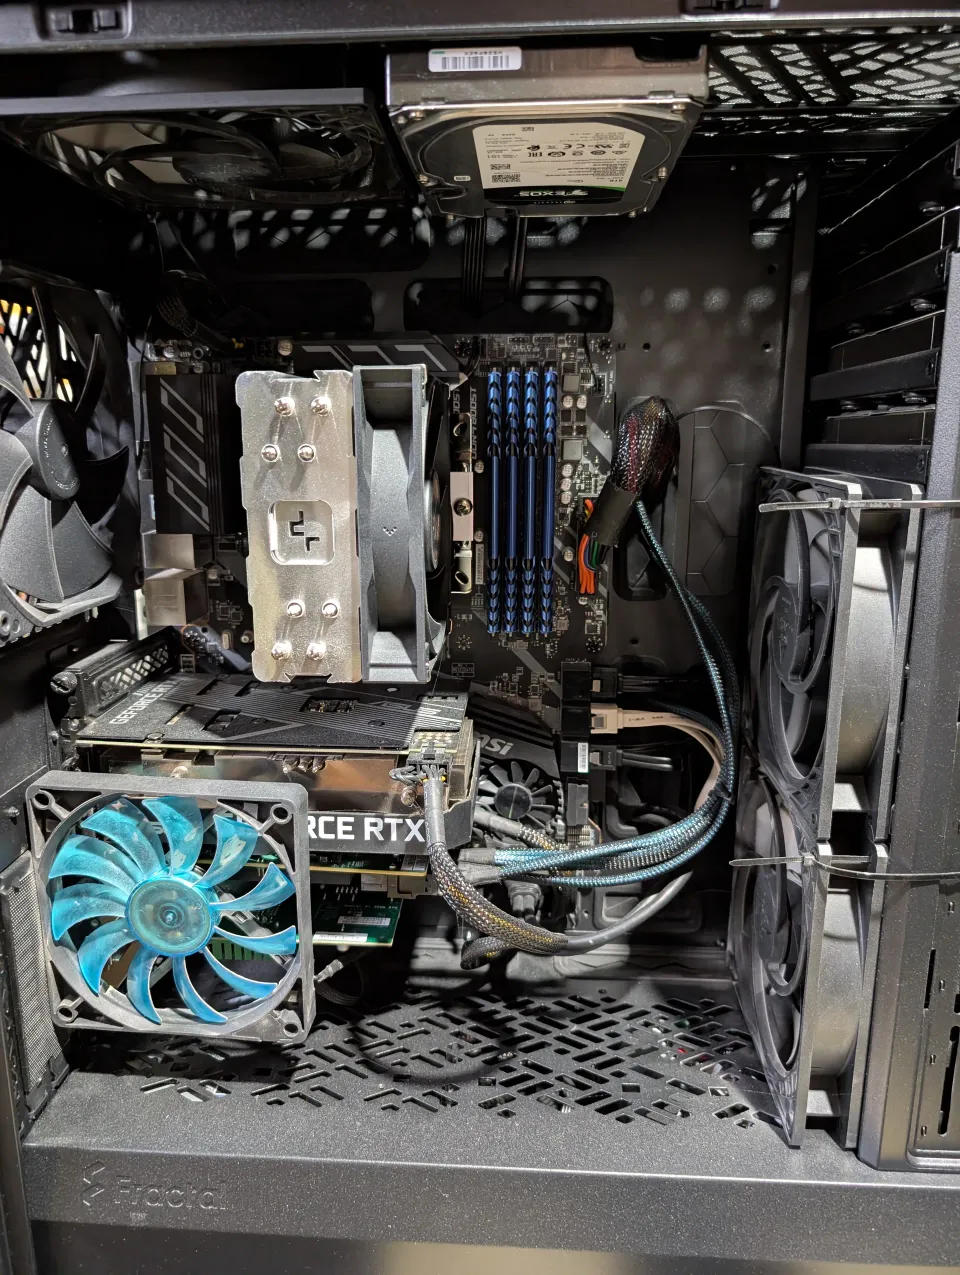
- The Fix: Shutdown, take the server outside (preferably, or just a pre-cleaned table/space), and use compressed air or better yet, a purpose built battery powered compressed air fan to clean and blow it out. Pay special attention to the "fins" on your PCIe cards and the small 40mm fans, if you have them or installed them.
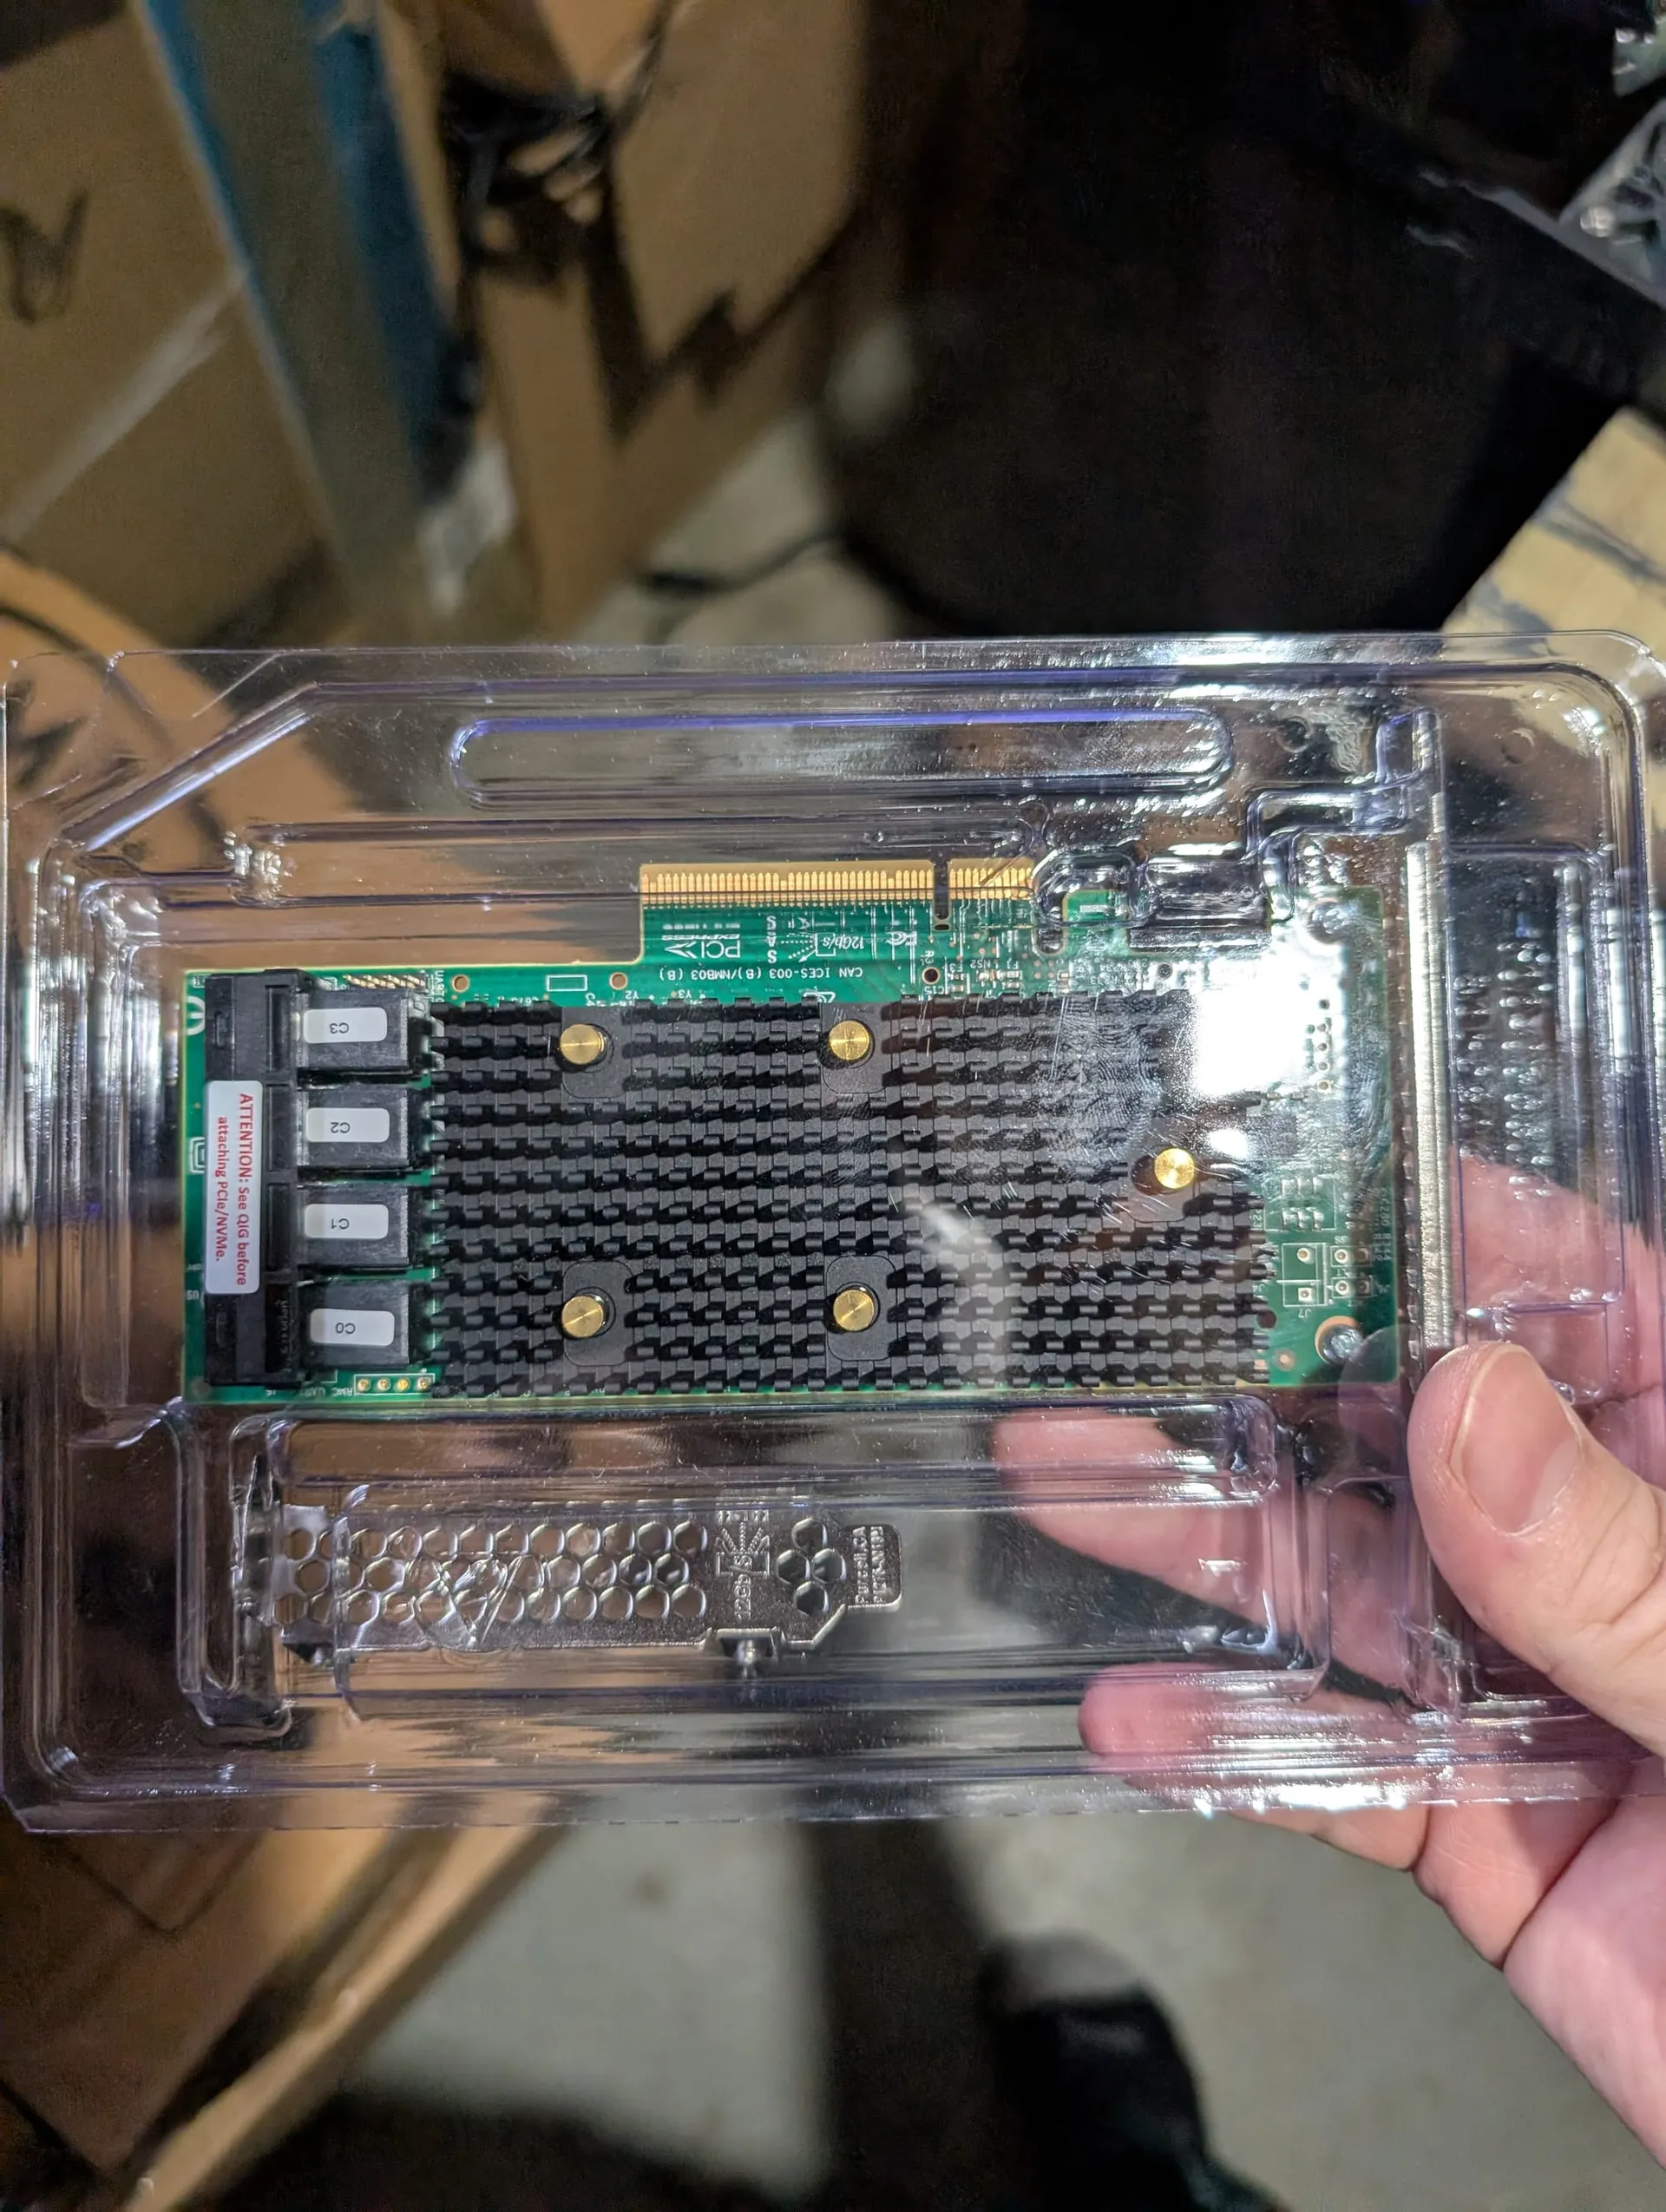
HBA Upgrade Opportunity
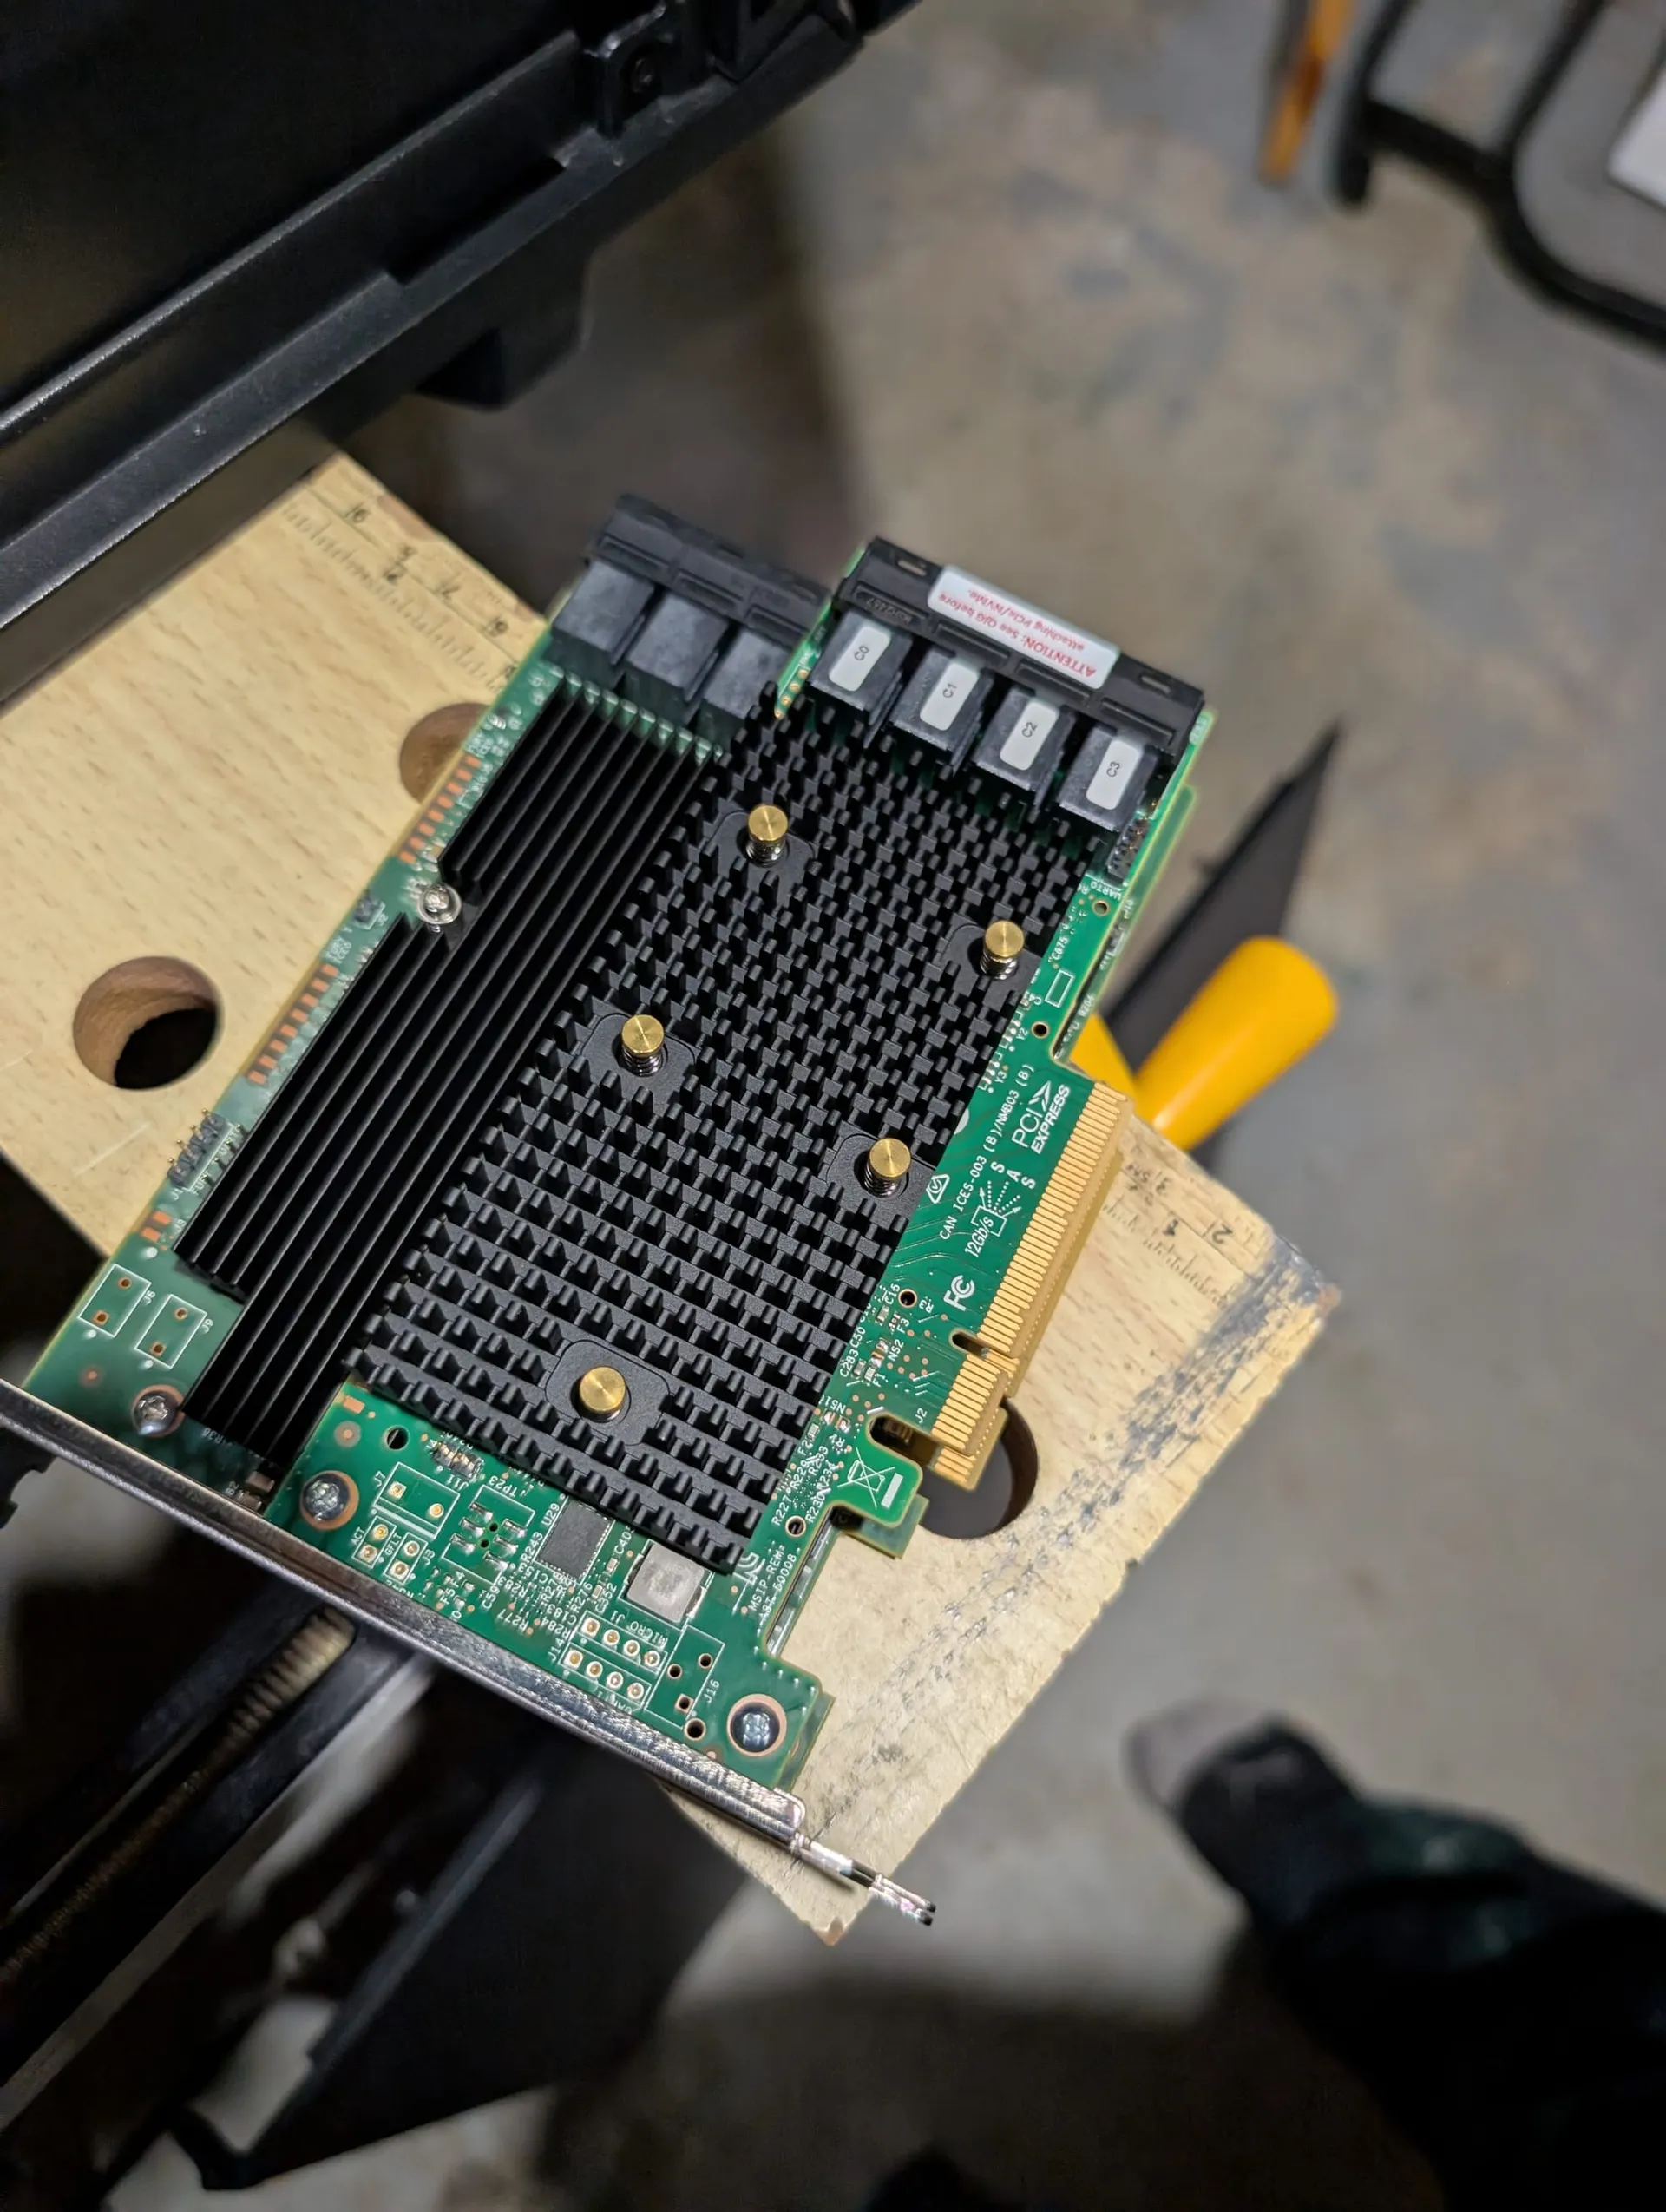
While having the server offline and benched, the timing lined up for a 'mid-life' upgrade as well. I swapped out my LSI 9300-16i for a newer 9400-16i!
As you can see in the picture above, the 9400 is half the size of the 9300! That's just the beginning of it's advantages. By moving to a low-profile card (the 9400) that doesn't require an auxiliary power cable, I didn't just simplify my cable management - I drastically improved the airflow path to my CPU and the rest of the array. More CFM for the 5X front of case fans to push air through the entire system!
- LSI 9400-16i is half the physical size
- Uses less power and no aux 6 pin power cable & actually supports power efficiency & modes better
- Tri-Mode HBA (SAS, SATA & NVME!) - Future-proofing my homelab storage
- Newer chipset - SAS3516
- Low Profile, PCIe 3.1
If you're considering the upgrade, you can find these HBA's on Amazon and Ebay. They used to be fairly similar in price but the last year and a bit, I've found better pricing on Ebay, with direct shipping to Canada. Probably depends where you are.
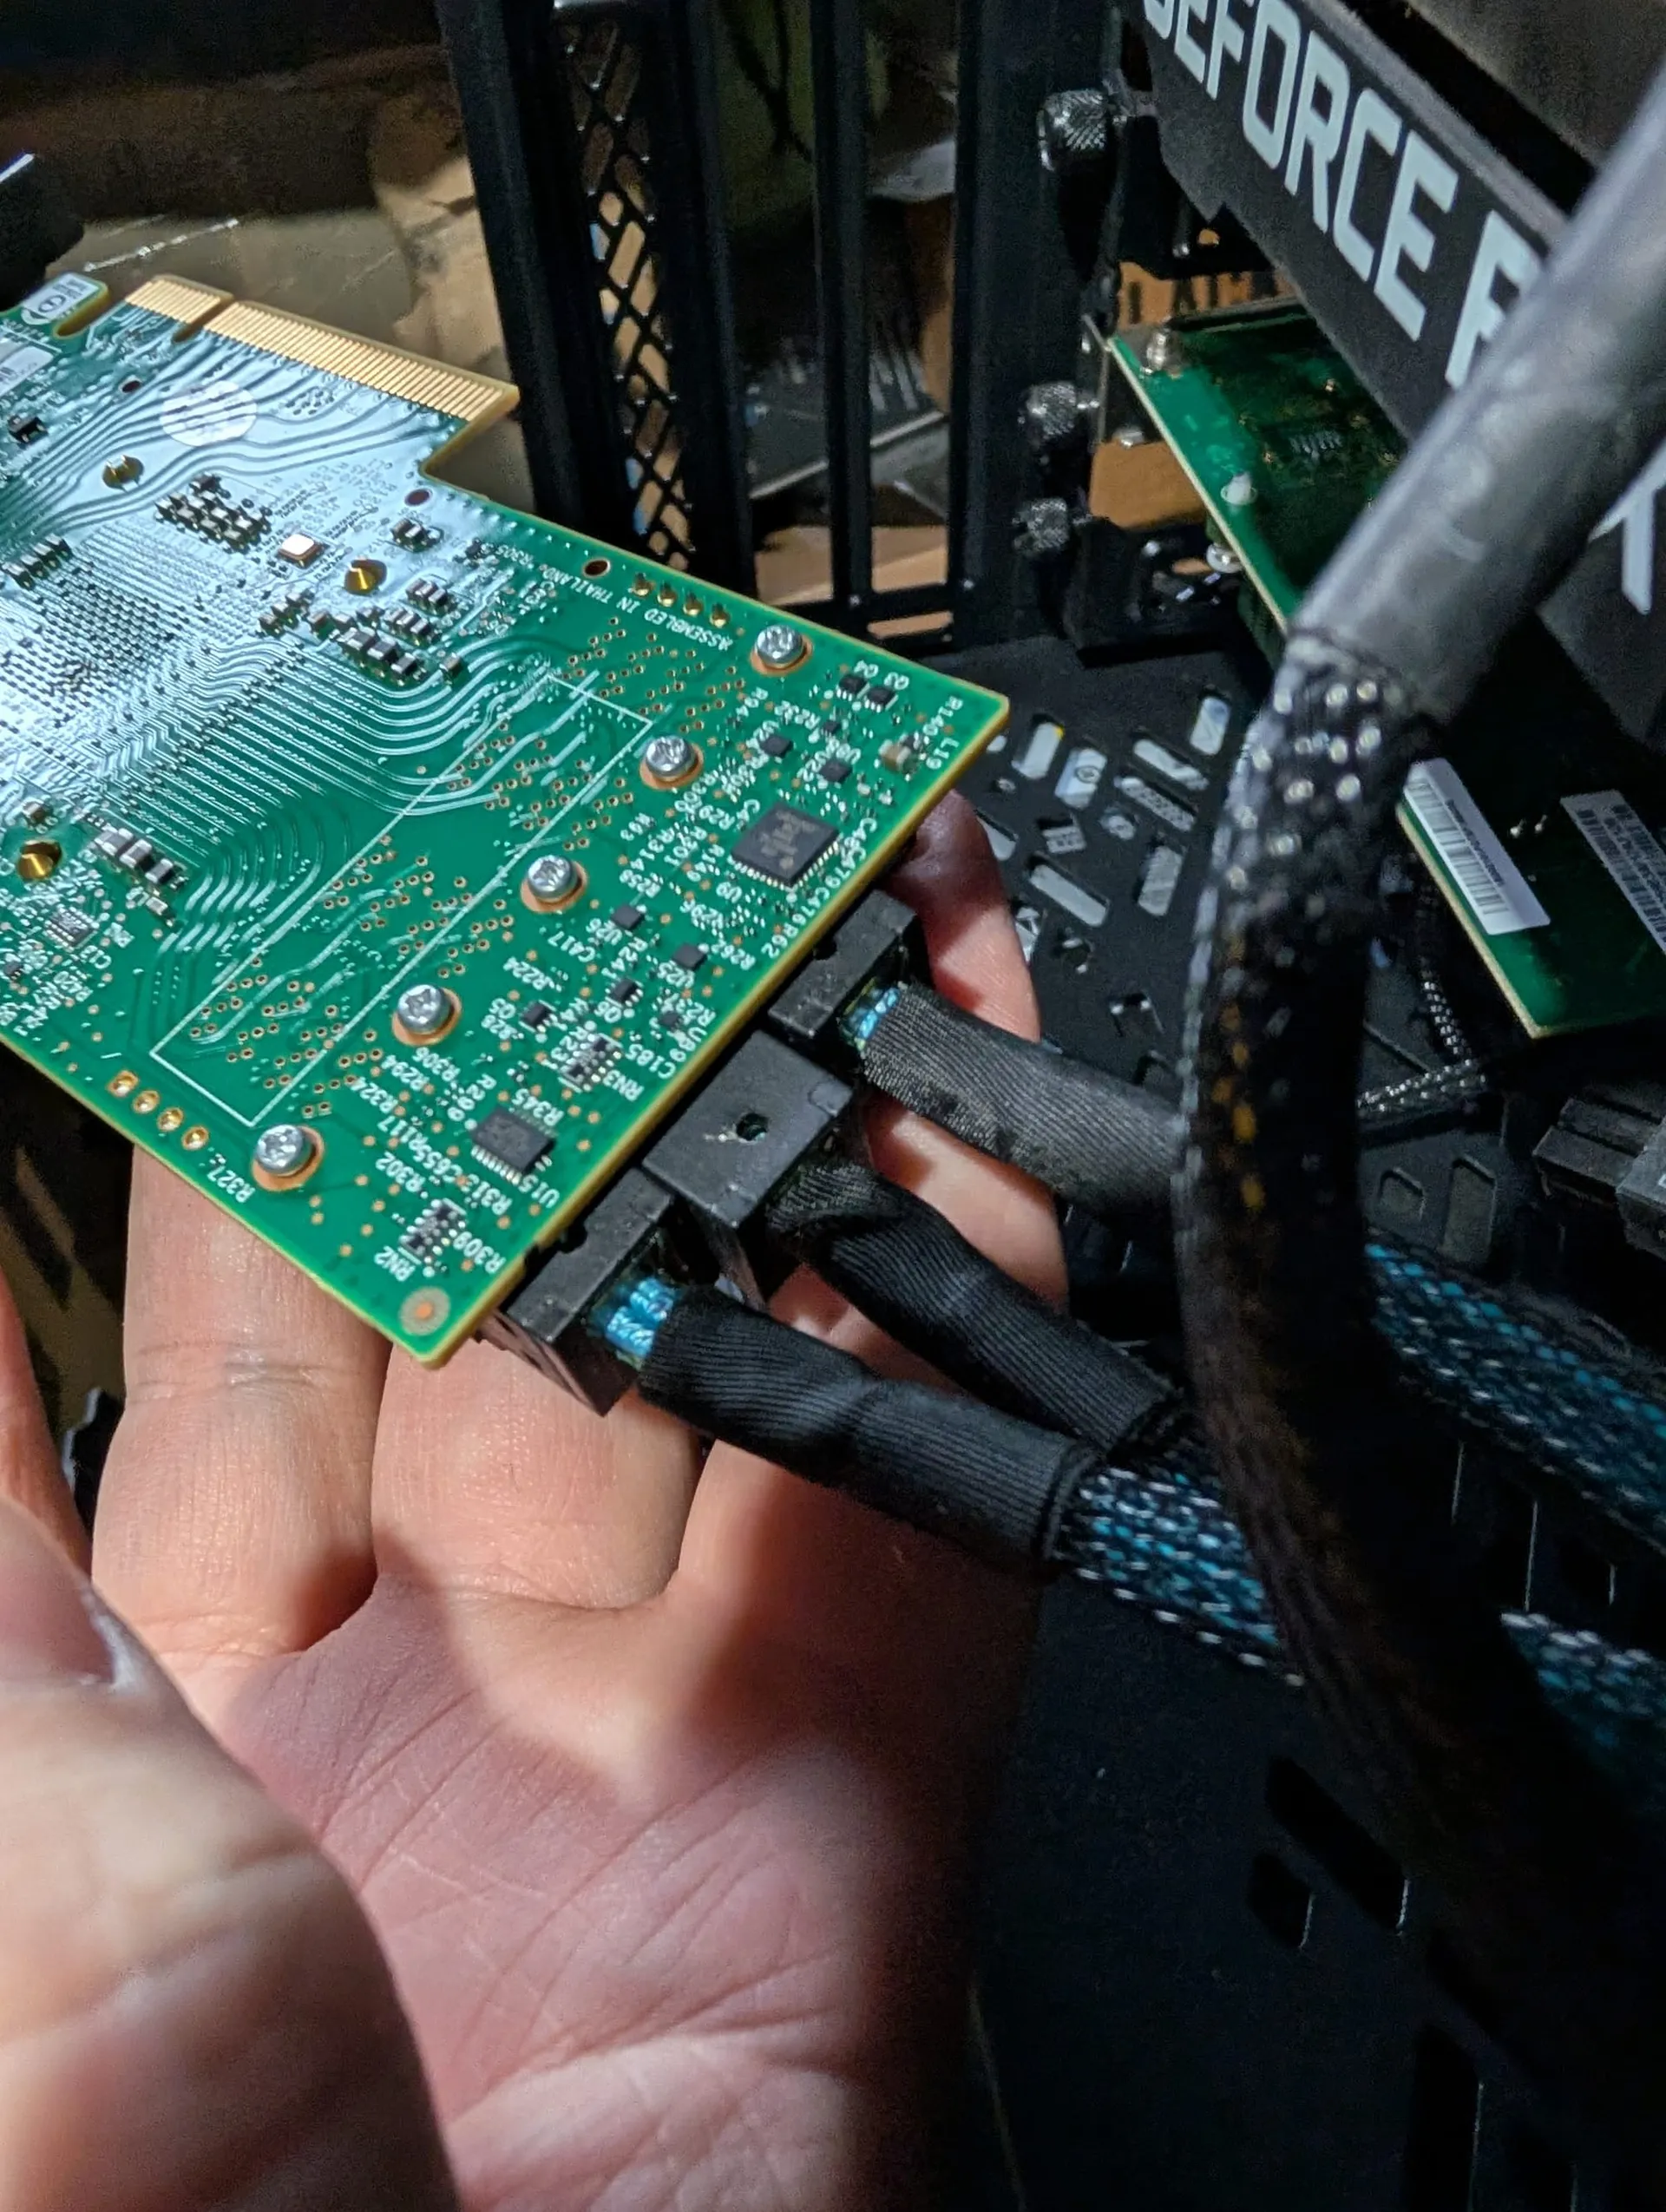
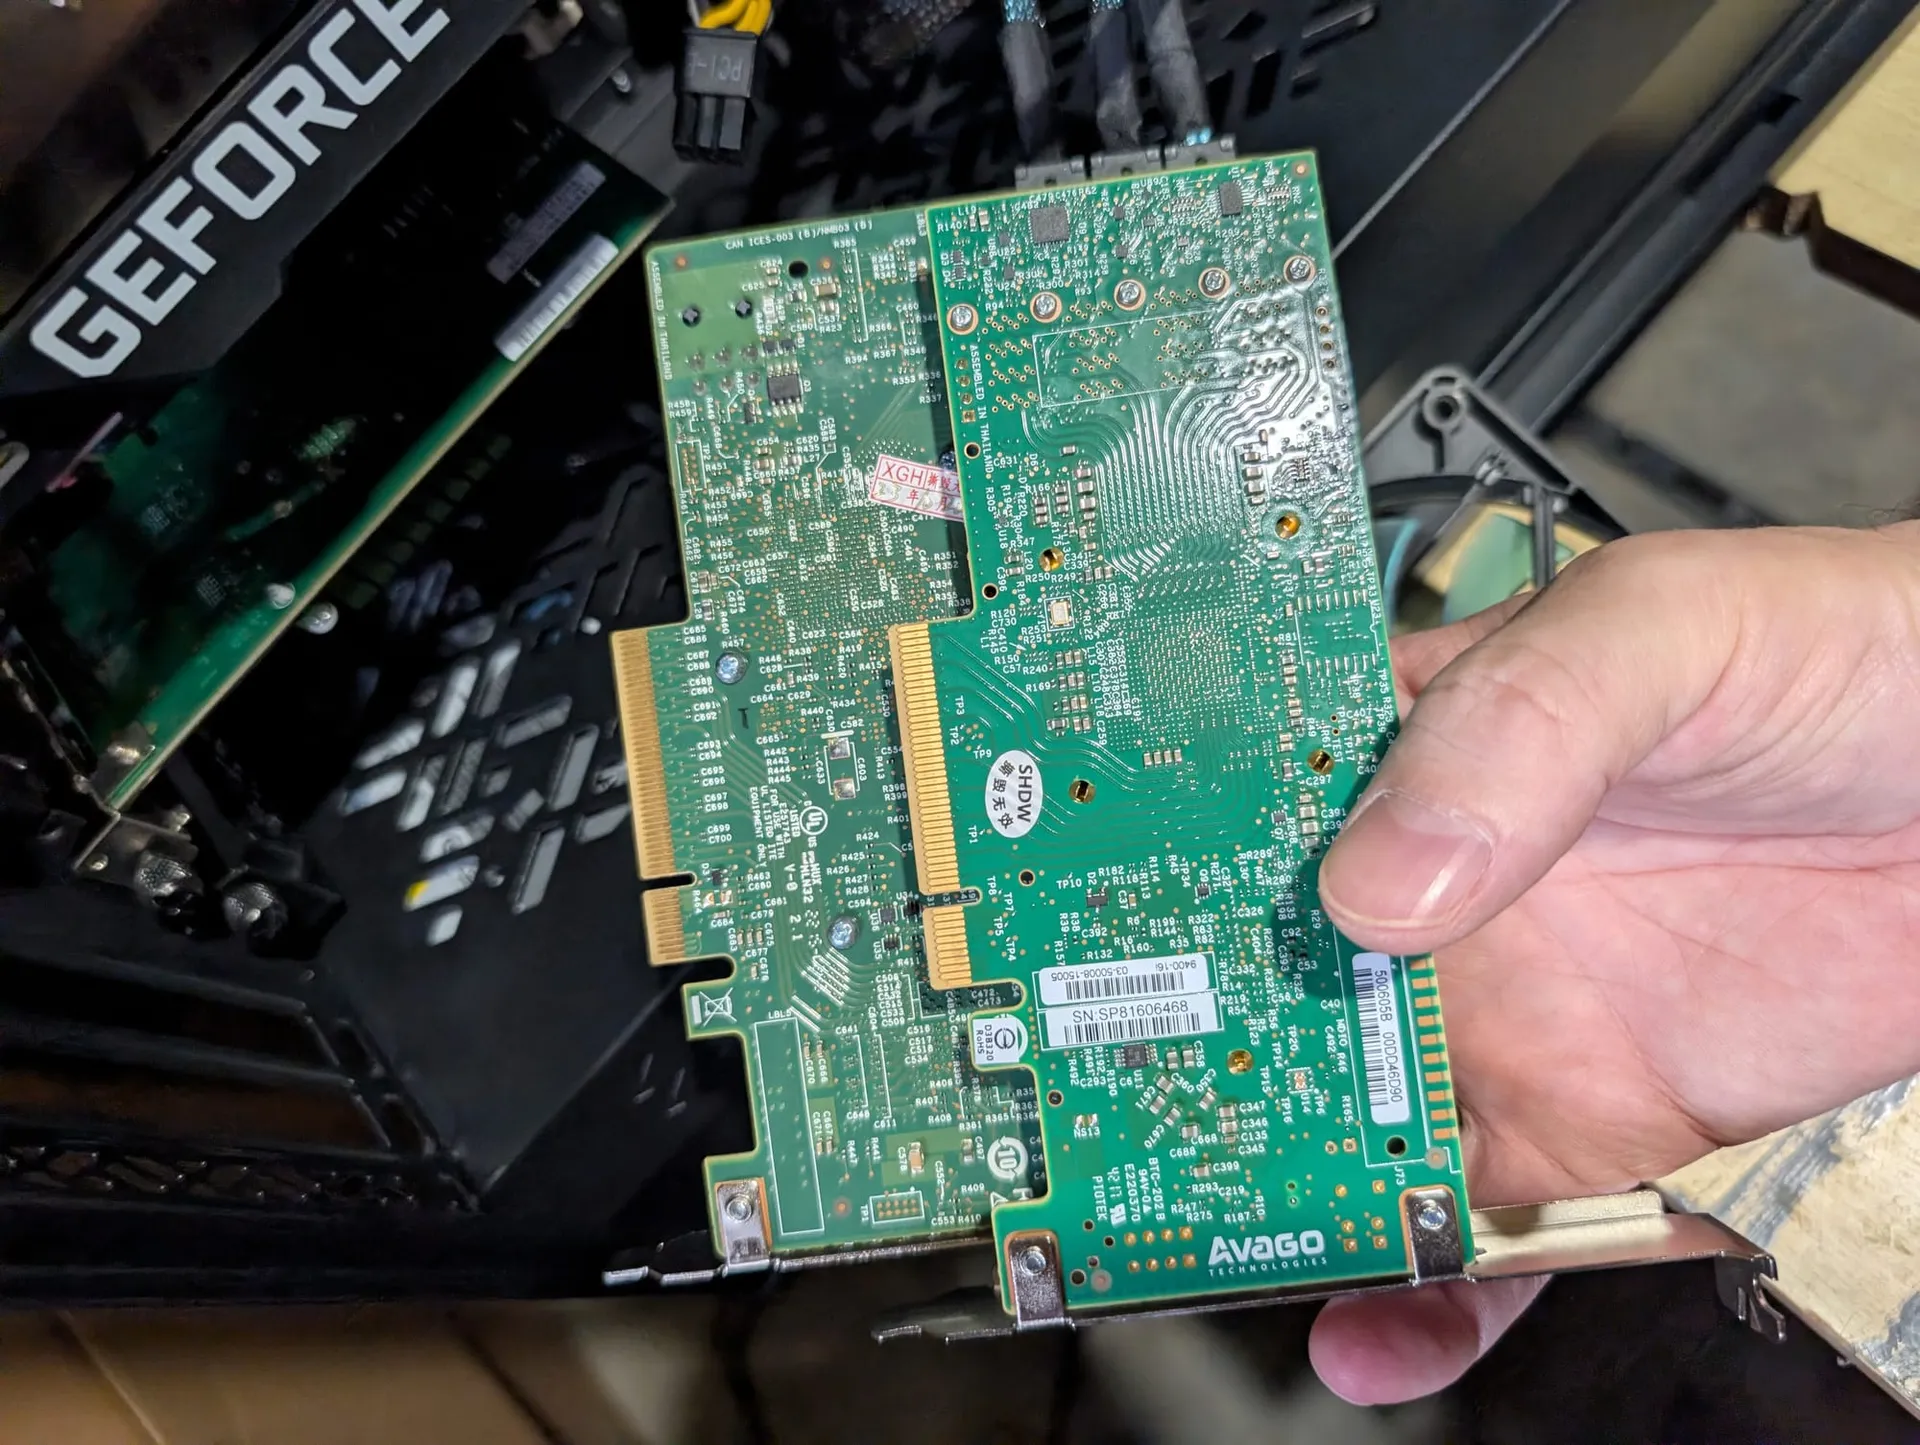
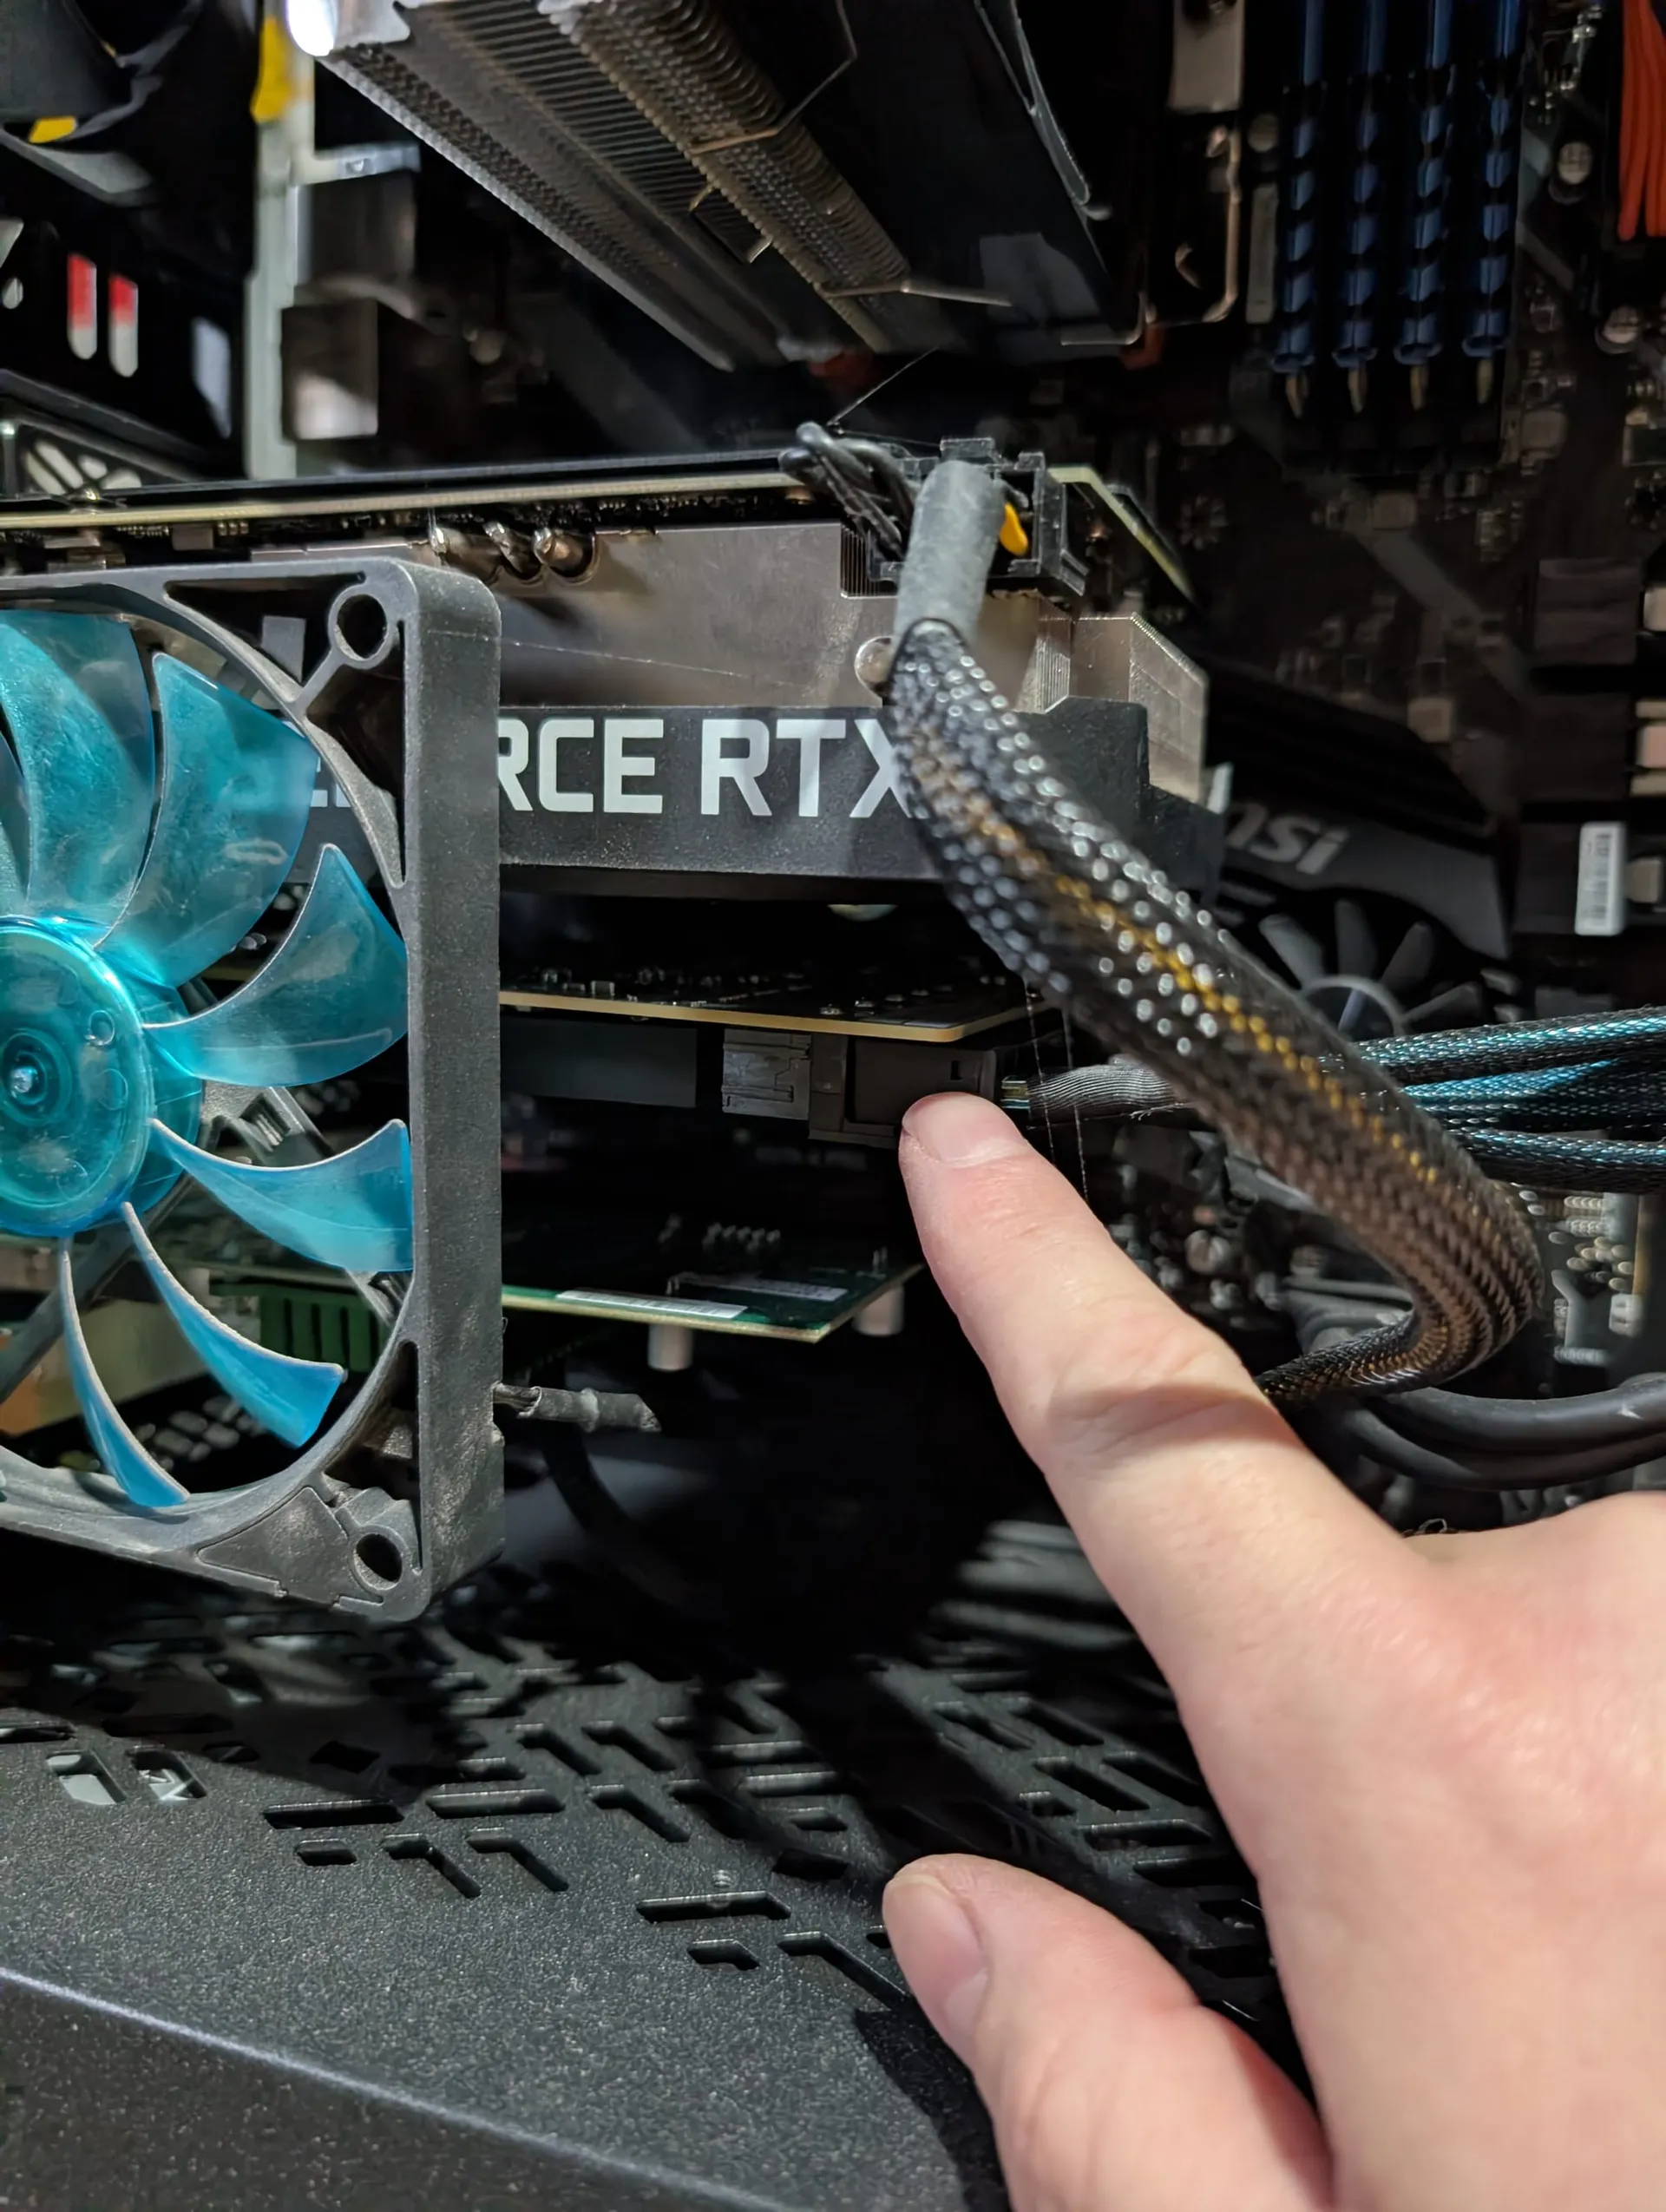
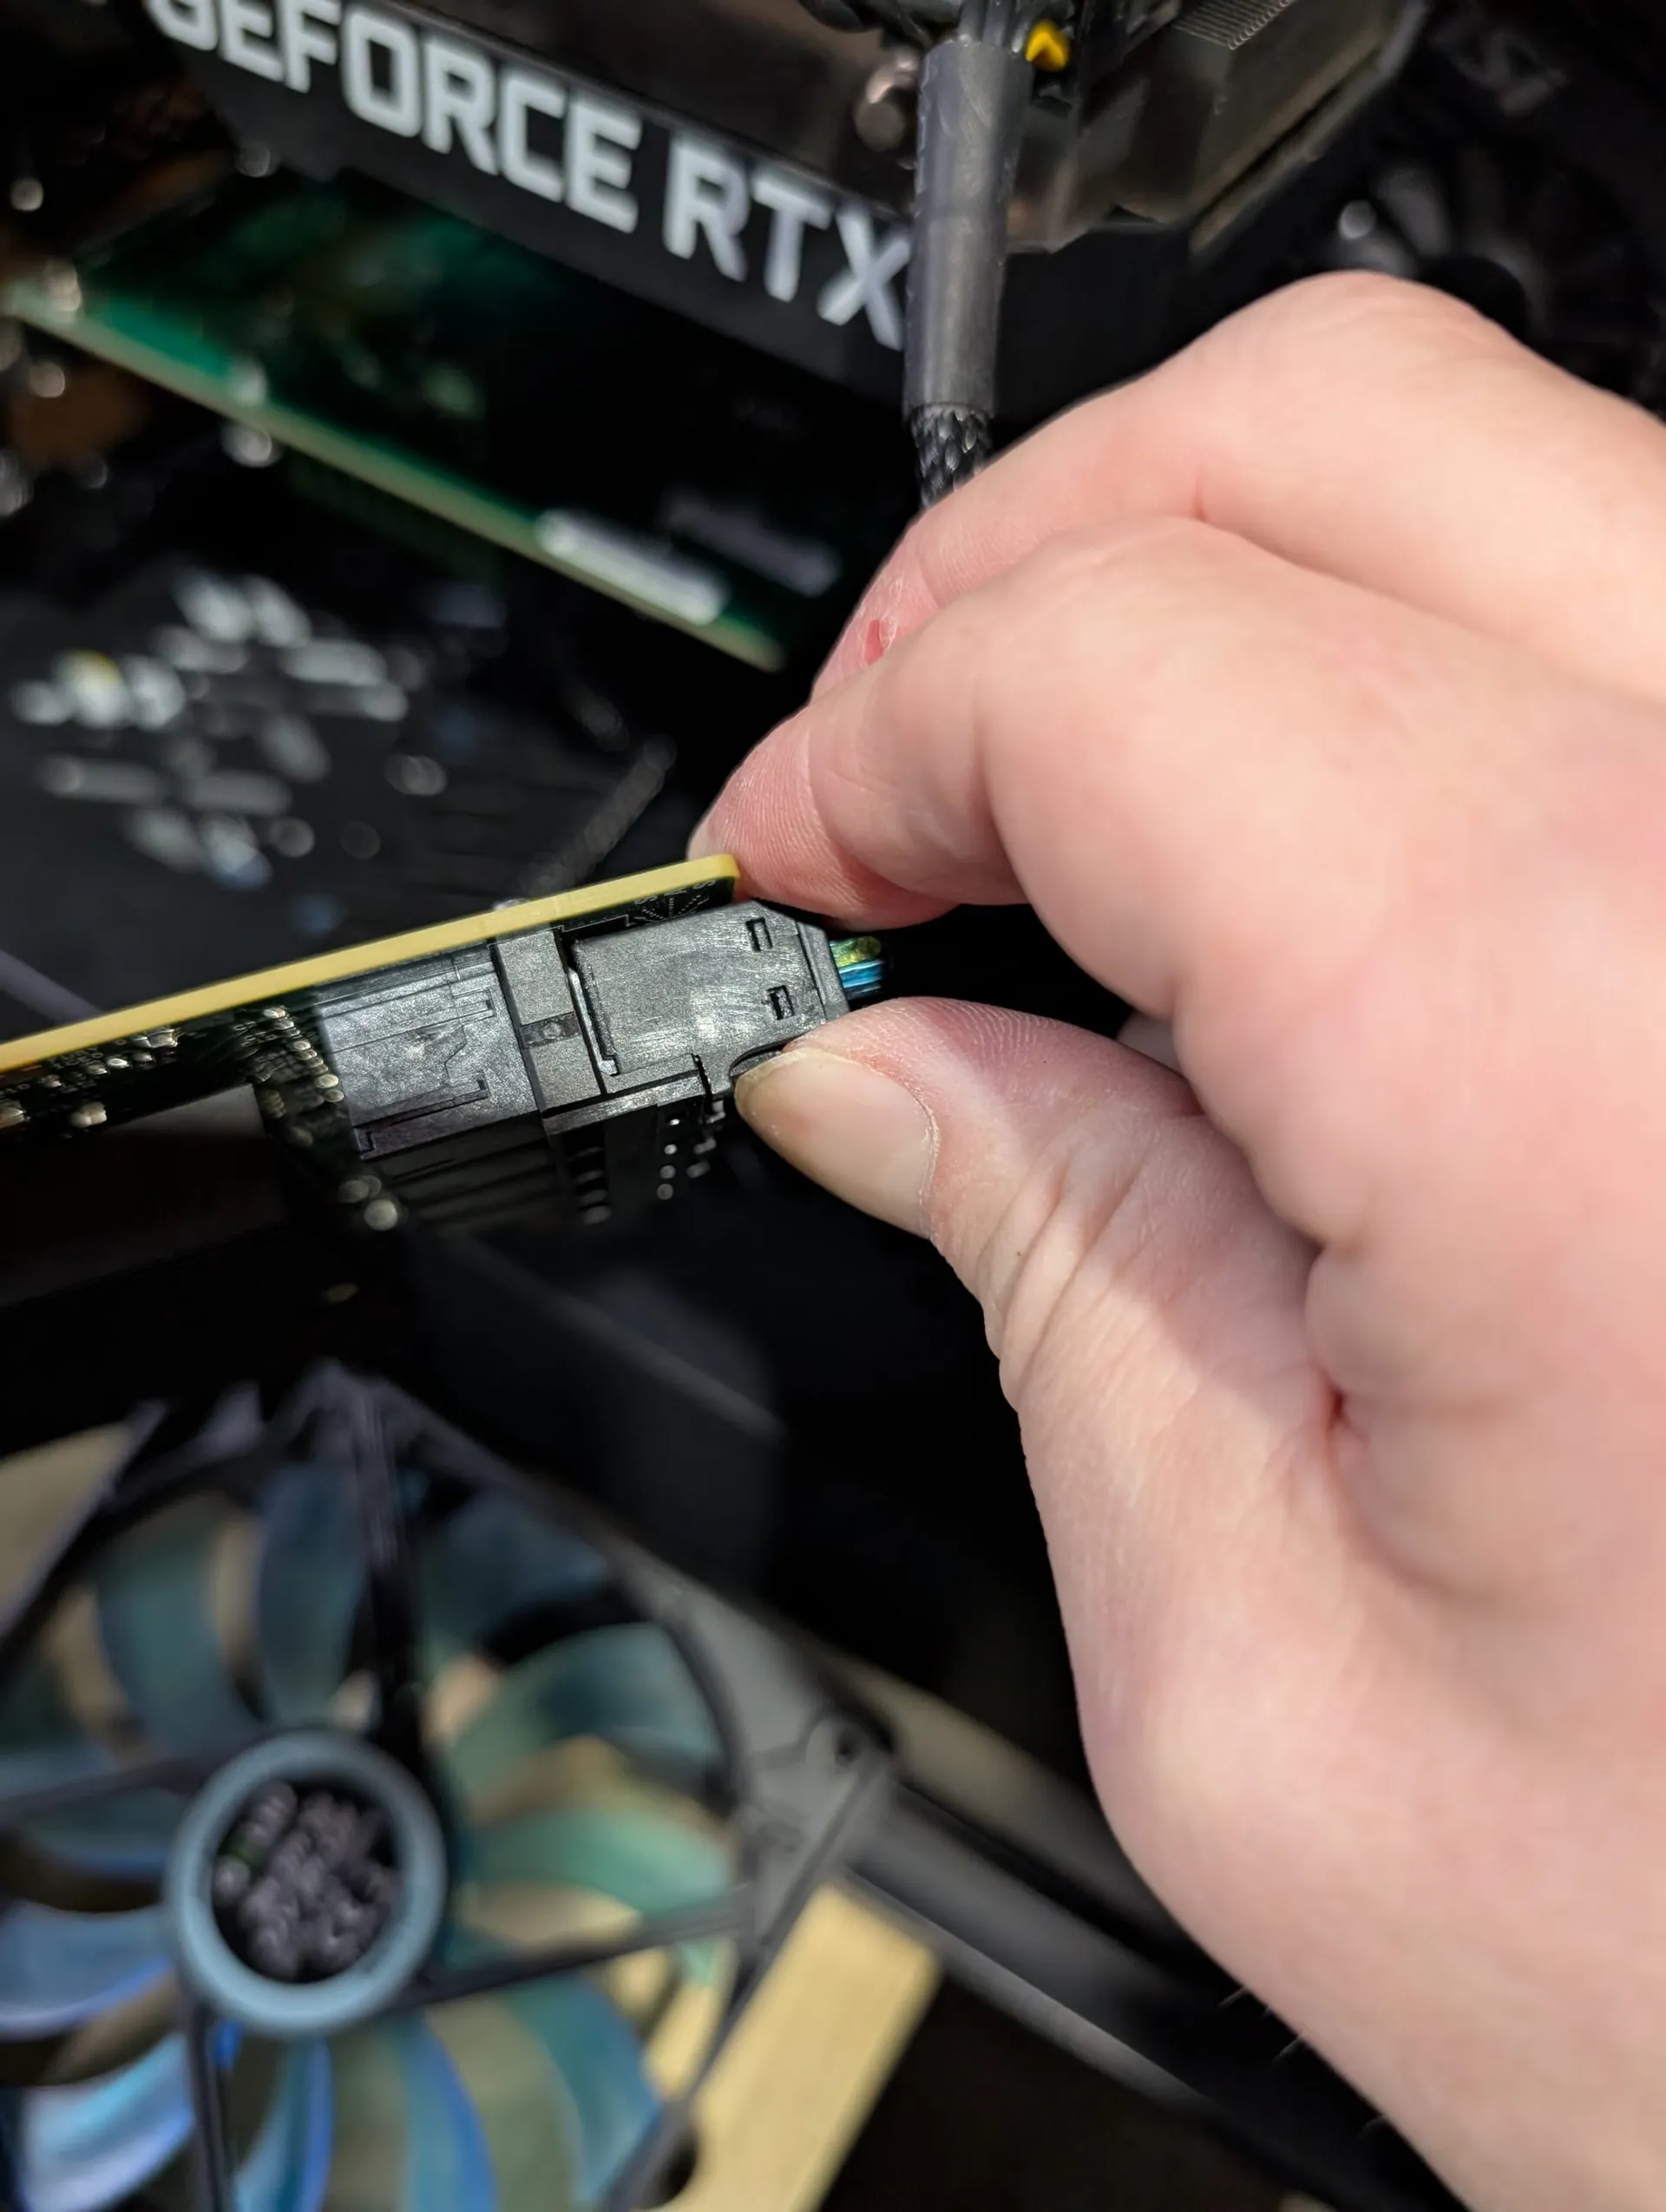
Left - Removing old HBA, showing cables connected. Middle - new 9400-16i HBA. Right - Upside down comparison of the HBAs.
Don't forget SFF-8643 (Mini-SAS HD) connector cables if you buy an HBA and are using SAS hard drives! I'll eventually include these on my Best HomeLab Hardware page as well.
Tools I used to Clean Everything
- My favorite screwdriver set from iFixit! Seriously this kit is worth every cent!
- My new favorite duster - WOLFBOX Turbofan MegaFlow 200!
- This thing BLOWS - for real! Incredible performance in such a tiny device. I'll be using this for cleaning my car next too. It's like a mini leaf-blower in your hand! One of my friends had something like this and convinced me to buy one. Better for the environment in the long run as well vs continually buying compressed air cans.
- I'm considering these as presents for fellow-nerd friends!
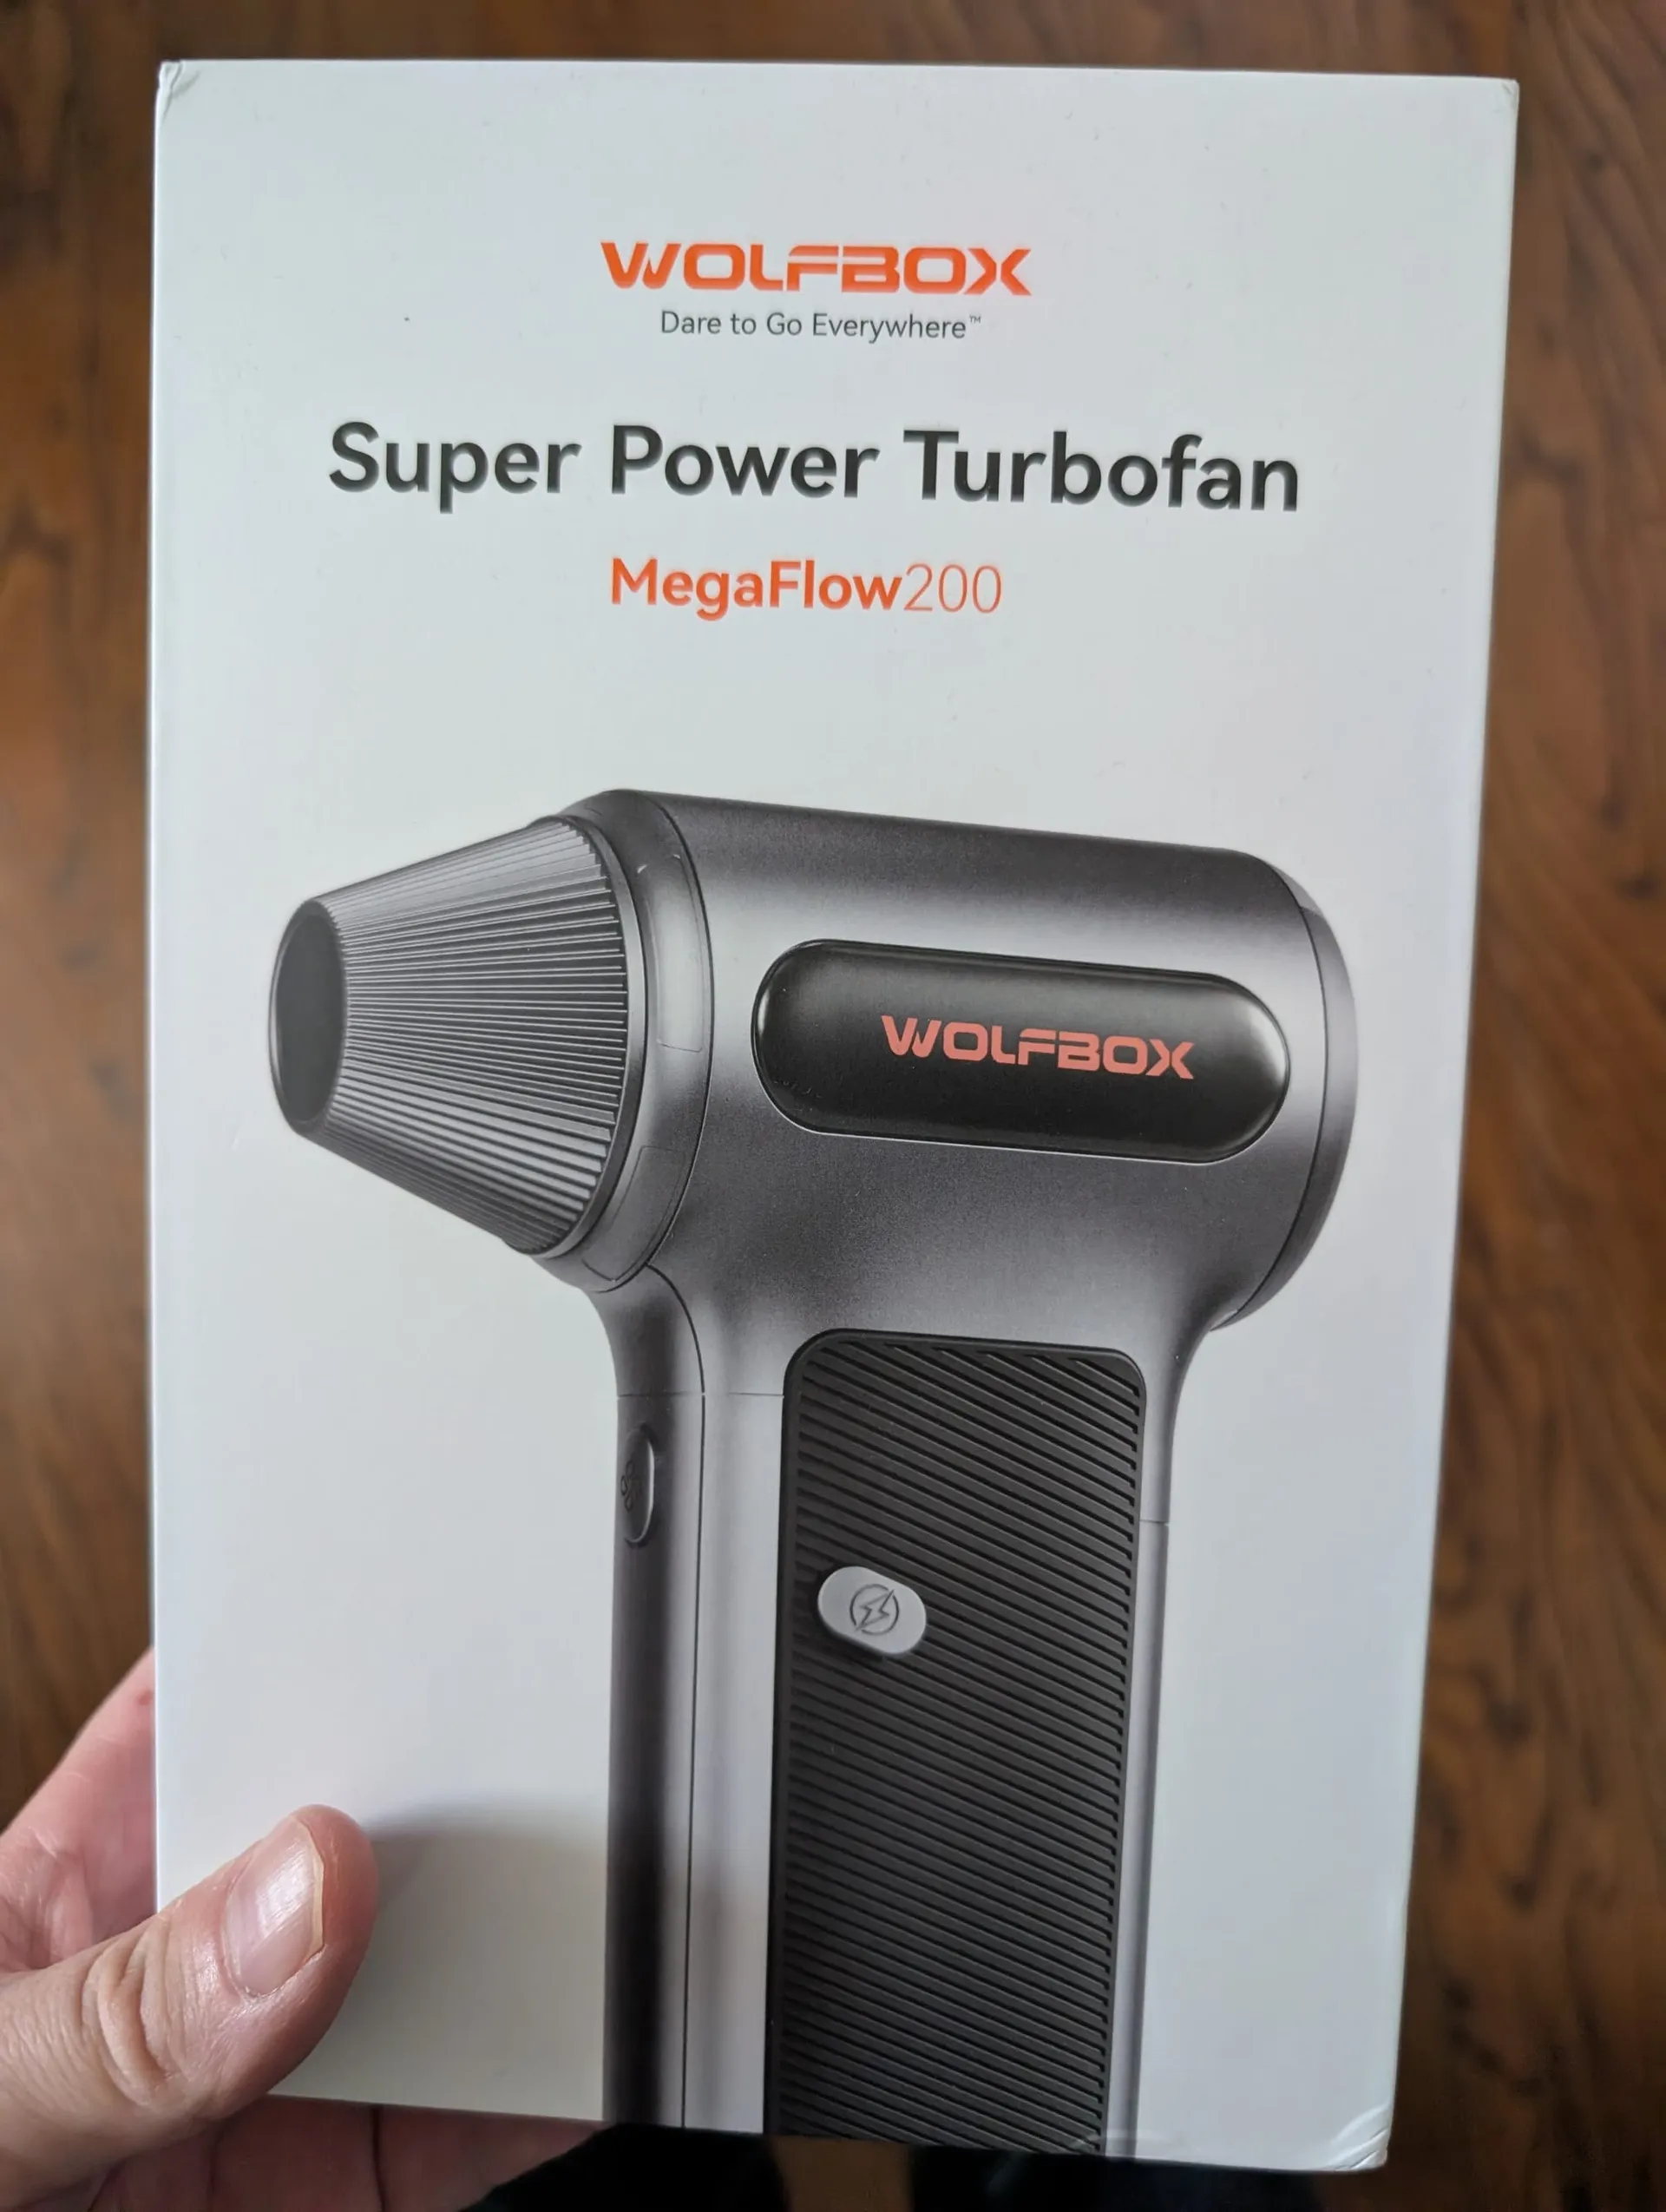
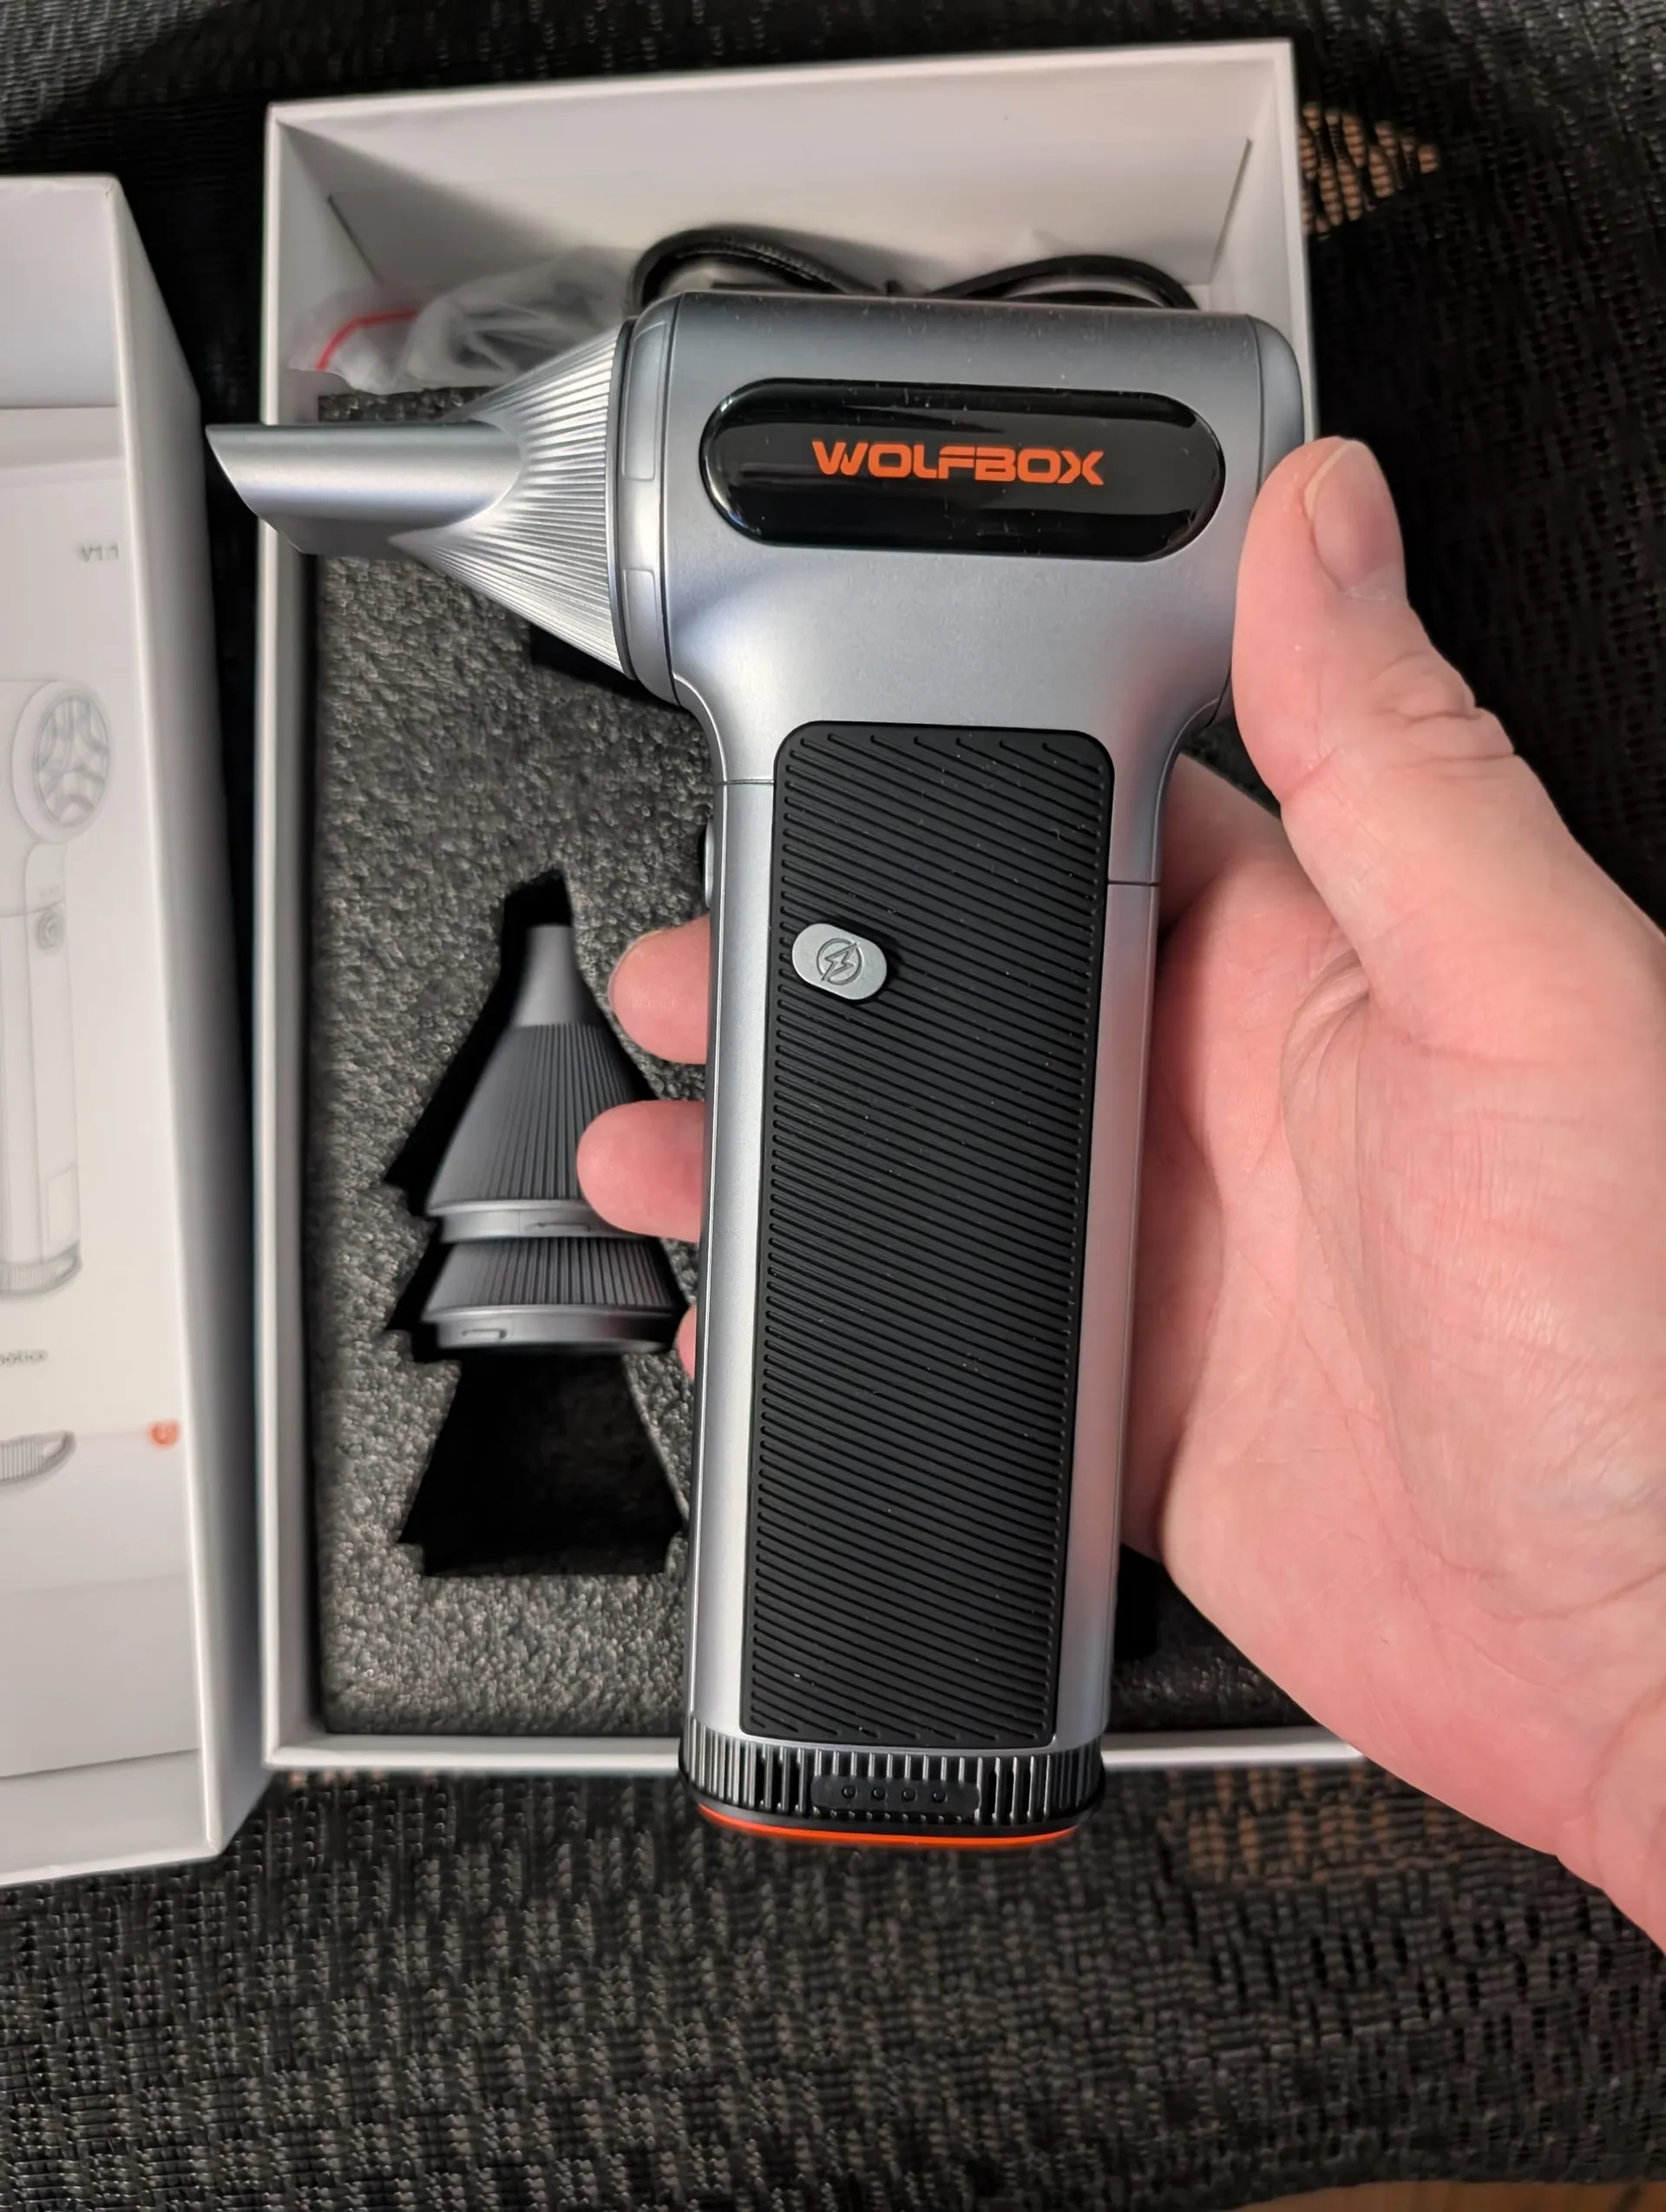
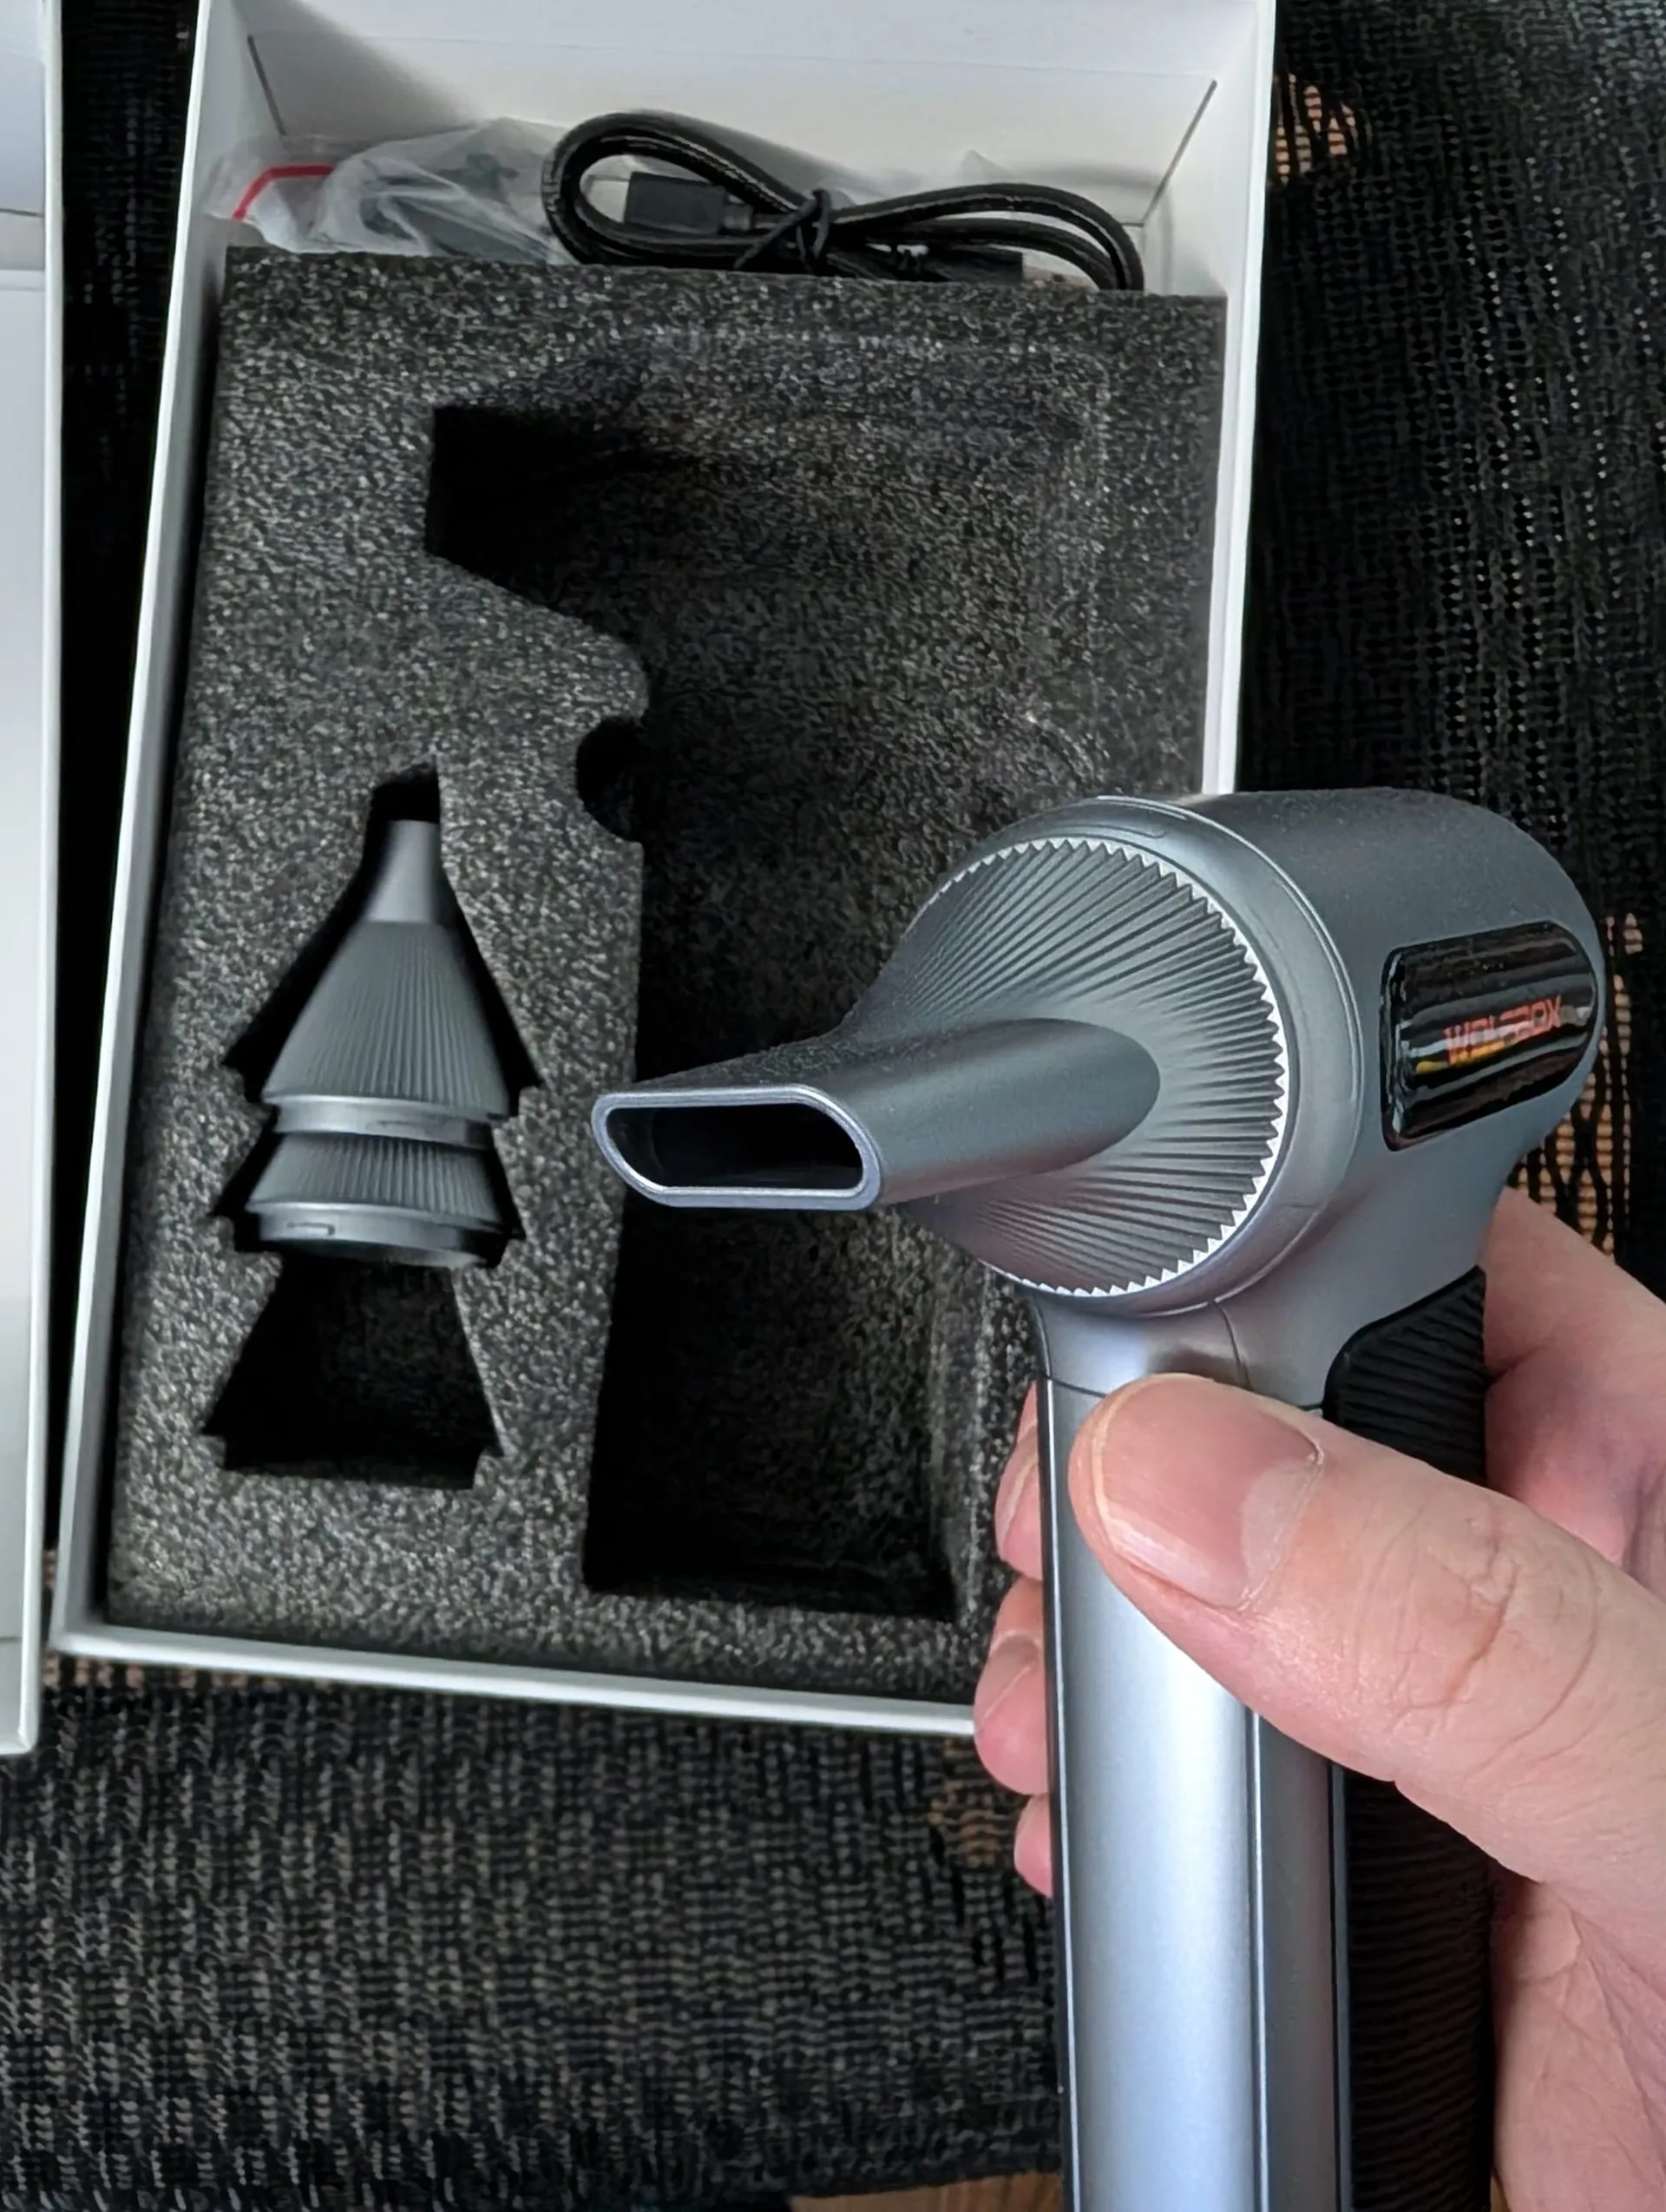
WOLFBOX Super Power Turbofan MegaFlow 200 (M200). Comes with multiple nozzles & cleaning brushes!
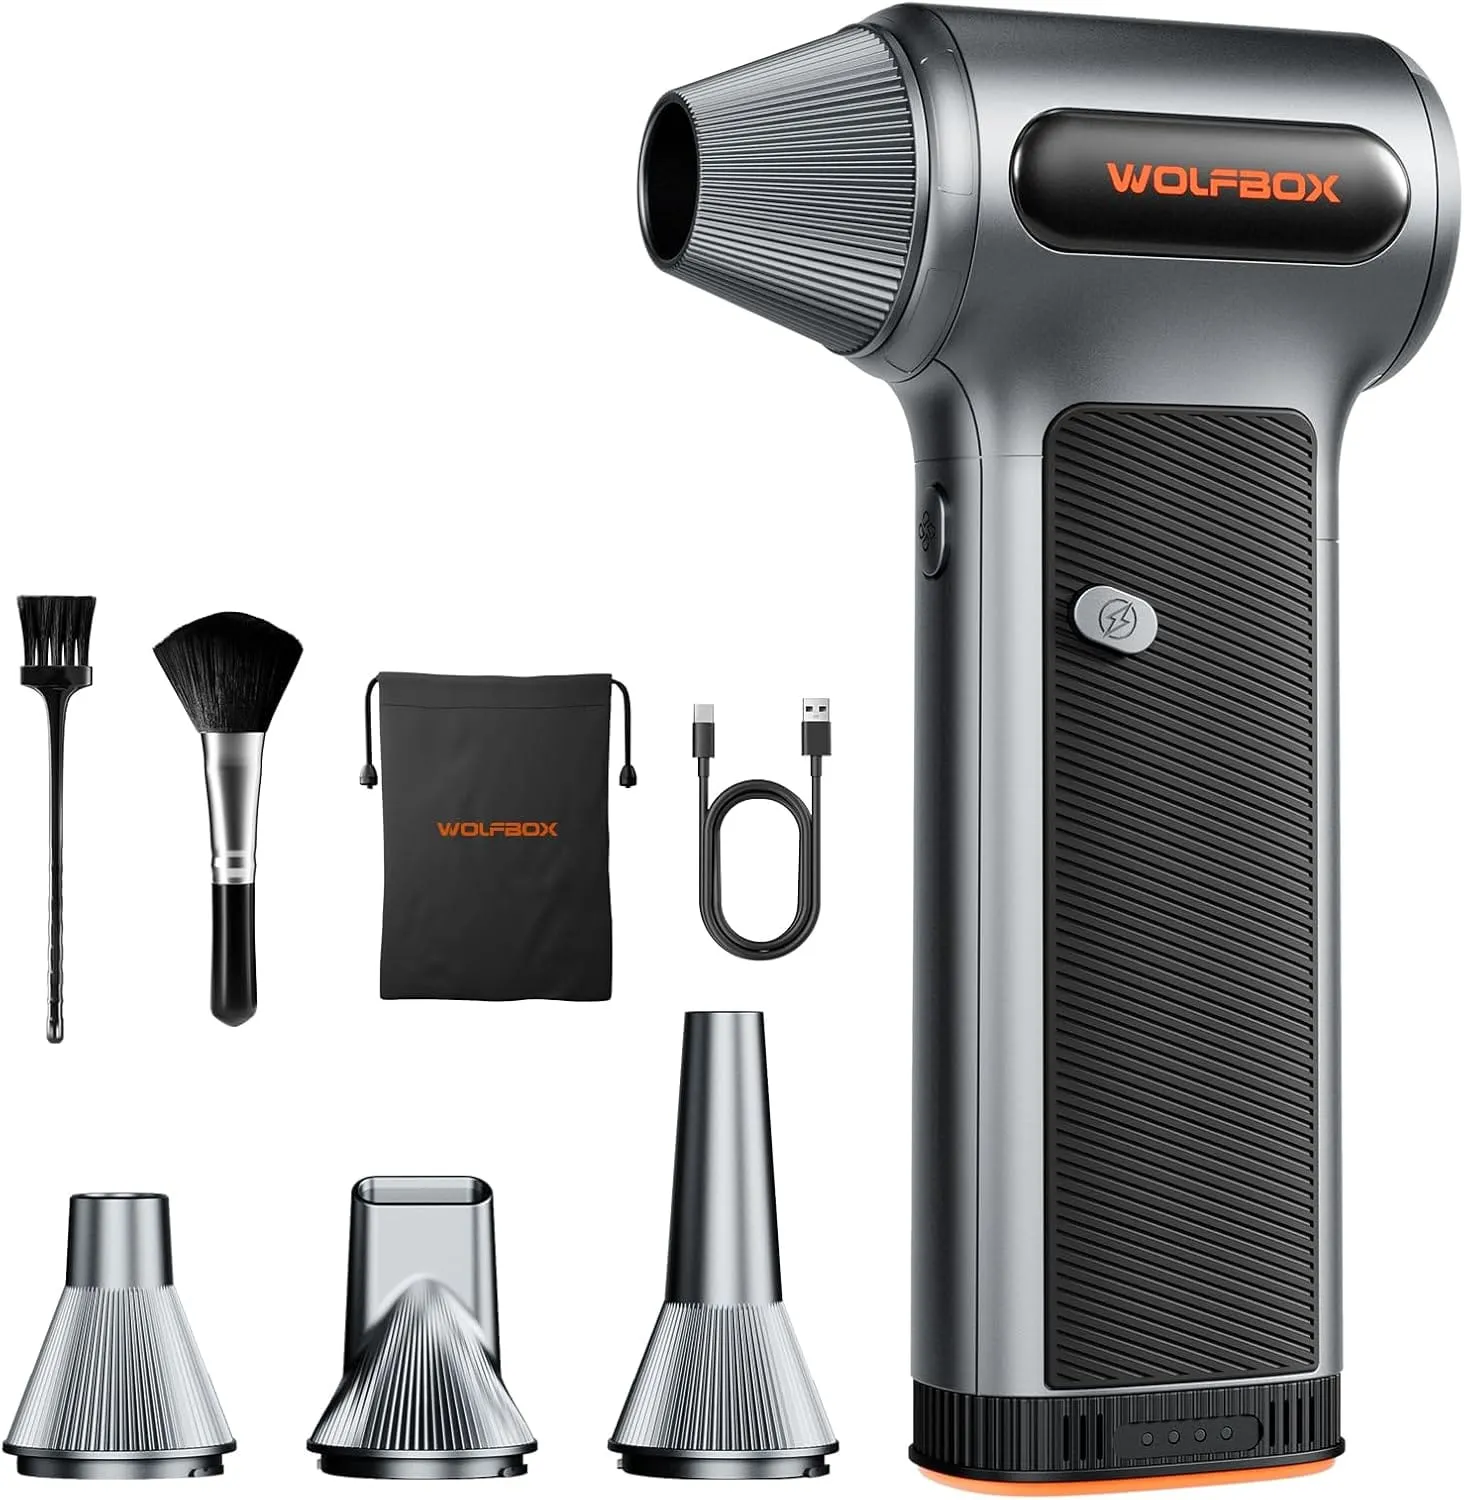
WOLFBOX MF200 Compressed Air Duster
Comes with Removable Battery & 4 Nozzles, Cordless 3-Speed Adjustable Mini Blower for Computer Keyboard, Car Cleaning, Home, and Outdoor Use. Rated 4.7 on Amazon!
2. Defeating "Chip Creep": Reseating the Big Three
Thermal expansion and contraction (heating up during a scrub, cooling down at night) can literally wiggle components out of their sockets over time - a phenomenon known as "Chip Creep." This is why you read or see stories of people getting their GPU or CPU to work again for short periods, once they've been in the freezer or oven for awhile! It's kinda wild...
- Reseat RAM: Pop them out and back in to "scrub" the oxidation off the gold pins. You should never see rust, or visible signs of corrosion on RAM!
- Reseat HBAs: Pull your LSI 9300-16i and push it back in firmly.
- Reseat SAS/SATA Cables: Unplug and replug every drive cable. 90% of "Non-medium" errors are solved by simply breaking the oxidation on a SATA/SAS connector.
🗓️ Annual (Every 12 Months): The Structural Audit
Once a year, you need to look at the "bones" of your system. The main function of your custom NAS/server is likely the storage you have living in it right? Take care of this.
1. Power Supply Integrity & The "Molex Trap"
Check your power leads. Are you using "Molex-to-SATA" adapters? If so, inspect them for discoloration or heat damage (the "Molex to SATA, Lose Your Data" rule exists for a reason).
- The Power Trap: Cards like the LSI 9300-16i can draw 27W+. Ensure you haven't forgotten the auxiliary 6-pin power cable. Relying solely on the PCIe slot for high-port-count cards is a recipe for intermittent drive drops. Since I maxed out how many drives I run on it, I use that 6-pin power cable of course.
- Ensure your PSU is still functioning well, and is blown & cleaned out too.
2. SMART Long Tests: Looking Beyond the ZFS Scrub
ZFS Scrubs verify that your data is readable, but they don't always check the physical health of the drive's mechanical arms and platters.
- The Task: Run a
smartctl -t longon every drive. - Warning: A Long test on a 6TB+ drive can take 10–15 hours. Schedule this when you don't need the server for heavy lifting.
3. CPU Thermal Management
It's worth blowing out the fans and radiator of your CPU at this point. You're already elbow deep into your system and it only takes another 3 minutes.
- Surface Area: Fans & radiators have a lot of surface area to collect dust & grit onto. Cleaning these will ensure one of the key pieces of your system (CPU!) keep being cooled properly, and efficiently.
🗓️ The 36-Month "Mid-Life" Overhaul:
This is sort of a "mid-life" clean-out. Depending on how heavily used your system is, the environment it's in (basement with an-finished floor or a nice dry closet with exhaust ventillation?) it could need this, or not at all.
If you keep any stats or metrics on your system, here's where it's good to eyeball the "baseline" of the 1st year of service.
1. Compare & Examine Parts
- CPU temps at idle / under load
- Power usage of the system at idle/ under load
- Pictures of cabling, showing if any look worn/frayed/dis-coloured
- HBA / RAID card temps at idle / under load
- Drive / storage errors or intermittently failing SMART checks
If anything looks off, maybe it's time to perform deeper maintenance or, swap parts with new entirely. This is the core of preventative maintenance for a system you plan to utilize for the next 3-5 years, in addition to the 3-4 you've already used it.
2. Clean & Re-Paste CPU
One long term maintenance issue that is the most likely culprit to rear it's head, is CPU temps. This is daunting for some people, but if you notice your CPU runs 5C warmer than it used to, you really shouldn't ignore this step for the long term health and usage of your system.
- Have these supplies handy:
- Paper towel or lint free cloth (DO NOT use something that has lint!)
- Qtips / similar and;
- Isopropyl alcohol at 90% or higher
- 70% will work, but will take longer to dry
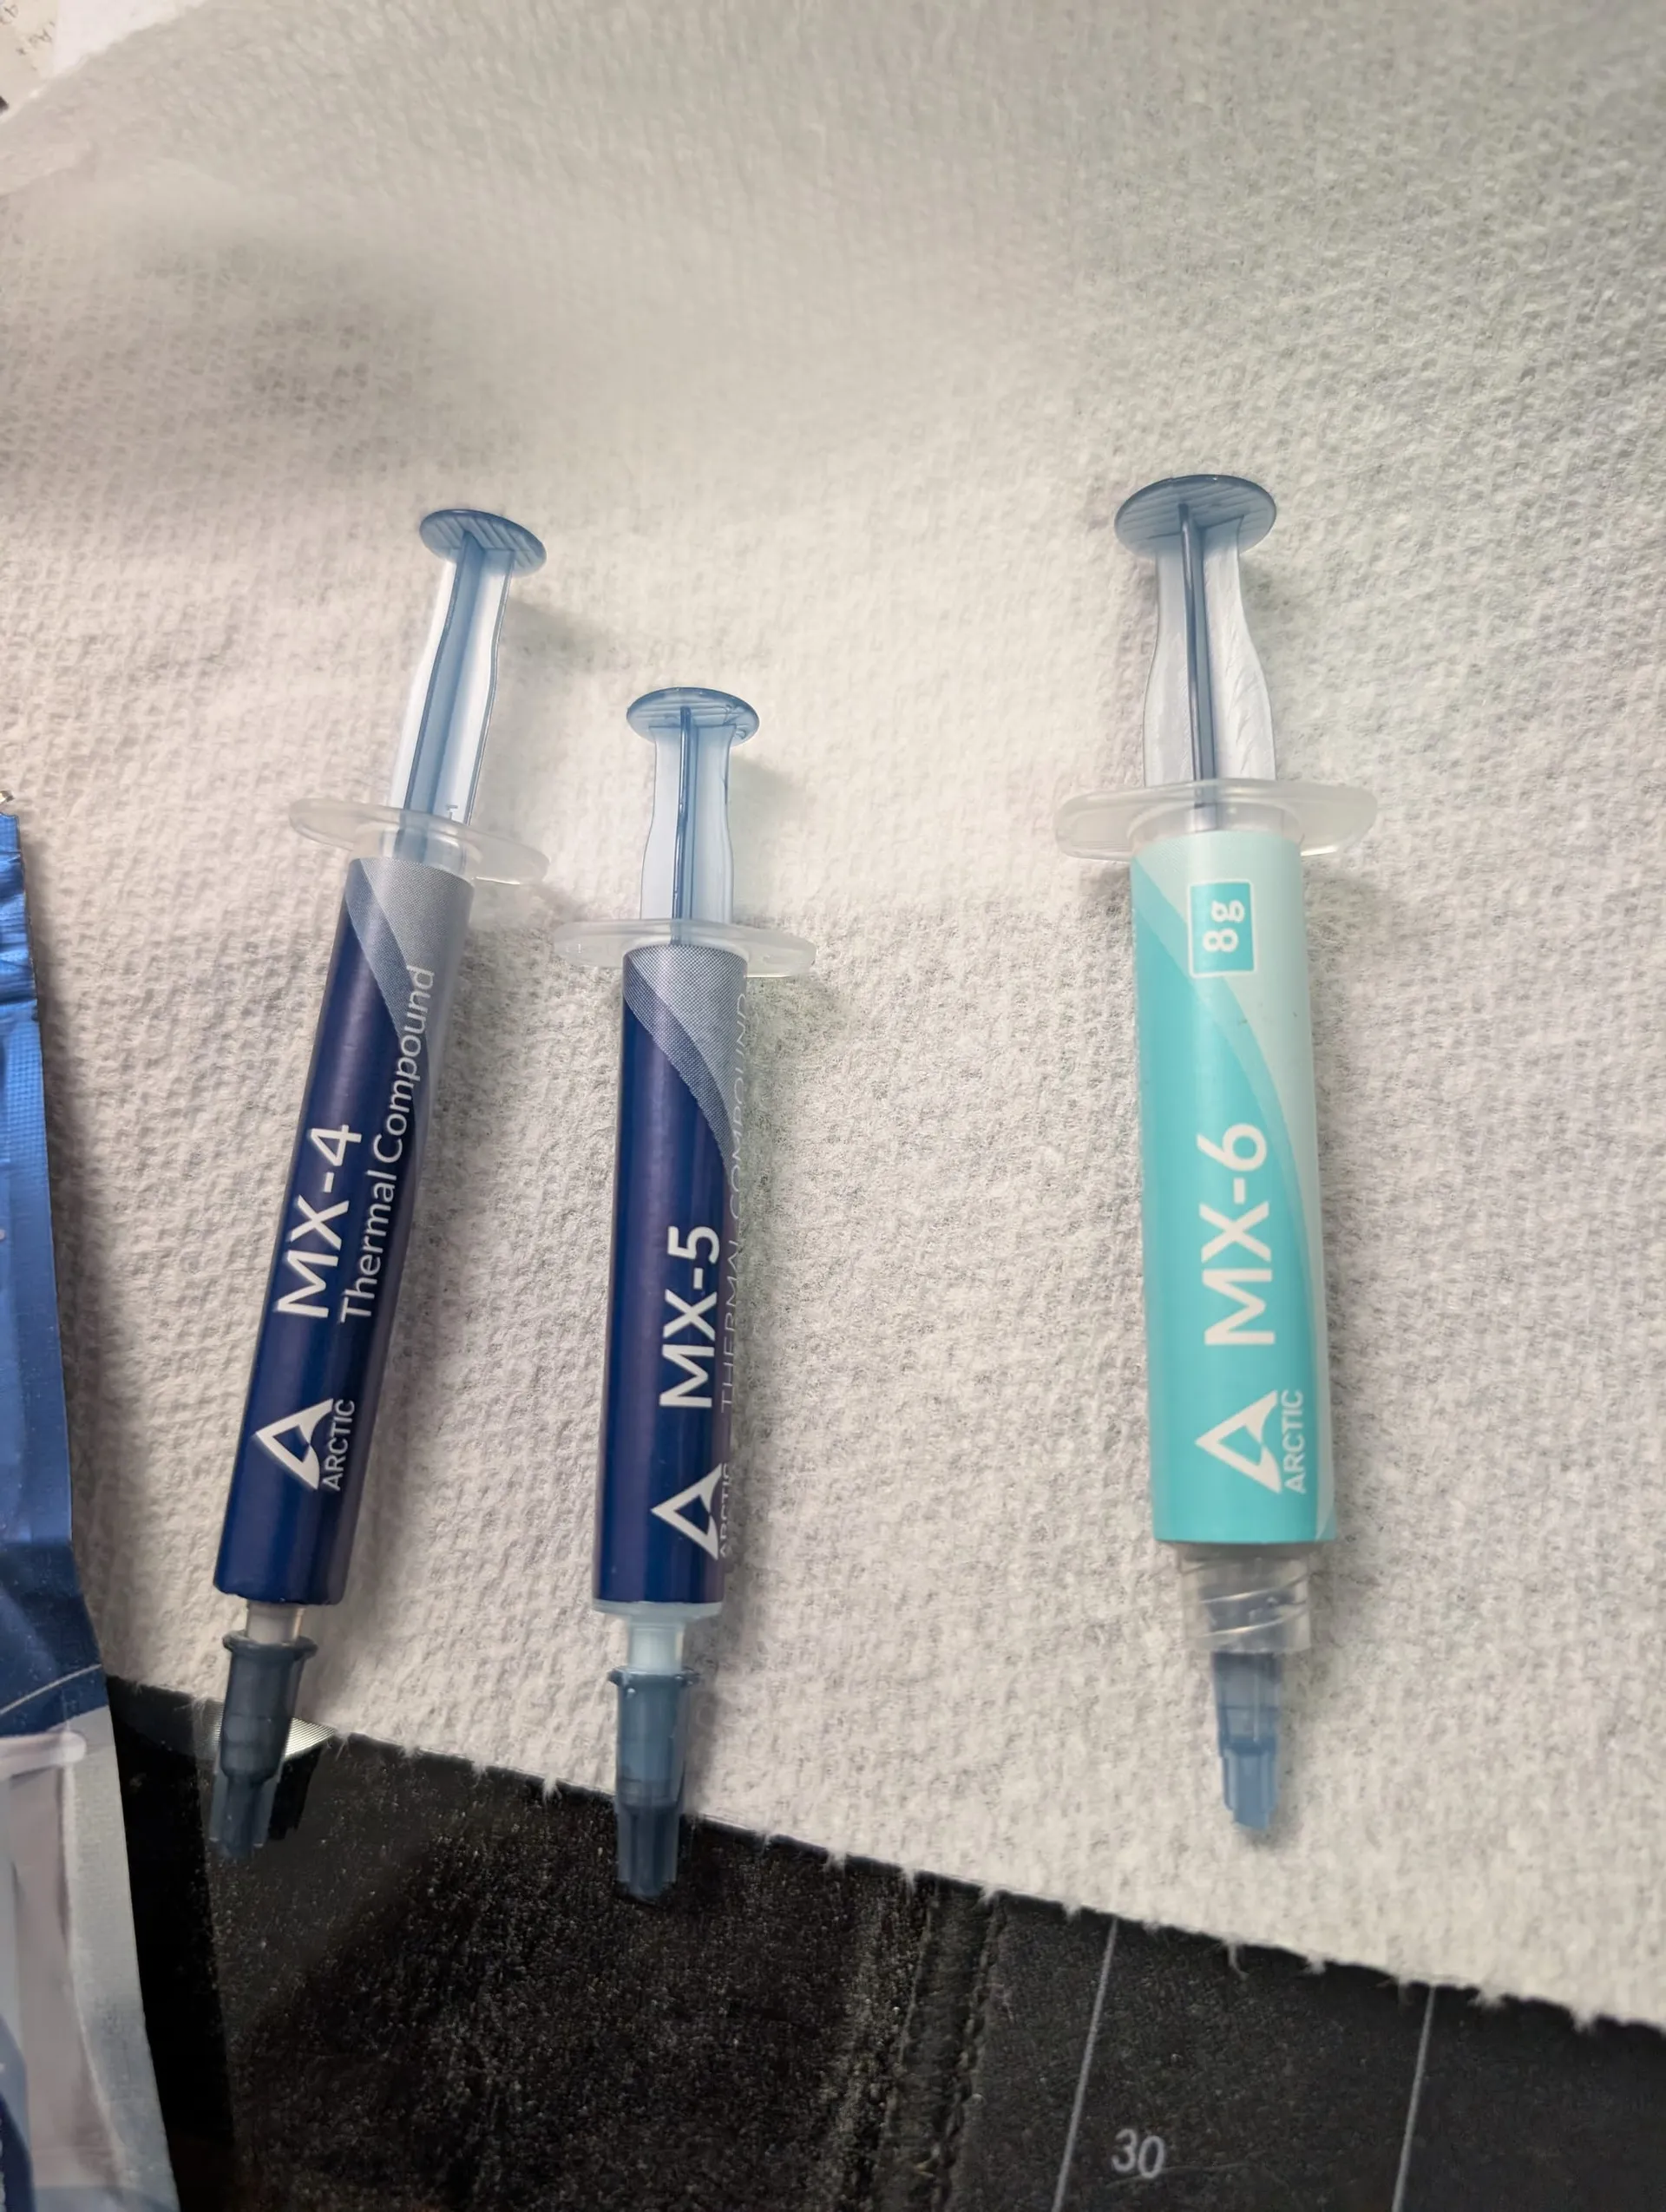
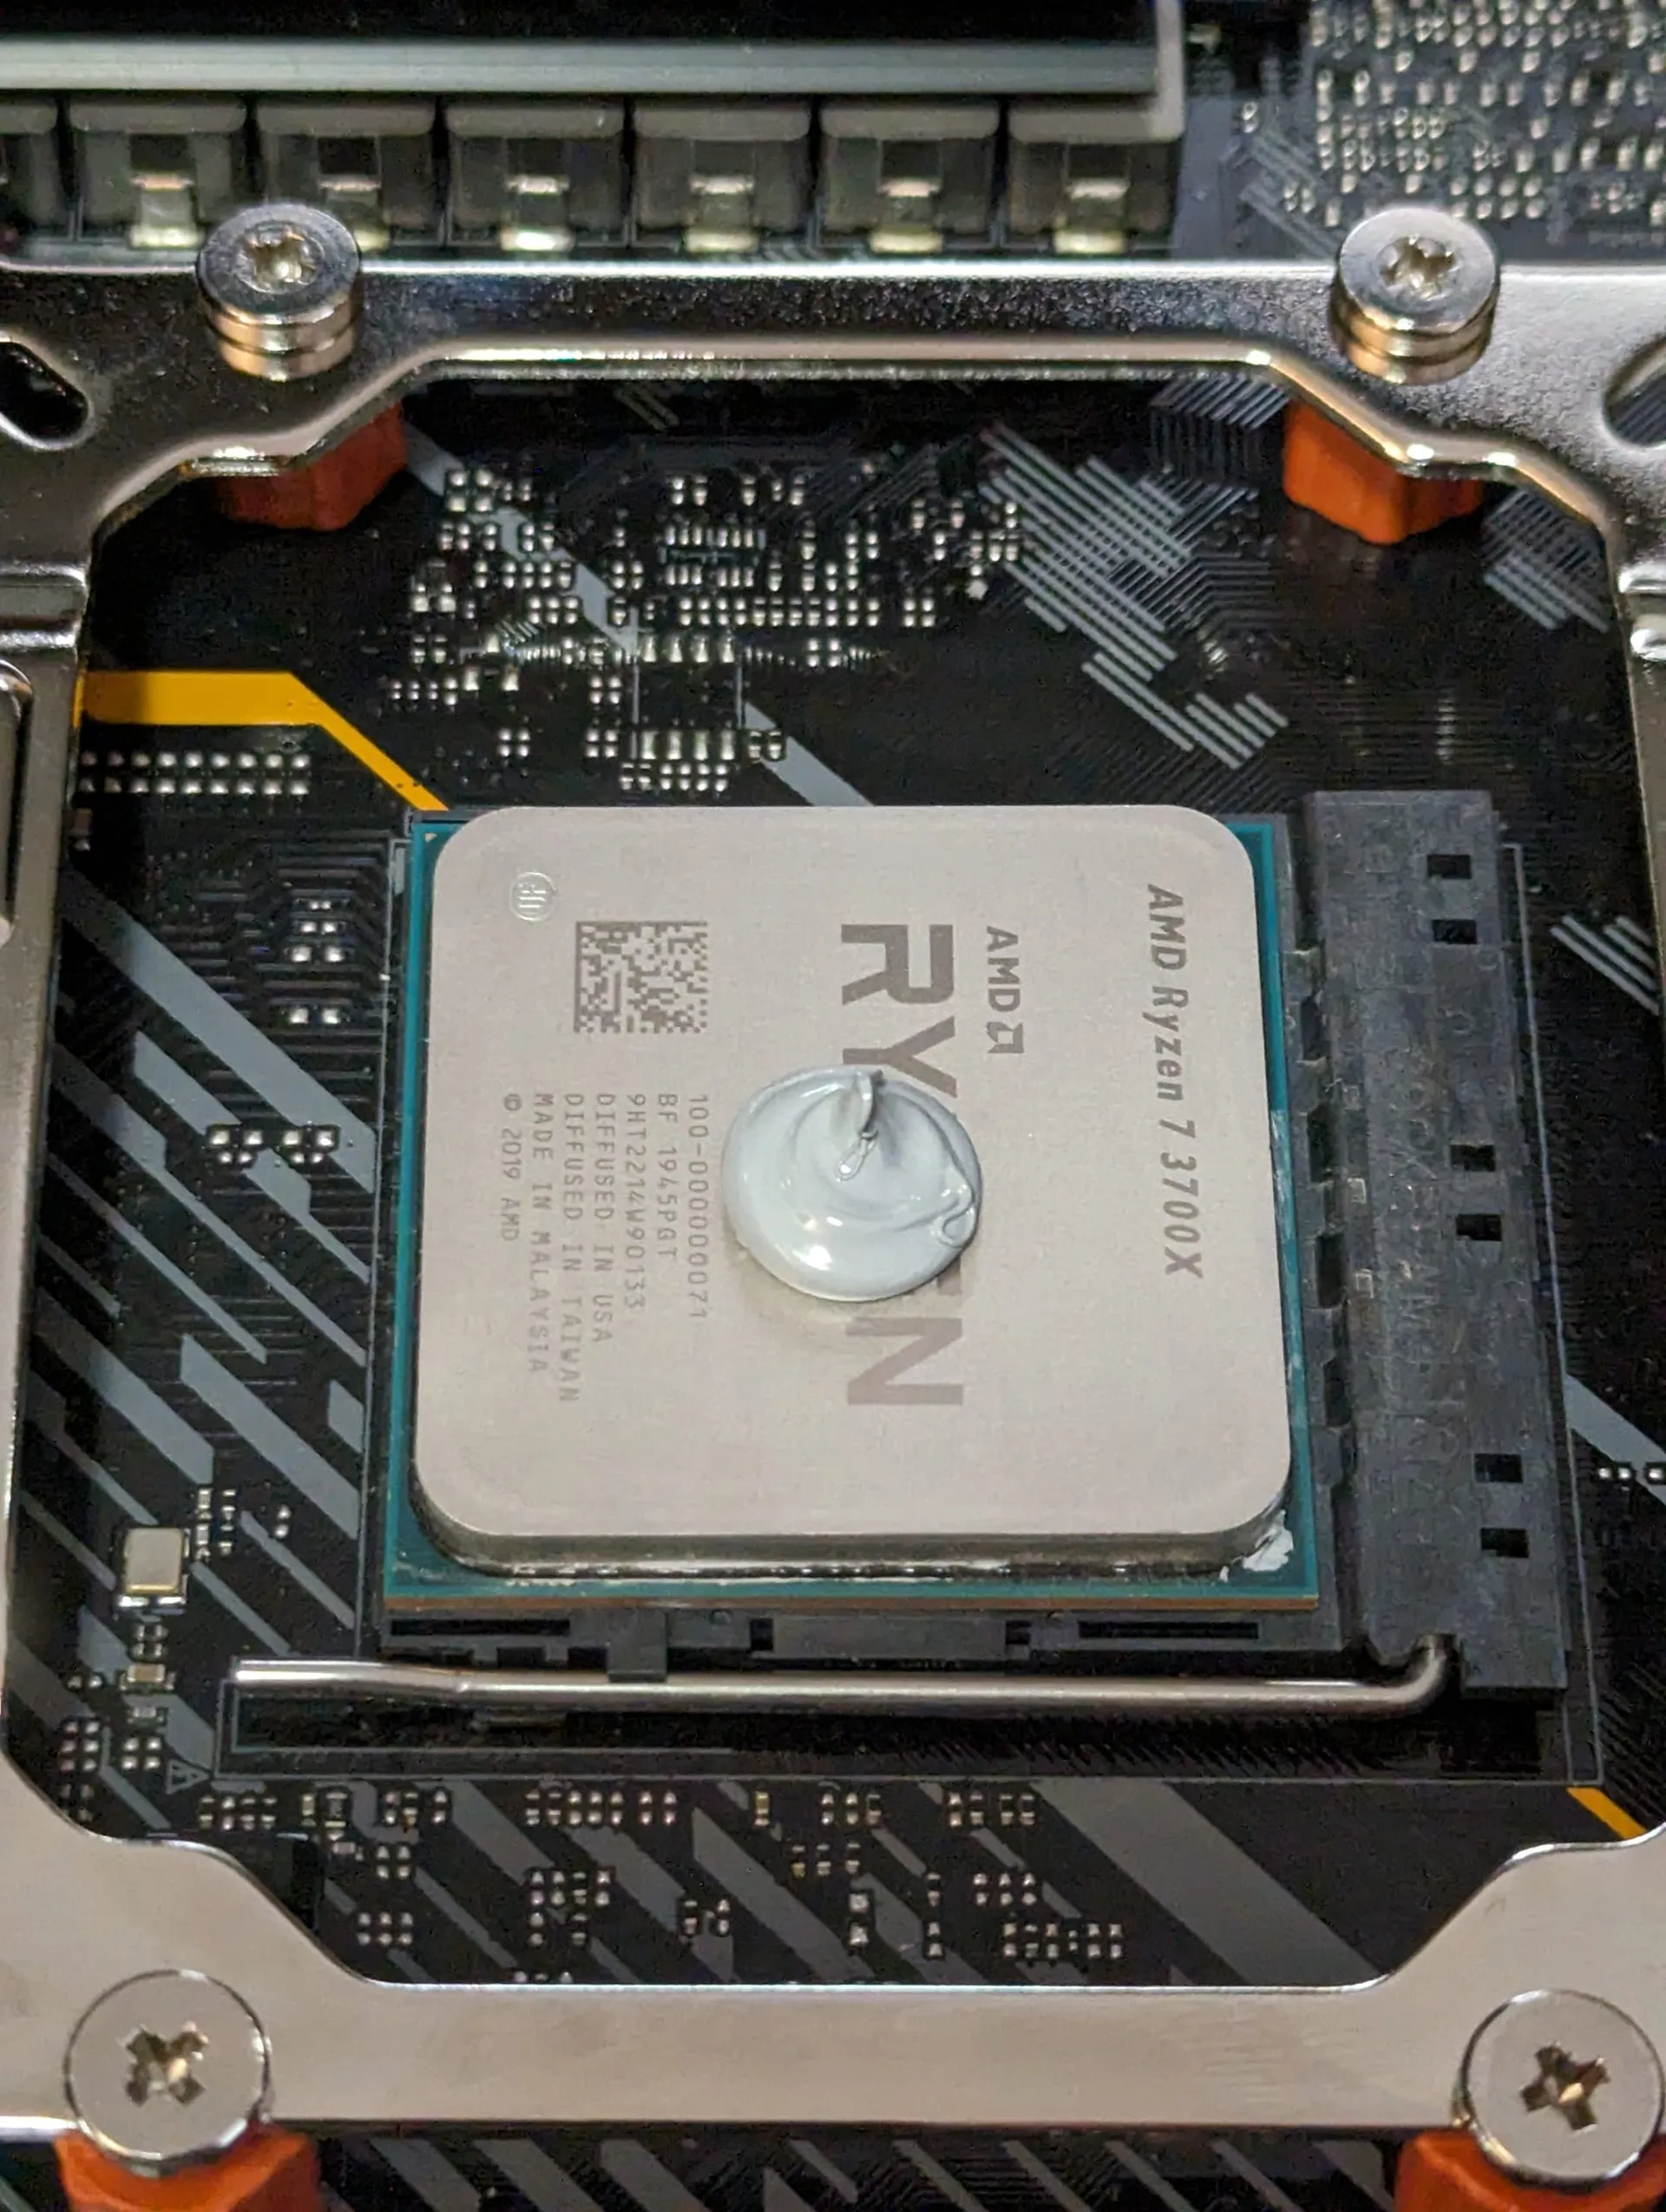
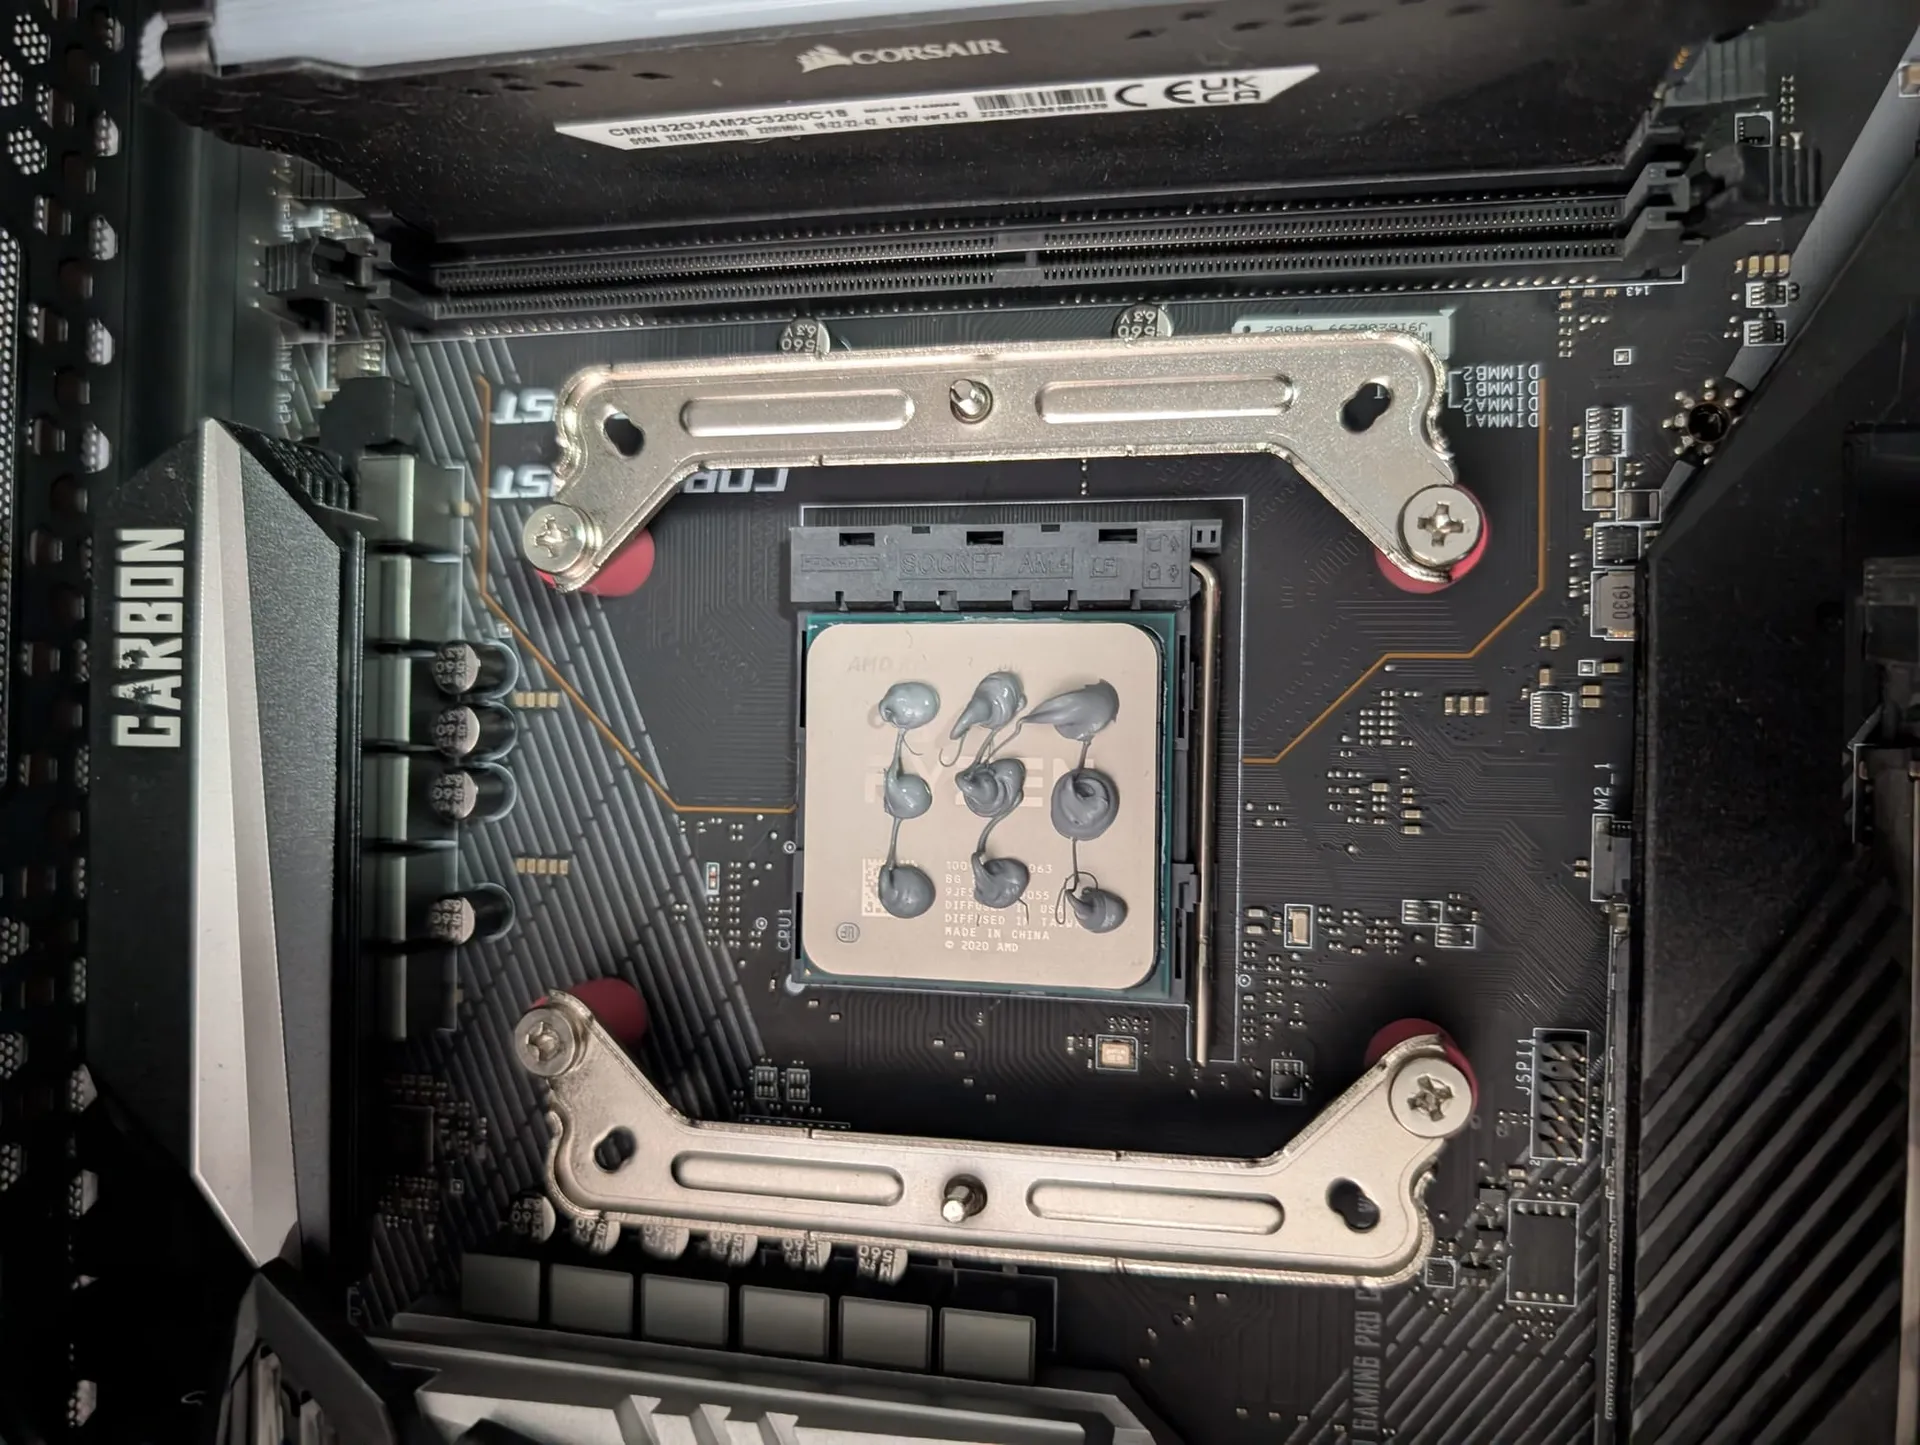
- You can use a single large "pea" of thermal paste, or multiple smaller dots, doesn't really matter so long as you use thermal paste!
🩺 Case Study: Resolving a 12-Drive RAIDZ2 "Brain Pool" Glitch
Recently, my own brain pool (a 12-drive RAIDZ2) was slowly but continuously throwing Write Errors.
scsi-35000c50062c0fba3  ONLINE  0  1  0
scsi-35000c50062c1017b  ONLINE  1  0  0
On the surface, it looks like two dying drives. But a deep dive into the Non-medium error count showed 1,477 communication blips. The drives were fine; the infrastructure was failing.
- The Culprit: Likely a combination of a SAS cable wiggling loose and a missing auxiliary power cable on the HBA card.
- The Lesson: Before you spend $200 on a replacement drive, spend $0 on a screwdriver and 15 minutes on a "Homelab Physical."
I simply re-seated the cables to the drives, and connected the "optional" auxiliary power cable for the HBA card. This was before I upgraded the HBA to the 9400 even! As we used to tell each other in the Army - KISS: Keep It Simple Stupid!
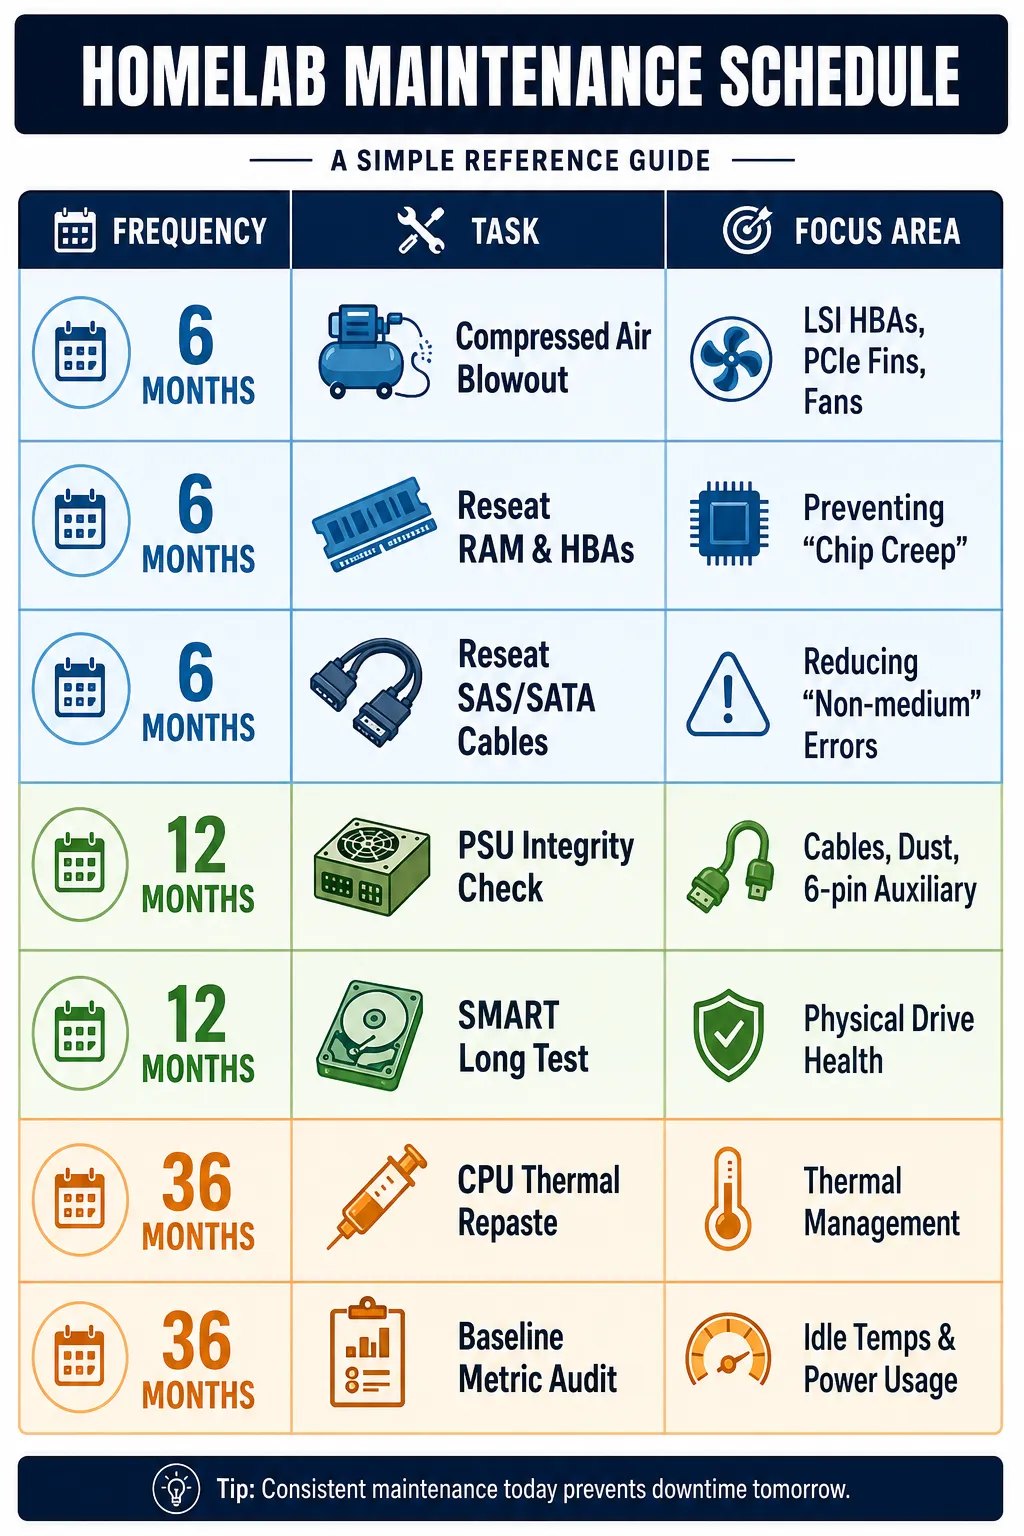
📋 The Maintenance Checklist
🛠️ Frequently Asked Questions
What is "Chip Creep" and how does it affect my server?
Chip creep is the gradual unseating of integrated circuits or components from their sockets due to repeated thermal expansion and contraction. In a homelab environment where servers may experience heavy loads (like ZFS scrubs or Plex transcodes) followed by idle periods, components like RAM and HBA cards can literally wiggle loose over time, leading to intermittent boot failures or "drive not found" errors.
Is a ZFS Scrub enough to check my drive health?
No. A ZFS scrub verifies the integrity of the data and parity, but it doesn't necessarily stress the mechanical components of the drive. A SMART Long Test performs a complete scan of the drive's surface and internal diagnostics, which can identify physical head or platter issues that a scrub might miss until it's too late.
Can I use a household vacuum to clean my server?
It is generally discouraged. Household vacuums can generate significant static electricity at the plastic nozzle, which can discharge into sensitive components. It is much safer to use compressed air or a purpose-built ESD-safe electric duster to blow dust out of the chassis.
Why is the "Molex to SATA" rule so important?
Low-quality Molex-to-SATA adapters are often manufactured using an injection-molded process that can allow the internal pins to move and bridge, causing a short circuit and potentially a fire. Given the high power draw of enterprise-grade SAS drives and HBA cards, these adapters are a common point of failure in custom NAS builds. I do not recommend them if at all possible, to avoid.
How often should I replace thermal paste on a home server?
For a server running 24/7, replacing thermal paste every 3 to 5 years is a good practice. Over time, the paste can dry out and lose its efficiency, leading to higher idle temperatures and increased fan noise. If you notice a 5-10°C creep in your baseline idle temps, it’s time for a re-paste. I have seen where there's barely any noticeable change in temps over even 5 years, but just keep an eye on it after a few years.


Member discussion