When Power Outages Break Everything: Recovering an OMV8 NAS After Filesystem Corruption, Kernel Drift, and DKMS Failure
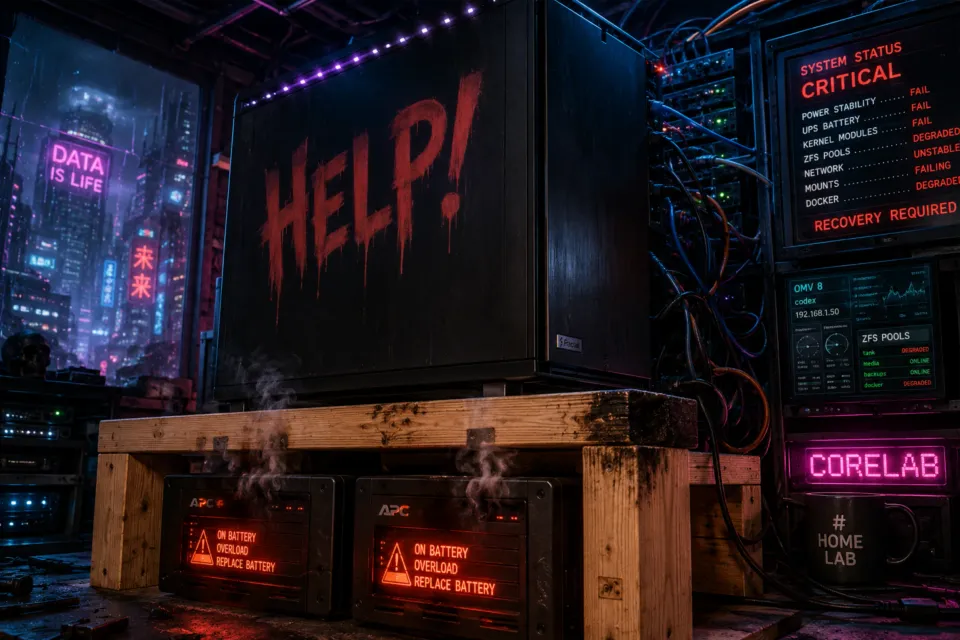
Power outages are annoying. Rolling brownouts that slowly corrupt a production NAS, break your boot environment, desynchronize your kernel stack, and leave NVIDIA + ZFS fighting your package manager?
That is a completely different level of infrastructure chaos.
Recently, my primary OpenMediaVault 8 server (Codex) went through exactly that nightmare scenario following a series of unstable regional power events and the final, ungraceful hardware death spiral of an aging UPS backup unit.
What followed was a frantic, full-stack recovery involving:
- Bootloader and GRUB manipulation
- Low-level ext4 and vFAT filesystem repair
- OMV interface network restoration
- Out-of-tree ZFS module rebuilding
- Decoupling a fragmented DKMS ecosystem
- Purging broken NVIDIA driver hooks
This post serves as both an infrastructure post-mortem and a definitive technical recovery guide. If your own Debian or OpenMediaVault storage node ever experiences a cascading power failure, this is how you systematically isolate the damage and bring your data back online, safely.
🖥️ The Node Configuration: Codex
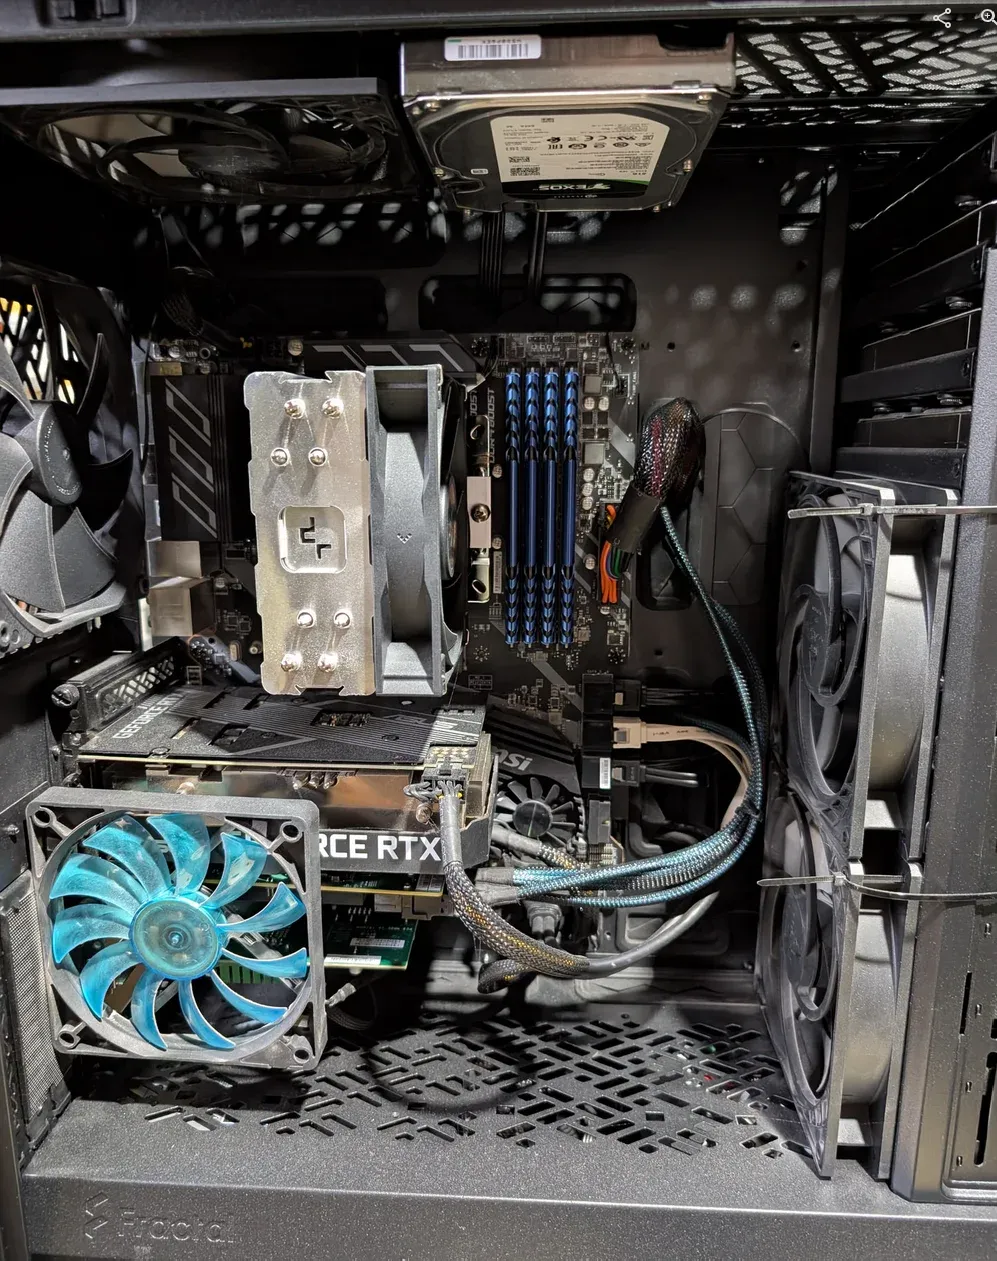
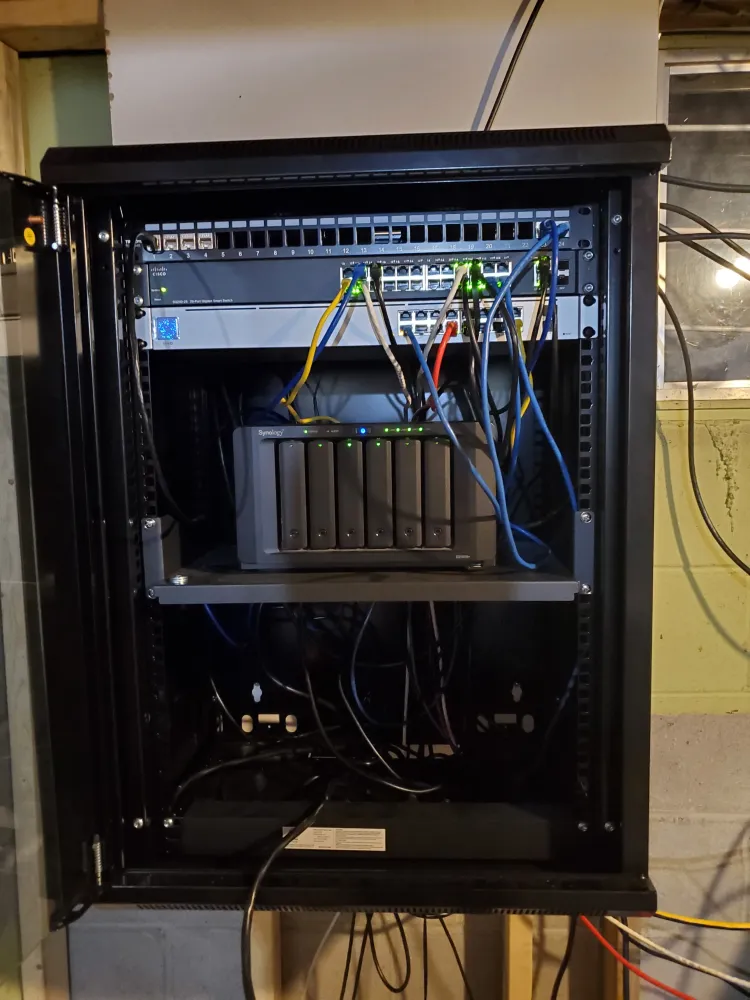
To understand why the failure cascade was so severe, it helps to understand how heavily this single storage node is leveraged. Codex is a highly customized, multi-layered environment:
- OS: OpenMediaVault 8 (Running on a Debian 13 base)
- Boot Medium: An older 128GB Kingston SATA SSD in an external USB 3.0 enclosure (maximizing every ounce of lifetime value out of legacy hardware)
- Storage Layer: High-capacity ZFS storage pools (2)
- Compute: Docker workloads managed via Compose CLI & Dockhand
- Hardware Acceleration: An NVIDIA RTX 3060 dedicated to Plex/Jellyfin transcoding and real-time Frigate AI object detection pipelines, Immich, etc... 50+ Containers!
- Mount Layer: Custom systemd storage mount units alongside remote NFS links to secondary backup chassis
This platform has run flawlessly for years. However, this outage highlights a fundamental truth of system architecture: complexity introduces instability, and when a physical event occurs, every layer of abstraction becomes a potential failure point.
📉 The Root Cause: Rolling Brownouts & UPS Exhaustion
The initial failure wasn’t caused by unstable software; it was a physical infrastructure collapse. A series of lightning-fast grid brownouts caused rapid, repeated power cycles before the UPS internal battery could execute a clean AC-to-DC handoff.
- UPS battery degraded
- Brownout conditions caused unstable power delivery
- System lost power repeatedly; unclean shutdowns
- Multiple unclean filesystem states accumulated
- Boot SSD eventually entered a partially corrupted state
This is one of the more dangerous failure modes for homelabs because it doesn’t always present as immediate catastrophic failure. Instead, corruption accumulates quietly until the next reboot exposes everything.
🔍 Phase 1: Overcoming the "Kernel Not Found" Boot Loop
Upon attempting to boot the server post-outage, the system instantly stalled out at the GRUB menu. The default boot path was broken, throwing an immediate "Kernel Not Found" exception.
Fortunately, legacy fallback kernels were still cached inside the local file allocation tables. Dropping into the GRUB Advanced Boot Options allowed me to successfully drop the system into an older fallback kernel framework (v6.19.x).
This provided an immediate diagnostic clue: the host wasn’t completely dead. It was fragmented. Certain core system components were perfectly intact, but the underlying kernel configurations had drifted out of alignment.
On reboot, the system failed to locate the expected Linux kernel. The default boot path was broken. Fortunately, older recovery kernels were still available through GRUB advanced options, which allowed the system to boot using an earlier kernel version v6.19.x, thank heavens!
This immediately revealed an important clue:
The system wasn't fully dead; it was fragmented. Some kernel components remained intact while others had become inconsistent.
🧰 Phase 2: Surgical Filesystem Repair on Scrap Hardware
With a terminal session established via the fallback kernel, it was time to assess the structural integrity of the boot SSD. Yes, running an operating system off a legacy 128GB Kingston drive in a USB enclosure sounds high-risk—but with strict backup habits, running older hardware until the silicon quits is an excellent way to eliminate e-waste.
I dropped the system into single-user maintenance mode and forced a structural file check against the unmounted boot block partitions:
fsck.ext4 -f -y /dev/sdb2
fsck.vfat -a /dev/sdb1
The repair utilities found and corrected an absolute mess of structural errors:
- Extensive ext4 directory metadata inconsistencies
- Multiple broken extent tree optimization allocations
- A dirty FAT boot partition state across the primary EFI directory
- Intermittent IO read errors on legacy system log sectors
At this point the system still did not boot into the v7.x linux kernel... I was confused... Then I remembered I ran into an issue upon my last OMV upgrade and that I was sort of "stuck" with v6.19 and had to wait!
The Linux v7.x Kernel vs. ZFS Compatibility Wall
Even with the filesystem clean, the server flatly refused to boot into the newly updated v7.x Linux kernel line. Then the technical reality hit me.
OpenMediaVault 8 was leveraging ZFS v2.4.1, which does not yet include stable upstream support for the bleeding-edge Linux v7.x kernel branch (that requires ZFS v2.4.2, which hadn't cleared the OMV upstream software repositories yet).
My mistake? I had modified my system packages previously to test a newer kernel, but I failed to pin the working kernel version and forgot to cleanly purge the incompatible v7.x remnants from my GRUB boot configuration when I rolled it back. The package manager was trying to force a boot version that the active storage module physically couldn't map to.
Once I pinned the kernel version, cleared apt repos and updated my bootloader, ALL WAS WELL.
Verifying the Disk Health via SMART
Before spending hours fixing configuration errors, you must verify that the underlying silicon isn't physically dying. Running a swift smartctl -a /dev/sdb brought back highly reassuring data:
- The Good: Zero reallocated sectors, zero catastrophic media log errors, and no write failure escalations.
- The Bad: 106 cumulative raw unsafe shutdowns, SATA link reset events, and an overall SSD remaining life metric sitting at 47%.
The verdict: The drive wasn't dying; it had simply been severely abused by the raw power outages.
🛟 Step 3: Securing the Escape Hatch (Backups to the Rescue)
Before doing anything risky, I copied the latest OMV backup archive to external media. I've been doing automated backups with omv-regen for quite some time now, beautiful and simple tool!
 xhente
This turned out to be one of the most important decisions during recovery.
Even though some older backup files generated read errors, the latest backup copied successfully. That gave me a clean recovery anchor. I then copied this off the original drive to a USB stick, another drive, and my workstation Dirty Snow.
The Golden Homelab Rule: Never attempt to troubleshoot complex kernel or module issues until you have verified and physically isolated your latest configuration state & backups on separate hardware!
🌐 Phase 4: Fixing Restored Interface & Network Renaming Faults
Once the base OS layer stabilized on the v6.19.x kernel, the next hurdle appeared: Networking was completely dead. Dropping an ip a command into the terminal revealed that my entire OMV interface mapping configuration was missing! 😨
I tried to drop the network settings straight back in from the fresh omv-regen backup repository. It should have worked flawlessly, but it failed immediately.
Why? Because of hardware interface enumeration changes. When the system booted into a radically different kernel version while sorting out filesystem discrepancies, the system’s udev rules and kernel naming schemas reordered the physical network interface card (NIC) assignments. I completely forgot about this very Linux-y behavior.
The restored configuration file was trying to send data packets to interface names that no longer existed on the OS layer. To fix this, I had to manually drop into the OpenMediaVault console and edit each of my network configuration files by hand, and change all the interface names...
These files are all located on OMV in:
ls /etc/netplan/
10-openmediavault-default.yaml    20-openmediavault-enp39s0.yaml       50-openmediavault-enp37s0f1.50.yaml  50-openmediavault-enp37s0f1.8.yaml
20-openmediavault-enp37s0f1.yaml  50-openmediavault-enp37s0f1.42.yaml  50-openmediavault-enp37s0f1.7.yaml
I had to rename each of these, and go in and edit them and put the new interface names in, then restart OMV!
In most cases, that would be the easier fix!
⚙️ Phase 5: Resolving the Multi-Kernel DKMS & NVIDIA Module Drift
With the network back up, I hit the real core of the technical disaster: ZFS storage pools refused to import 😰 The system threw missing kernel support errors caused by a severe Dynamic Kernel Module Support (DKMS) version mismatch.
Because of my previous software updates and experimental rollouts, the OS drive was holding a fragmented mix of three distinct kernel header trees:
- The original stable v6.12/v6.13 lines
- The newly target v6.19 suite
- Unfinished, partially installed v7.x developer headers
Whenever APT or dpkg tried to run an update, the DKMS automated hooks would execute and attempt to compile the out-of-tree ZFS and NVIDIA modules against all installed kernel variants simultaneously.
Because ZFS physically could not compile against the unreleased v7.x header components, the entire DKMS compilation routine would violently abort. In the Debian package ecosystem, if a single DKMS hook crashes out, the entire package manager execution loop locks down. APT became broken, preventing the system from finalizing the installation of runtime userspace packages for the NVIDIA graphics cards.
The Fix: Ruthless Kernel Consolidation & Pinning
The solution here was to stop chasing bugs across multiple kernel versions. When your homelab encounters severe module drift, select one stable kernel version that satisfies your software dependencies and purge everything else.
I chose to standardize on Linux Kernel v6.19. Why? In a high-density system running 64GB of DDR4 RAM, the memory allocation architectures inside v6.19 provide a visible 30% reduction in idle system memory overhead, offering far more dynamic, efficient caching for active containers.
To force the system back into alignment, I executed a hard package stabilization cleanup routine:
# 1. Force clear lockouts and remove the incompatible kernel elements cleanly
sudo apt-get purge linux-image-7.*linux-headers-7.*

# 2. Re-trigger the configuration engine to build modules exclusively for the active v6.19 kernel
sudo dpkg --configure -a

# 3. Clean out the local apt repositories and sync the GRUB bootloader profiles
sudo apt-get autoremove && sudo update-grub
Once the broken v7.x header assets were wiped from the file system, the DKMS hooks completed cleanly. The ZFS modules compiled perfectly against the v6.19 kernel, and the system instantly recognized the underlying storage arrays on the next initialization loop without a single byte of data loss.
🎬 Phase 6: Restoring the NVIDIA Transcoding Architecture
With ZFS stable, the final step was resolving the broken state of the NVIDIA graphics driver engine. Codex relies on a dedicated RTX 3060 to handle heavy computational lifts:
- Hardware-accelerated Plex and Jellyfin multi-stream 4K transcoding
- Low-latency GPU-accelerated container microservices
- Real-time high-frame-rate Frigate surveillance analysis
Because the package manager state had been interrupted by the previous DKMS failures, the NVIDIA userspace libraries and underlying kernel modules had desynchronized.
With the package manager clean, I forced an unthrottled reinstall of the core driver deployment packages:
sudo apt-get install --reinstall nvidia-kernel-dkms nvidia-driver linux-headers-$(uname -r)Then I was prompted by the NVIDIA installer that it detected a previous driver, probably installed manually. The install failed, I remembered I manually installed NVIDIA drivers v590, and I do manually update the driver so I can maintain compatibility with the famous NVIDIA driver patch for unlocking multiple transcoding streams, past the NVIDIA hardcoded limit.
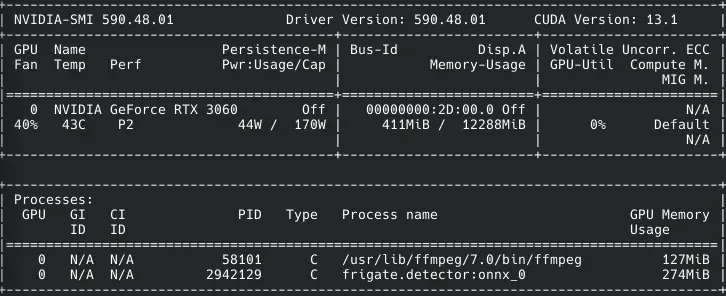
A quick host reboot followed by executing nvidia-smi confirmed that the card was back online, running cool, and actively picking up transcoding streams from my media containers.
🧠 Technical Post-Mortem: The Hard Lessons of Systems Architecture
This outage was a harsh but valuable reminder of how interdependent modern self-hosted stacks really are. When a major physical event hits your server rack, your infrastructure is tested across every single layer of abstraction:
[ Physical Power Grid ] ──► [ UPS Battery Layer ] ──► [ ext4/vFAT Storage Silicon ]
                                                                 │
[ Container Runtimes ] ◄── [ DKMS Module Compile ] ◄── [ GRUB / Kernel Abstraction ]
When things go wrong, remember these five operational rules:
- UPS Protection is Binary: A degraded or unmaintained UPS is exactly the same as having no UPS at all. Never ignore low-voltage or battery exhaustion flags in your logs.
- KISS (Keep It Simple, Stupid): Do not let legacy or experimental kernels accumulate inside your boot image storage. If you roll back a kernel environment, completely remove the unused headers immediately to protect your DKMS build tools!!!
- ZFS is Radically Resilient: While the Linux kernel module ecosystem is an abstraction layer that can break, the actual structural on-disk data inside your ZFS storage pools is incredibly tough. The pools survived the power failures and kernel swaps completely unscathed.❤️
- Package Faults Can Be Deceptive: An intimidating, multi-page APT installation error does not mean your server is dead. It usually means a single automated script hook is failing behind the scenes.
- Pin Your Environment: Once you find an advanced kernel architecture that provides major resource efficiencies (like the memory optimizations inside v6.19), pin it inside your system configurations until your underlying storage blocks officially support the next major upstream upgrade path.
Codex is fully restored, hardened, and holding the line. Keep your configurations clean, maintain your physical backup nodes, and stop chasing every novel update when server uptime is what actually matters!
📚 Related Core Lab Engineering Guides
- Deploying OpenMediaVault 8: Complete Server Setup, Optimization & Container Storage Mapping
- The Advanced ZFS Blueprint: Dataset Design, Caching Strategy & Silent Corruption Prevention
- NVIDIA Pass-Through Masterclass: Setting Up GPU Acceleration for Plex, Jellyfin & Docker
- The Zero-Trust Backup Routine: Automating Fail-Safe Daily Infrastructure Backups with regex (simple!) omv-regen

Member discussion