
Take Control of Your Photos/Vids: A Deep Dive into Immich!
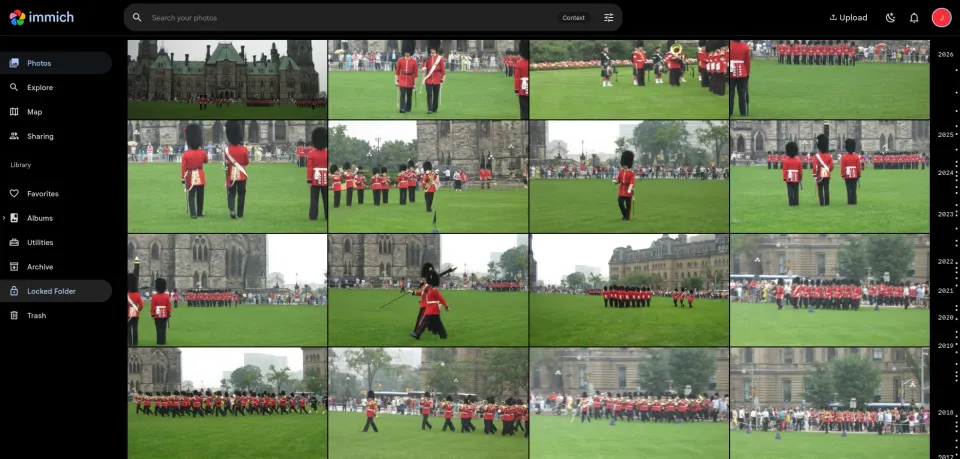
Introduction: What is Immich?
Immich is a self-hosted photo management application designed for photographers, families, and prosumers who are serious about taking control of their digital memories. The biggest pain points Immich addresses are escalating storage costs with cloud services and the growing concern about data privacy. Unlike cloud-based services, Immich stores your photos and videos directly on your own hardware, giving you unparalleled control and peace of mind. It's not just a backup; it’s a full-fledged photo management system with features like facial recognition, geolocation tagging, maps, albums, and even basic editing.
Immich vs. Google Photos: Why Self-Hosting Matters
Google Photos has been the dominant player in photo storage for years, offering convenience and automatic backups. However, relying on a third-party service like Google Photos comes with significant trade-offs. Your photos are stored on Google’s servers, subject to their terms of service, and potentially vulnerable to data breaches or changes in their policies.
Immich offers a compelling alternative. Here’s a breakdown of the key differences:
- Privacy: You own your data. No tracking, no selling of your data, just you and your photos & videos.
- Control: You decide where your photos are stored, how they’re backed up, and how they’re managed and what quality to keep them at.
- Cost: While there’s an initial investment in hardware, you avoid ongoing subscription fees.
- Features: Immich’s features are often more customizable and powerful than Google Photos, believe it or not. EEsscccuusseee me you say? How...
Let's Explore some key differences between the two... And pop-out toggles for detailed configurations!
- Timeline – More Than Just Dates: The Immich Maps feature isn't just a geographically represented flat map. It’s a dynamic, interactive map overlaid with your photos, allowing you to visualize your memories geographically. You can add locations manually or let Immich automatically tag photos based on GPS data. It’s far richer than Google’s basic timeline and far far less creepy!
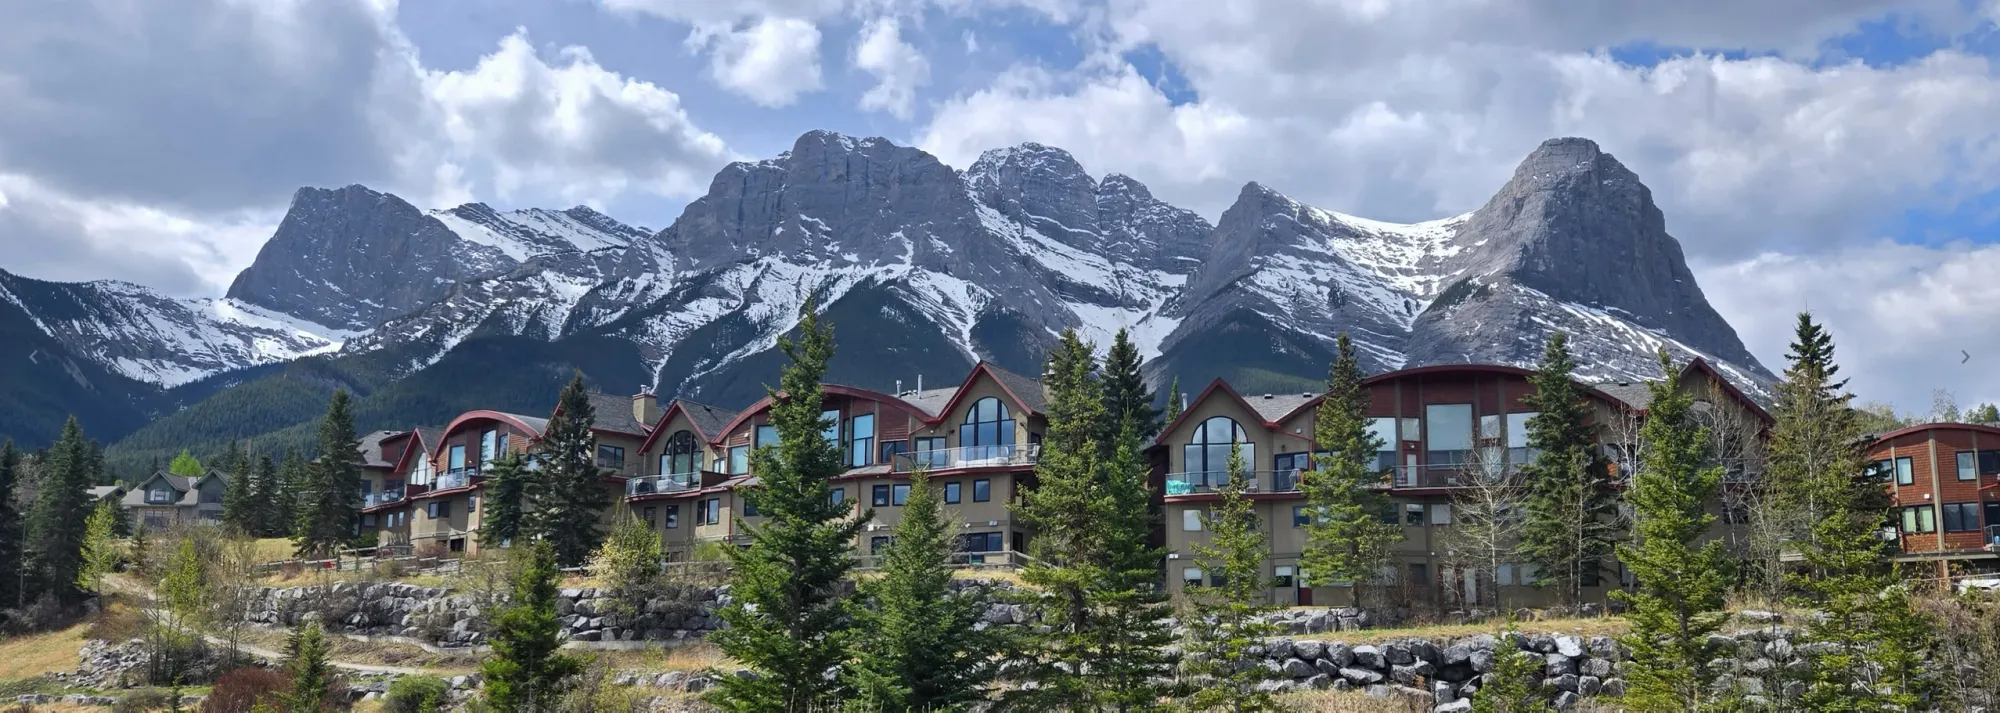
Advanced Maps Configuration
The default map is fine, it works, it's greyscale. BUT - The Immich team and devs created the choice to configure your own map settings in there!
Breadcrumb in Immich, navigate to Administration --> Settings --> Map & GPS Settings and expand the Map Settings subsection.
You'll notice you have some choices there if you "Enable map features" and have the option of Light and Dark style maps. If you follow Immich documentation you can create any kind of map you want basically, for free!
They've done such a great job documenting things you don't honestly need me to do it, and if you do, leave a comment!
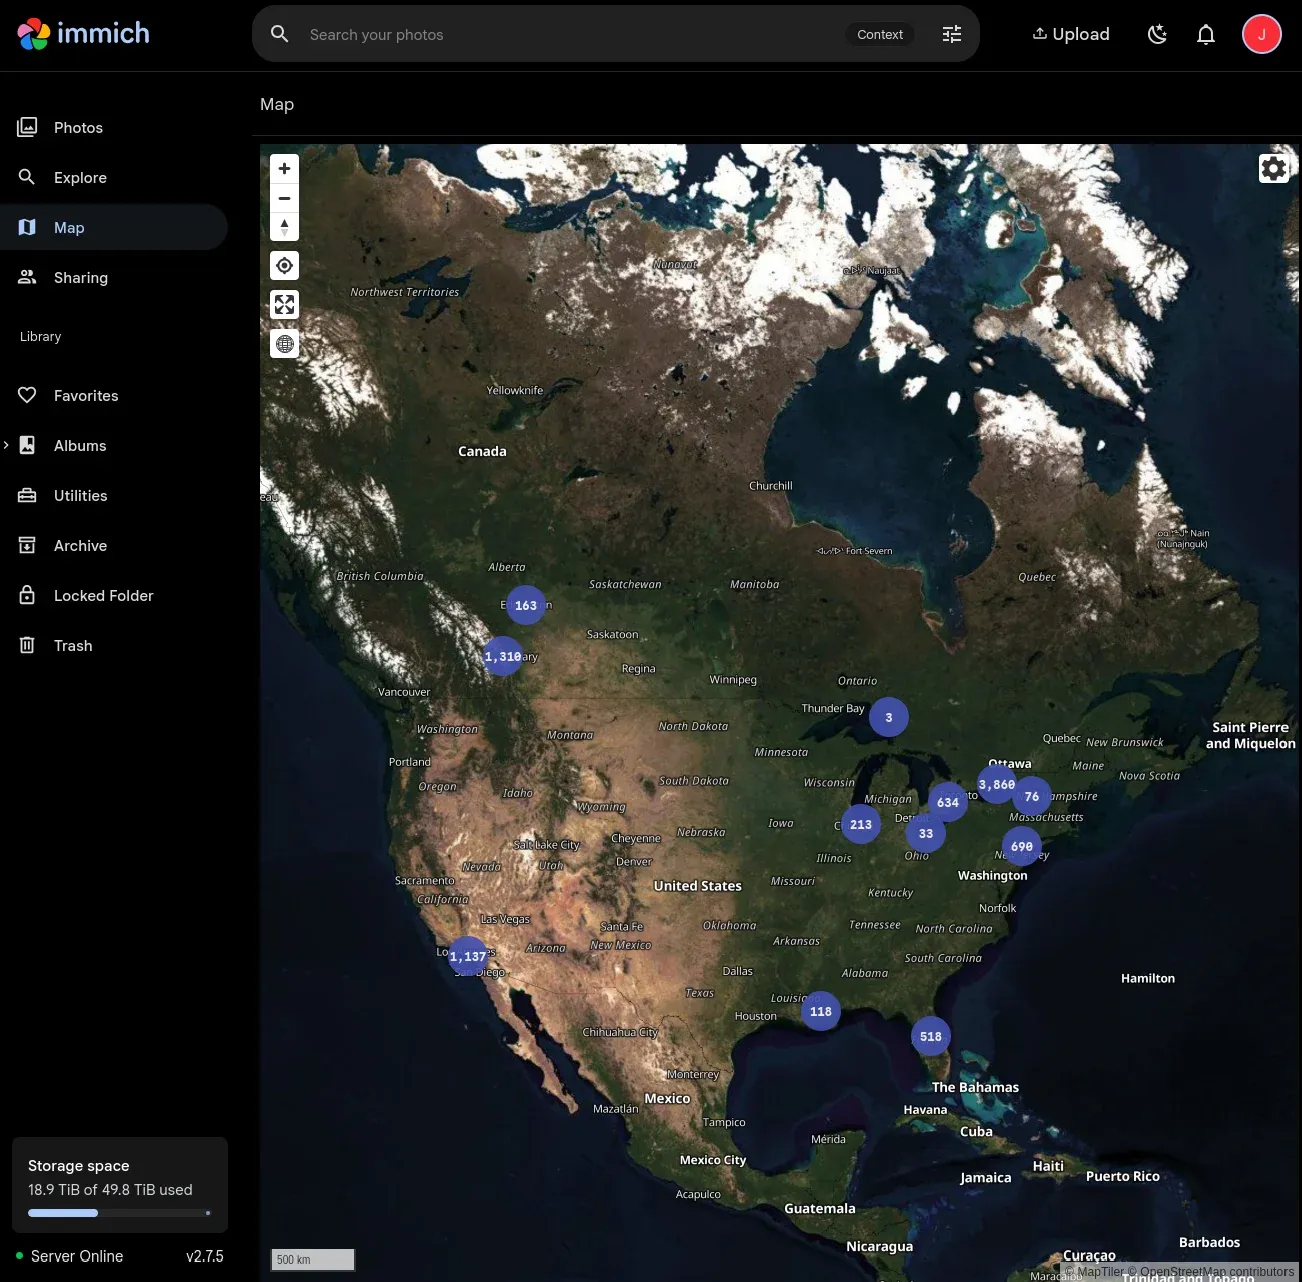
- Advanced Facial Recognition – Powered by Your Choice: Immich’s facial recognition is a core strength. Unlike Google’s, you have complete control over the AI powering it. You can choose to use a local, self-hosted AI model (like Ollama or others) for enhanced accuracy and privacy, or utilize a cloud-based option if you prefer. This gives you far greater control over how your photos are analyzed and secured. It's not just about recognizing faces; it’s about owning the technology used to identify them.
Facial Recognition Settings
If you have a large amount of assets (pics), at least ~40k-100k, you can "tune" the facial recognition settings to get better results. Note that this is a bit of a finesse thing and you should read Immich docs to fully graps what this does. I changed my settings to utilize the buffalo_l (large) model which utilizes more resources but generally produces better results.
Once you change the settings here to what you want, you have to reset all facial recognition as well!
Go to:
Admin → Administration → Settings → Jobs
FACIAL RECOGNITION → Reset
Advanced Setup - Hardware Accelerated via GPU!
If you deployed your Immich with NVIDIA GPU enabled, and the CUDA machine learning image pulled, you can enjoy hardware accelerated facial recognition which is wildly faster than just CPU.
- Smart Search – Beyond Keywords: Immich’s search capabilities are incredibly powerful. You can search by date, location, people (thanks to facial recognition), keywords, and even objects detected within the photos – thanks to its object detection capabilities. It’s not just about searching for "dog"; it’s about finding all photos where a dog is present, assigning the dog a name, and it recognizes your fluffy friends regardless of the surrounding context.
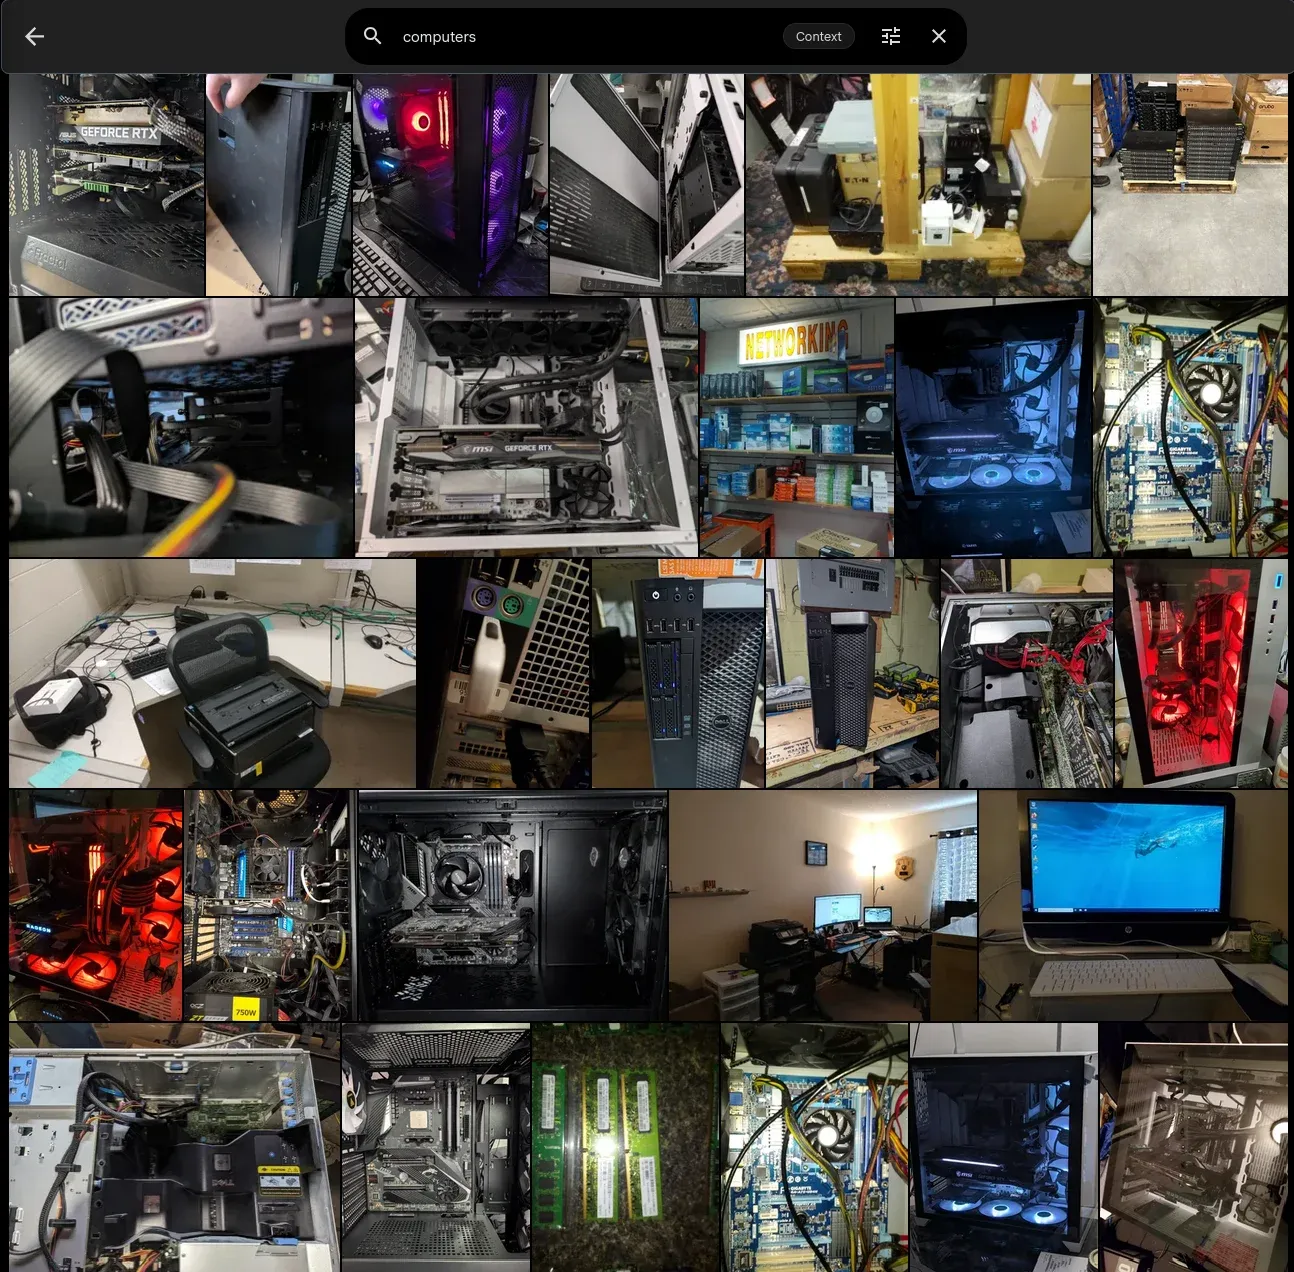
Advanced Smart Search Config
Here I went in and applied a different CLIP model for my smart search, I used is ViT-H-14-378-quickgelu__dfn5b
Basically some google-fu and Reddit led me to believe this was the sweet spot so I tried it out, reset all my smart search and voila - search works even better than it did before!
I changed the "Maximum detection distance" to 0.01 as I was getting to many duplicates and I like variation in my photos, like action sequences and I pick from the best / most applicable shot.
- Memories – Automated Highlights: The "Memories" feature automatically identifies and groups photos based on shared events, locations, or people. It intelligently creates themed collections, saving you the time and effort of manually organizing your photos. These aren't just random groupings; they're based on intelligent analysis of your photo data.
- Object Detection – Identifying What's in Your Photos: Immich utilizes object detection to identify objects within your photos, allowing you to search for specific items or scenes. Want to find all photos with a beach, a car, or a specific type of food? Immich can help.
- RAW Support & Editing: Immich natively supports RAW image formats, providing maximum editing flexibility. As of 2026, you can now edit your images directly inside the Immich web app and mobile app!
- Secure (ish) Sync (Optional): While self-hosting is the core of Immich, you can optionally sync your photos & videos from your various devices (Phones, tablets etc) to your self-hosted instance if setup properly, through a reverse proxy. This allows all the photos you take in a day to upload to your instance automatically, while you sleep soundly at night! Or you can have it sync live, on the fly and not wait for WiFi or charging. Up to you; beauty of opensource.
 Core Lab Joe
- There's also just accessing Immich from a VPN or something like Cloudflare Tunnels, Tailscale/Headscale etc... All completely viable and 'safer' options until you have MFA at least.
- Metadata Management: Immich excels at managing photo metadata, allowing you to add custom tags, descriptions, and keywords to your photos.
- It's important to acknowledge that Google retains a copy of your photos, even if you're using the free service. They analyze your images to improve their algorithms and can store them in a reduced quality, which may not be immediately apparent.
Implementing Immich with Docker: Step by step Guide!
Implementing Immich with Docker: A Step-by-Step Guide
For many, the easiest way to get started with Immich is through Docker. It's also the only way to run Immich!
Step 1: Install Docker and Docker Compose - docker setup guide coming soon(ish).
Step 2: Create a docker-compose.yml file if you don't have one already. You can download the sample from Immich directly and it will work right away in fact!
Step 3: Run Docker Compose: docker-compose up -d
Now let's dig in a bit here and I'll point of what I did differently compare to the default they give you. Here's the default config and I'll explain below why I did somethings a touch differently.
#
# WARNING: To install Immich, follow our guide: https://immich.app/docs/install/docker-compose
#
# Make sure to use the docker-compose.yml of the current release:
#
# https://github.com/immich-app/immich/releases/latest/download/docker-compose.yml
#
# The compose file on main may not be compatible with the latest release.

name: immich

services:
  immich-server:
    container_name: immich_server
    image: ghcr.io/immich-app/immich-server:${IMMICH_VERSION:-release}
    # extends:
    #   file: hwaccel.transcoding.yml
    #   service: cpu # set to one of [nvenc, quicksync, rkmpp, vaapi, vaapi-wsl] for accelerated transcoding
    volumes:
      # Do not edit the next line. If you want to change the media storage location on your system, edit the value of UPLOAD_LOCATION in the .env file
      - ${UPLOAD_LOCATION}:/usr/src/app/upload
      - /etc/localtime:/etc/localtime:ro
    env_file:
      - .env
    ports:
      - '2283:2283'
    depends_on:
      - redis
      - database
    restart: always
    healthcheck:
      disable: false

  immich-machine-learning:
    container_name: immich_machine_learning
    # For hardware acceleration, add one of -[armnn, cuda, rocm, openvino, rknn] to the image tag.
    # Example tag: ${IMMICH_VERSION:-release}-cuda
    image: ghcr.io/immich-app/immich-machine-learning:${IMMICH_VERSION:-release}
    # extends: # uncomment this section for hardware acceleration - see https://immich.app/docs/features/ml-hardware-acceleration
    #   file: hwaccel.ml.yml
    #   service: cpu # set to one of [armnn, cuda, rocm, openvino, openvino-wsl, rknn] for accelerated inference - use the `-wsl` version for WSL2 where applicable
    volumes:
      - model-cache:/cache
    env_file:
      - .env
    restart: always
    healthcheck:
      disable: false

  redis:
    container_name: immich_redis
    image: docker.io/valkey/valkey:8-bookworm@sha256:fec42f399876eb6faf9e008570597741c87ff7662a54185593e74b09ce83d177
    healthcheck:
      test: redis-cli ping || exit 1
    restart: always

  database:
    container_name: immich_postgres
    image: ghcr.io/immich-app/postgres:14-vectorchord0.4.3-pgvectors0.2.0
    environment:
      POSTGRES_PASSWORD: ${DB_PASSWORD}
      POSTGRES_USER: ${DB_USERNAME}
      POSTGRES_DB: ${DB_DATABASE_NAME}
      POSTGRES_INITDB_ARGS: '--data-checksums'
      # Uncomment the DB_STORAGE_TYPE: 'HDD' var if your database isn't stored on SSDs
      # DB_STORAGE_TYPE: 'HDD'
    volumes:
      # Do not edit the next line. If you want to change the database storage location on your system, edit the value of DB_DATA_LOCATION in the .env file
      - ${DB_DATA_LOCATION}:/var/lib/postgresql/data
    restart: always

volumes:
  model-cache:
Immich default docker-compose.yml
Joe's tweaks: I put ** in front and behind my customizations
Note: If you already have a .env file, you have to merge what Immich wants in their .env file with what you already have. If all else fails, just takeout the variables below and put the static configs in here. Example enstead of POSTGRES_USER: ${DB_USERNAME}, you'd put - DB_USERNAME=postgres and call it a day.
name: immich

services:
  immich-server:
    container_name: immich_server
    image: ghcr.io/immich-app/immich-server:${IMMICH_VERSION:-release}
**    extends:
         file: hwaccel.transcoding.yml
         service: nvenc # set to one of [nvenc, quicksync, rkmpp, vaapi, vaapi-wsl] for accelerated transcoding**
    volumes:
**    networks:
      corelab_net:
        ipv4_address: your_ip(Sample)**
      # Do not edit the next line. If you want to change the media storage location on your system, edit the value of UPLOAD_LOCATION in the .env file
      - ${UPLOAD_LOCATION}:/usr/src/app/upload
      - /etc/localtime:/etc/localtime:ro
    env_file:
      - .env
    ports:
      - '2283:2283'
    depends_on:
      - redis
      - database
    restart: always
    healthcheck:
      disable: false

  immich-machine-learning:
    container_name: immich_machine_learning
    # For hardware acceleration, add one of -[armnn, cuda, rocm, openvino, rknn] to the image tag.
    # Example tag: ${IMMICH_VERSION:-release}-cuda
    image: ghcr.io/immich-app/immich-machine-learning:${IMMICH_VERSION:-release}**-cuda**
    extends: # uncomment this section for hardware acceleration - see https://immich.app/docs/features/ml-hardware-acceleration
       file: hwaccel.ml.yml
       service: cuda # set to one of [armnn, cuda, rocm, openvino, openvino-wsl, rknn] for accelerated inference - use the `-wsl` version for WSL2 where applicable
    volumes:
**      - /opt/dockers/immich/ml:/cache**
    env_file:
      - .env
    restart: always
    healthcheck:
      disable: false

** KeyDB-Immich:
    container_name: KeyDB-Immich
    image: eqalpha/keydb:latest
    networks:
      corelab_net:
        ipv4_address: your_ip(Sample)
    healthcheck:
      test: redis-cli ping || exit 1
    restart: unless-stopped**

  database:
    container_name: immich_postgres
    image: ghcr.io/immich-app/postgres:14-vectorchord0.4.3-pgvectors0.2.0
    environment:
      POSTGRES_PASSWORD: ${DB_PASSWORD}
      POSTGRES_USER: ${DB_USERNAME}
      POSTGRES_DB: ${DB_DATABASE_NAME}
      POSTGRES_INITDB_ARGS: '--data-checksums'
      # Uncomment the DB_STORAGE_TYPE: 'HDD' var if your database isn't stored on SSDs
      # DB_STORAGE_TYPE: 'HDD'
    volumes:
      # Do not edit the next line. If you want to change the database storage location on your system, edit the value of DB_DATA_LOCATION in the .env file
      - ${DB_DATA_LOCATION}:/var/lib/postgresql/data
    restart: always
My specific config & customizations
Core Lab's Customizations:
- Immich: Uncommented the Extends and HW acceleration portions of the config, as I have an RTX3060 12GB to utilize for NVENC and CUDA.
- Immich: I slapped my own custom network and an IP onto Immich, as I wanted it to be accessible outside the host and on my own LAN.
- Immich ML: Changed the docker compose from using a docker managed volume to a bind-mount. This was partially vestigial from old config I had but also saves the work to re-download it if you do a "docker system prune -a" and wipe out all your volumes along with everything else. Either or, take it or leave it, I'm sure I'm wrong here.
- Redis/KeyDB: Swapped Redis for KeyDB! Redis has sort of turned to the Dark Side, and so I wanted to utilize and support whatever is/was free and opensource. The drop in replacement is KeyDB! It's faster than Redis, and completely drop-in ready... And completely FREE from the clutches of enshitification or chasing $$$. Doesn't get better...
From a Walk to a Run - Next Steps
Now that you have it running, you've performed your post-install configuration and you're ready to rock and roll, what's next?
Test drive things with your phone connected for a bit, get a feel for it, is it performant enough for you? See how it uploads and how the Map populates, how you enjoy the metadata living on your server and not Googles!
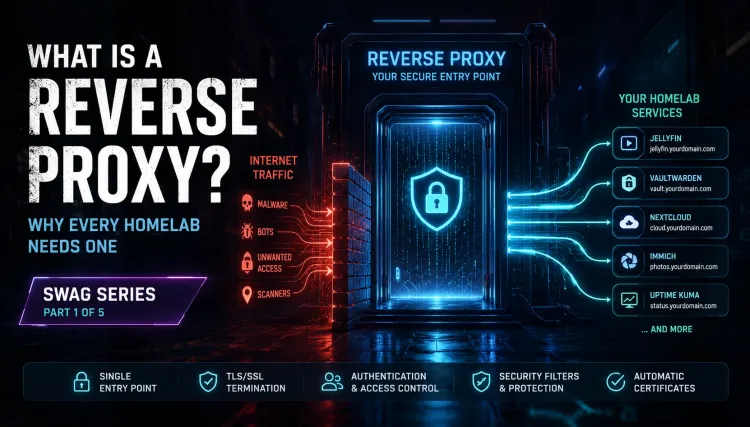
Then, when you're ready, fully connect it with SWAG / reverse proxy of your choice so you can access your pics/vids anywhere in the world and SYNC your vacations photos live, back home, safe and sound. You can lock it down to ensure it's safe as well by following Core Lab guides on Cybersecurity for Homelabs.
 Core Lab Joe
Then when you're really ready, dive in with Immich-Go! This allows you to take those sweet backups you grabbed from Google, and import them directly into Immich, WITH all the metadata!👇
Immich-Let's Go!
Taking us to memory freedom
- Install Immich-Go for your OS from the link here.
- Do your Google Takeout and backup all your photos; bigger the better that your WAN can handle downloading.
- Can export as .zip or .tgz
- Get your API key from Immich!
- Click your Avatar top right, select API keys and create a new key.
- I created mine with the ability to do everything except DELETE.
- Click your Avatar top right, select API keys and create a new key.
- Dry-Run things to see how it will work as it will give you some info on what it will do.
immich-go upload from-google-photos --dry-run --server=https://immich.yourdomain.com --api-key=yourownAPIkeyHERE "/download/path/to/takeout-*.zip"Give it time to dry-run all your files. Once it completes it will popup and tell you it's done and you can close the window, but review the info first. If it all looks good, import for REAL! Simply remove the --dry-run options and fire it up!
immich-go upload from-google-photos --server=https://immich.yourdomain.com --api-key=yourownAPIkeyHERE "/download/path/to/takeout-*.zip"This will take longer than the dry run but not by much, and it WILL show jobs processing on your server in the right hand side of the screen.
Once it's done login to Immich and take a peek... Once you've confirmed all the pics are there, time to delete the data from Google!
I left my photos in Google until I had a proper backup secured. My backup begins with a simple method, detailed here:
 Core Lab Joe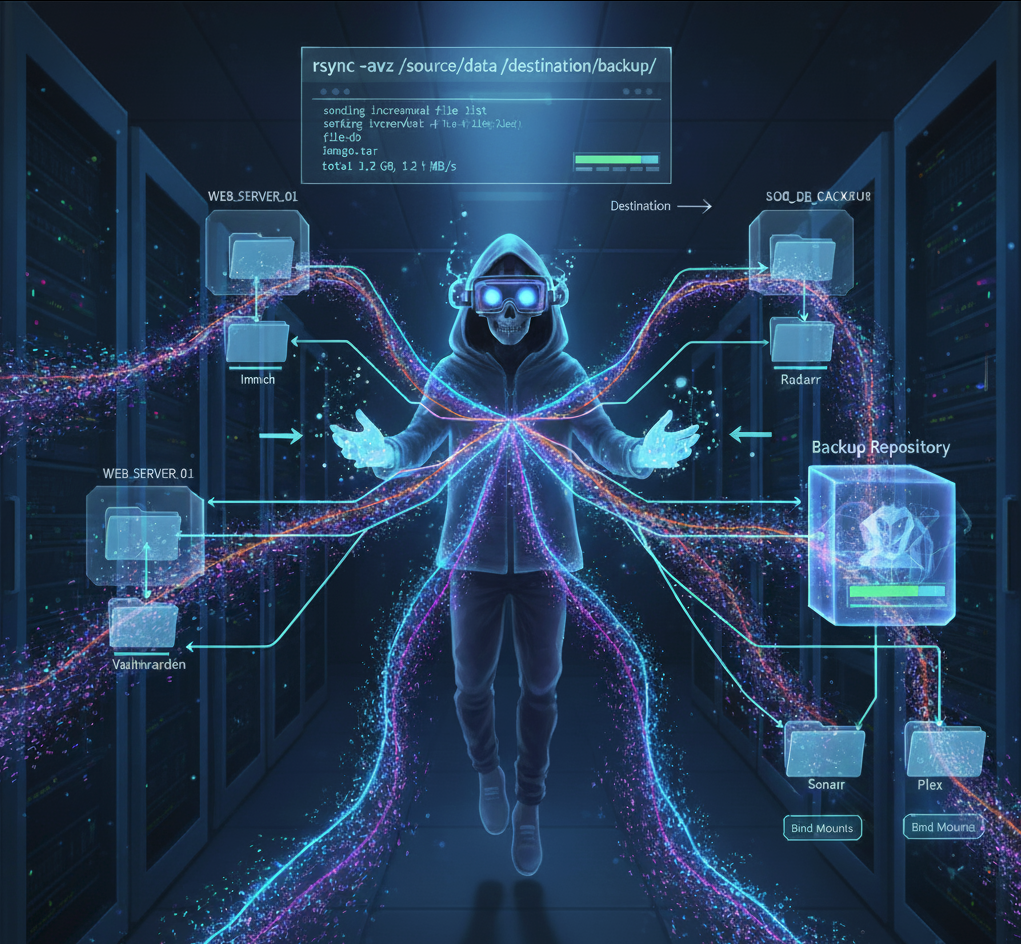
Now, enjoy your new super-usable awesome self-hosted google photos replacement!



Member discussion