
Cloudflare Advanced - Geoblocking, AI Scraping & Bruteforce Protection (2026)

Welcome back, fellow self-hosters! In part 1 of the Cloudflare series, we covered the basics of getting your Ghost blog set up with Cloudflare. Now that you're enjoying the CDN benefits, it's time to supercharge your security without spending a dime.
Cloudflare Free Tier Guides
Many Blog/Website/Webserver users, especially those running on smaller VPS instances, face a common problem: unwanted bot traffic. This consumes your server resources, slows down your site, and marks you as vulnerable for followup attacks.
Today, we're going to leverage Cloudflare's free plan features to create a robust security layer that targets common bot threats: geographic scrapers and brute-force login attempts. Although you can perform Geoblocking on a firewall, such as OPNsense, when you push this up the stack at a granular level like this, it further protects your self-hosted environment and gives you yet another layer of protection.
Step 1: The Geographic Firewall – Challenging High-Risk Countries
Your publicly hosted services have a global audience, but unfortunately, not all global traffic is friendly. Certain regions are statistically known for hosting a higher volume of scraper bots, vulnerability scanners, and other malicious automated traffic.
Rather than outright blocking these countries (which you could do, but if hosting a website, could harm legitimate visitors or even SEO), we'll implement a "Managed Challenge." This invisible test (or a quick "I'm not a robot" click) stops automated scripts dead in their tracks while letting real humans through effortlessly. It's a really nice and efficient way to clean up your traffic.
How to Set it Up:
- Log in to your Cloudflare Dashboard and select your domain (
corelab.tech). - Navigate to Security > Security Rules > Custom rules.
- Click the blue + Create rule button.
- Name the rule:
Challenge - High Risk Bot Countries.- Quick Explanation: This expression targets visitors from China, Singapore, Russia, Brazil, Vietnam, Indonesia, Ukraine, and Turkey. The crucial
and not cf.client.botpart ensures that legitimate search engine crawlers (like Googlebot) from these regions are not challenged. - Why Singapore? While not typically thought of as a bot origin, Singapore is a major data center hub. Many scrapers rent servers there for speed, making it a common source of automated traffic.
- There's been a huge uptick in bot traffic from Singapore since Oct 2025 even.
- Quick Explanation: This expression targets visitors from China, Singapore, Russia, Brazil, Vietnam, Indonesia, Ukraine, and Turkey. The crucial
- Under Then... Choose action, select
Managed Challenge. - Click Deploy.
Click Edit expression and paste the following:
(ip.src.country in {"CN" "SG" "RU" "BR" "VN" "ID" "UA" "TR"} and not cf.client.bot)
You've just deployed your first smart geographical security layer! Legitimate visitors from these countries will barely notice, but bots will find themselves stuck in a loop. Here's what this should look like:

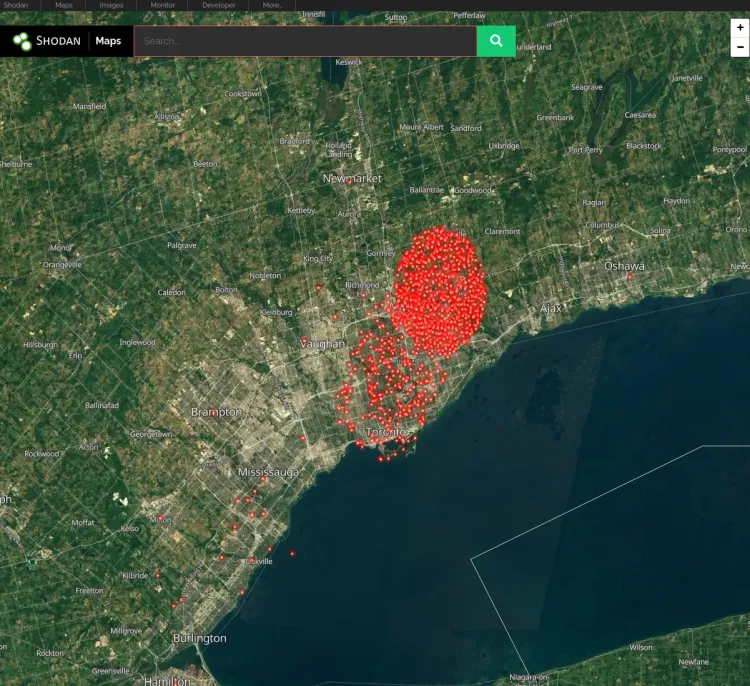
As you can see mine does get hits! In the next pic you'll see that within the last 24hrs 274 bots attempted to hit/scrape my site, with 7 being successful - these were extremely likely to be humans. Legitimate traffic!

Step 2: Fortifying Your Admin page – Stopping Brute-Force Attacks
This is perhaps the most critical security step for any self-hosted application. On the Cloudflare Free plan, you get one rate-limiting rule. We need to use this wisely to protect against the highest threat: brute-force login attacks.
I show this rule as an example of what you can do but if you want to protect a different service, you'll have to figure out what the path is for the custom expression shown below.
A bot relentlessly trying to guess your password can not only potentially compromise your admin account but also overload your server, causing a Denial of Service.
Important Note on the Free Plan's "One Rule":
Cloudflare often pre-fills your single free rate-limiting slot with a "Password Leak protection" rule. While useful for credential stuffing, our brute-force protection is more critical for overall server stability and direct security. We will modify that existing rule.
How to Set it Up:
- In your Cloudflare dashboard, go to Security > Security Rules > Rate limiting rules.
- Locate the existing "Password Leak protection" rule and click the wrench (Edit) icon next to it.
- Rename it to something clear, like
RL - Ghost Admin Brute Force.- Quick Explanation: This rule is laser-focused. It targets only the
/ghost/api/admin/sessionendpoint (the exact URL Ghost uses for admin login attempts), specifically when it's aPOSTrequest (a login submission, not just loading the page), and again, safely excludes verified good bots, such as a Cloudflare worker or custom integration you may have setup.
- Quick Explanation: This rule is laser-focused. It targets only the
- Now, configure the thresholds under When rate exceeds:
- Requests:
5 - Period:
10 seconds - Rationale: A human can't (and shouldn't) attempt to log in 5 times in 10 seconds. This is strict enough to catch bots instantly.
- Requests:
- Under Then... Choose action, select
Block. - For For duration, set it to
10 seconds.- Rationale: Blocking an aggressive bot for 10 seconds might seem short, but it dramatically slows down their attack, making it inefficient and causing most bots to abandon your site.
- Click Deploy.
Click Edit expression and paste this precise logic:Plaintext
(http.request.uri.path contains "/ghost/api/admin/session" and http.request.method eq "POST" and not cf.client.bot)
Congratulations! You've just implemented a powerful defense that will protect your Ghost admin from automated brute-force attempts without breaking the bank. Here's where this rule is:

Wrapping Up (and What's Next)
By implementing these two rules, you've added a robust layer of security to your self-hosted services which could be a blog, Jellyseerr (now called Seerr), and others leveraging Cloudflare's free plan to its fullest. You're now better protected against:
- Broad, unsolicited scraper traffic from high-risk regions.
- Focused, rapid-fire brute-force attacks against your admin login.
In our next part, we'll dive into optimizing your blog or websites caching rules with Cloudflare to ensure it runs at lightning speed for all your visitors! This can be tricky to do correctly, and you can get yourself into a 'sticky' situation caching your admin interface and not being able to make changes 😢
What other Cloudflare security tips have you found useful for your self-hosted projects? Share them in the comments below and don't forget to visit my Practical Cybersecurity Roadmap for Homelabs.

Member discussion